

Adding a calendar to a WooCommerce event management website means giving visitors a month-at-a-glance view of everything you have scheduled, with each date linked to its event or booking product. In this guide you will install the WpEvently plugin, upload the WooCommerce Event Calendar addon, configure the display settings, create events, and publish the calendar on any page with a shortcode. You can finish the whole setup in under an hour. Let’s walk through it.
Why Add an Event Calendar to Your Store?
A calendar does more than make a storefront look busy. It answers the question every visitor arrives with: what is happening, and when?
- Faster discovery: Shoppers scan a month instead of scrolling through a list of event products.
- Fewer double bookings: You can see clashing dates before you publish them, not after a customer complains.
- More ticket sales: A calendar placed above or beside your WooCommerce products keeps upcoming events in front of buyers.
- Less admin work: One dashboard holds every event; the calendar updates itself.
Industry research on event management software consistently lists visual calendars, colour coding and shared scheduling as the features teams value most. Practical scheduling tools are one reason organisers move off spreadsheets in the first place.
What You Need Before You Start
Work through this short checklist so nothing stalls halfway:
- A WordPress site with administrator access and permission to upload plugins.
- WooCommerce installed and active, since the calendar links to WooCommerce products for ticketing.
- The WpEvently event manager plugin (free or Pro). The richer calendar styling is part of the Pro addon.
- The WooCommerce Event Calendar addon, which supplies the calendar itself.
- A page where the calendar will live, plus a backup of your site before you install anything new.
If you are still deciding how events and attendee records should behave on your store, it helps to read our guide on using WooCommerce for event registration first, then come back here for the calendar layer.
How to Add a Calendar in WooCommerce: Step-by-Step
Step 1: Install and Activate WpEvently
The calendar addon is an extension, so the core event manager has to be in place first.
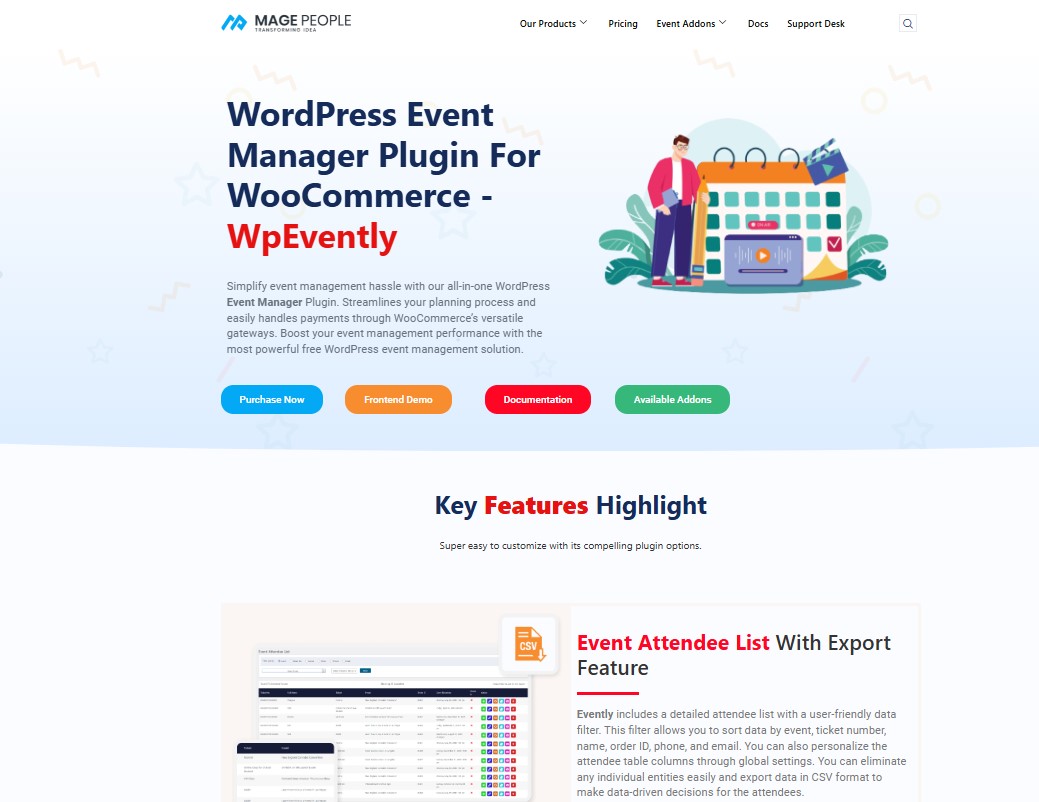
- Get the free version from the WordPress plugin directory, or purchase WpEvently Pro from the WpEvently event booking manager product page for advanced options.
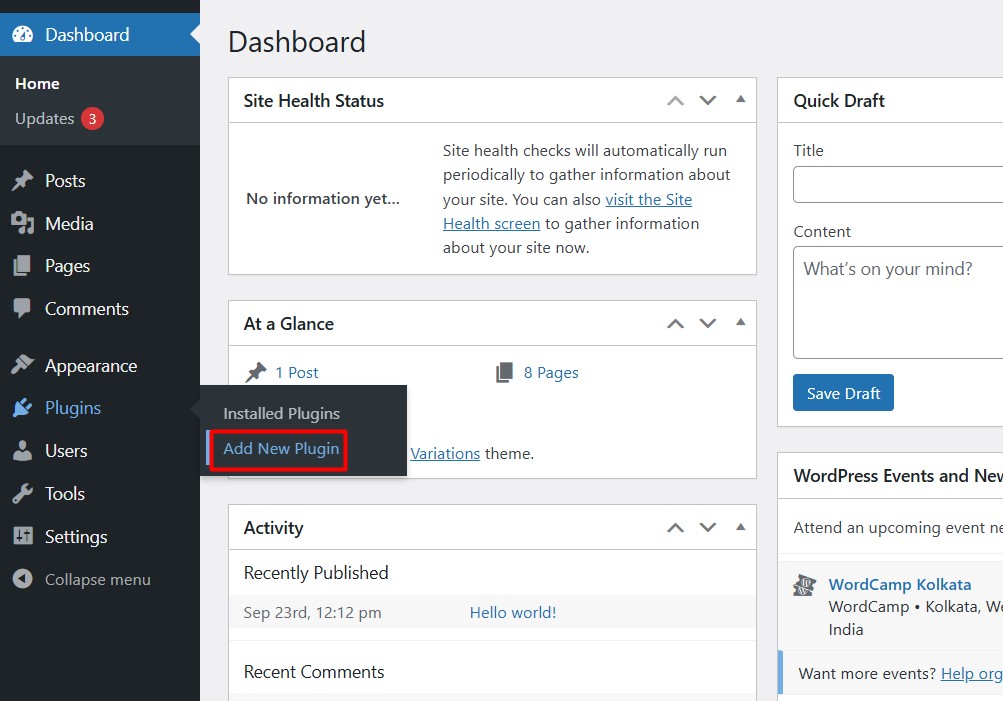
- In your dashboard, go to Plugins → Add New and search for WpEvently.
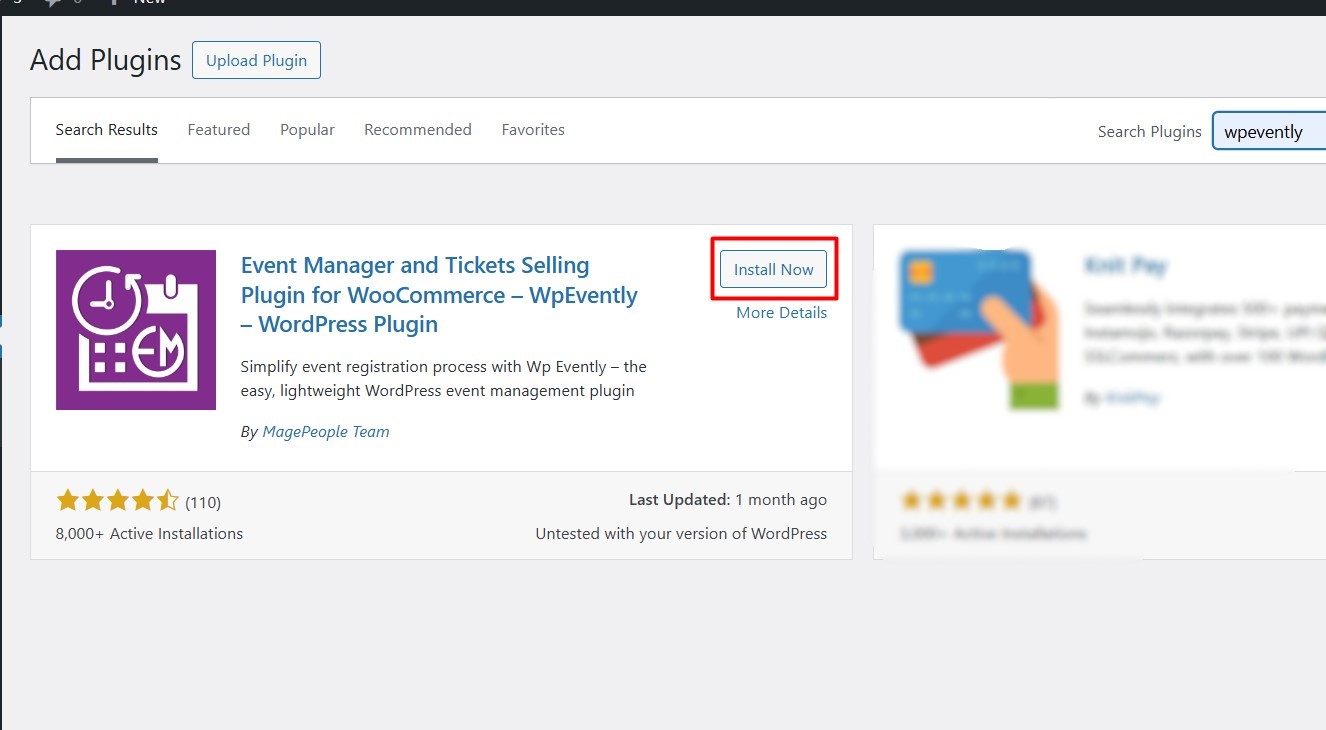
- Click Install Now, then Activate.
- A setup wizard opens after activation. Follow it through and let it install WooCommerce if you have not already done so.
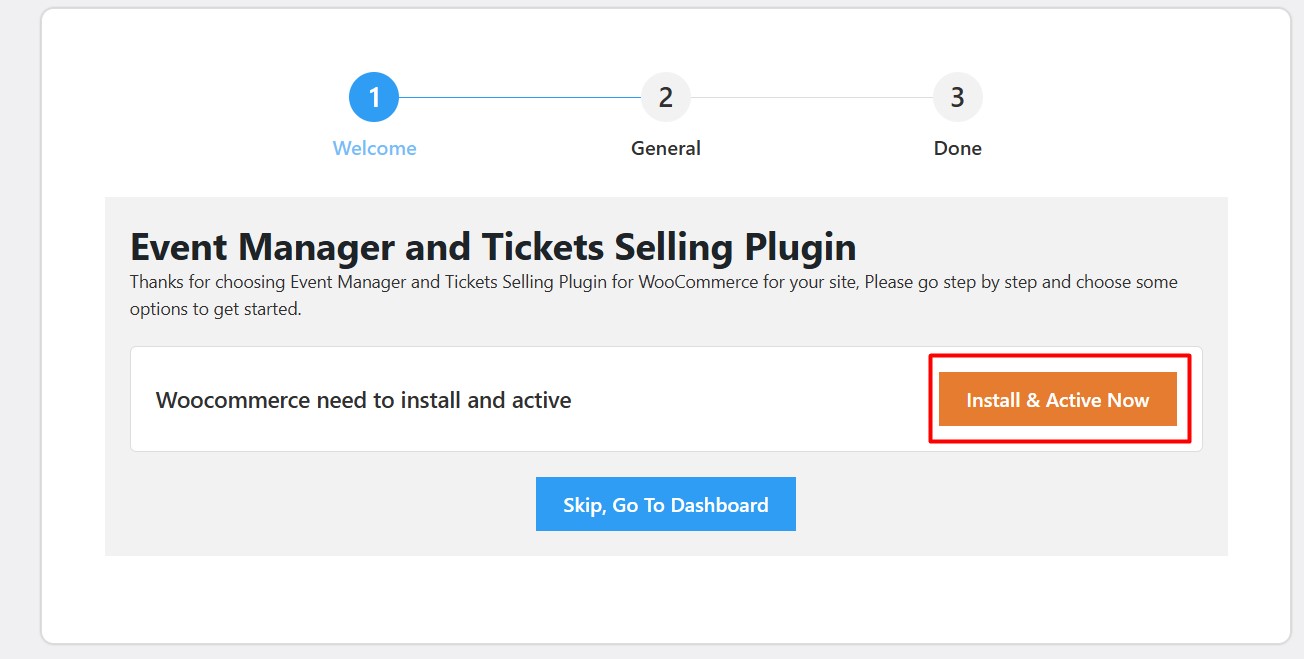
Once the wizard finishes, the Events menu appears in your dashboard sidebar. If it does not, deactivate and reactivate the plugin before continuing.
Step 2: Get the WooCommerce Event Calendar Addon
Now add the calendar module itself. Open the WooCommerce Event Calendar addon page and choose a licence package. Check current pricing and plan options on that page, since packages change with updates and support terms.
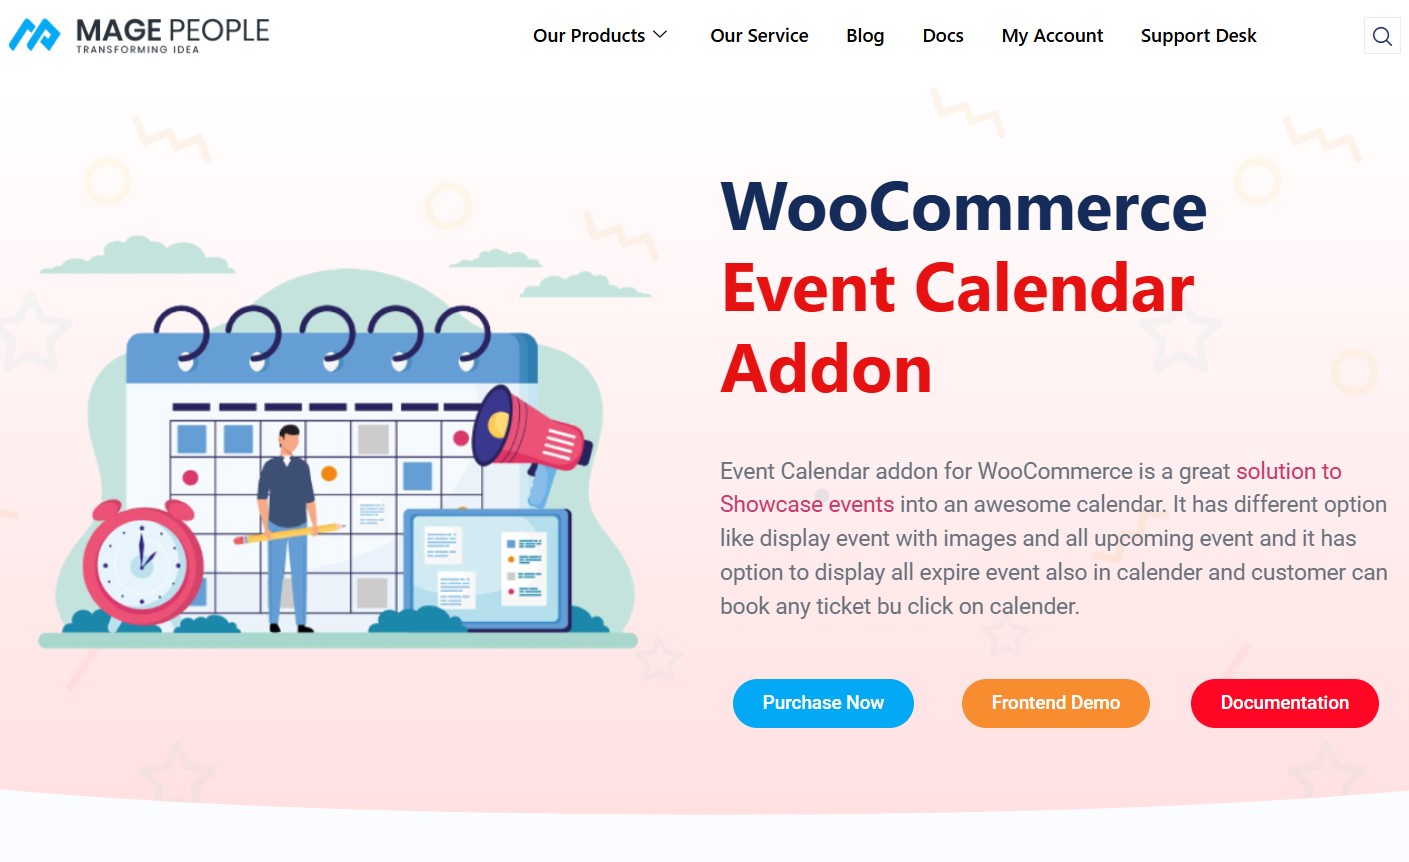
Download the addon zip file to your computer. Keep that file handy for the next step, and keep the invoice too, because warranty and update claims usually require proof of purchase.
Step 3: Upload and Activate the Addon
- In your dashboard, go to Plugins → Add New.
- Click Upload Plugin at the top of the screen.
- Choose the addon zip file you downloaded, then click Install Now.
- Click Activate Plugin.
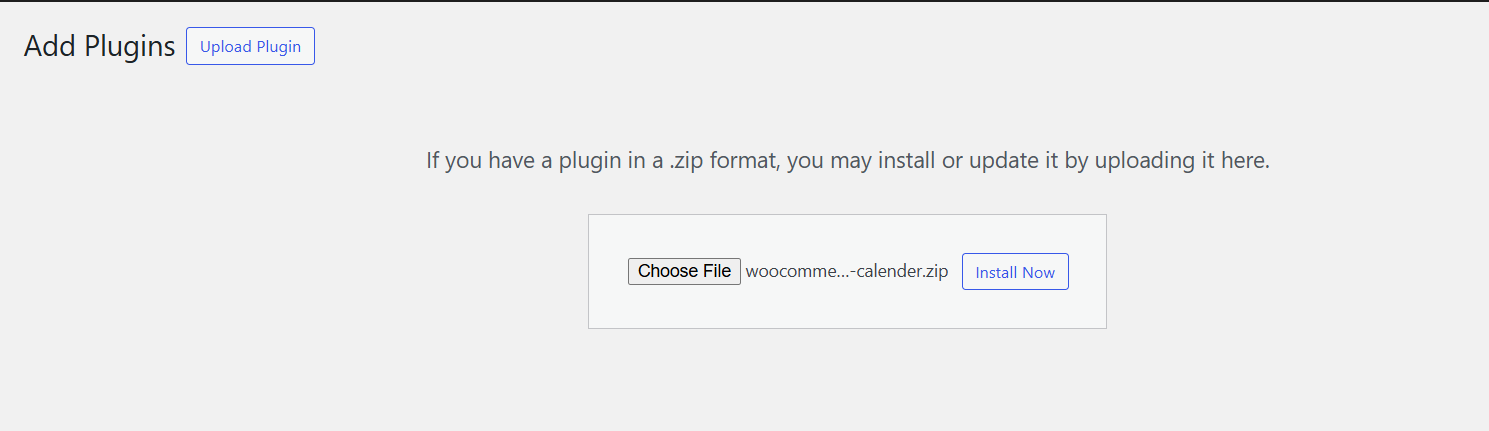
After activation, a confirmation notice appears and the calendar settings menu becomes available. If the upload fails, the usual culprit is the PHP upload size limit on your host; uploading via FTP into /wp-content/plugins/ resolves it.
Step 4: Configure Your Calendar Settings
This is where the calendar takes on your store’s look and behaviour. Go to Events → Calendar Settings and work through the panels one at a time.

You will find settings grouped as follows:
- General settings – basic calendar view dimensions and layout.
- Navigation settings – how visitors move between months.
- Expired Event Settings – whether past events stay visible, grey out, or disappear.
- Color settings – accent colours for events, days and highlights.
- Day Background Images – background imagery for individual days.
- Stock indicator colours – the colours that show how many tickets or slots remain.
Then set the first day of the week. This is a real editorial decision, not a formality: Monday-first suits most business and education audiences, while Sunday-first matches calendars in many consumer markets. Match your audience, then save.
Pro tip: the cleanest calendar wins. Pick one accent colour, keep background images subtle, and let event titles carry the information. Note that the deeper styling options apply to the Pro calendar addon.
Step 5: Add Your Events
With settings saved, populate the calendar. Go to Events → Add New.

Fill in the essentials:
- Event title – specific and recognisable, for example “Advanced Pottery Workshop – March Session”.
- Description – what attendees will do, who it suits, and what to bring.
- Date and time – including the end time, which the calendar uses to place the event in the right slot.
- Featured image – a real photo beats a stock graphic for click-through.
- WooCommerce product – link the event to a ticket product so checkout, taxes and order emails all run through WooCommerce.
Publish the event, then repeat for everything else on your schedule. Add virtual events as well if you run online sessions; the same date logic applies.
Step 6: Display the Calendar on Your Site
Finally, put the calendar in front of visitors.
- Create or edit the page where the calendar should appear.
- Look at the shortcode panel under Calendar Settings and copy the calendar shortcode.
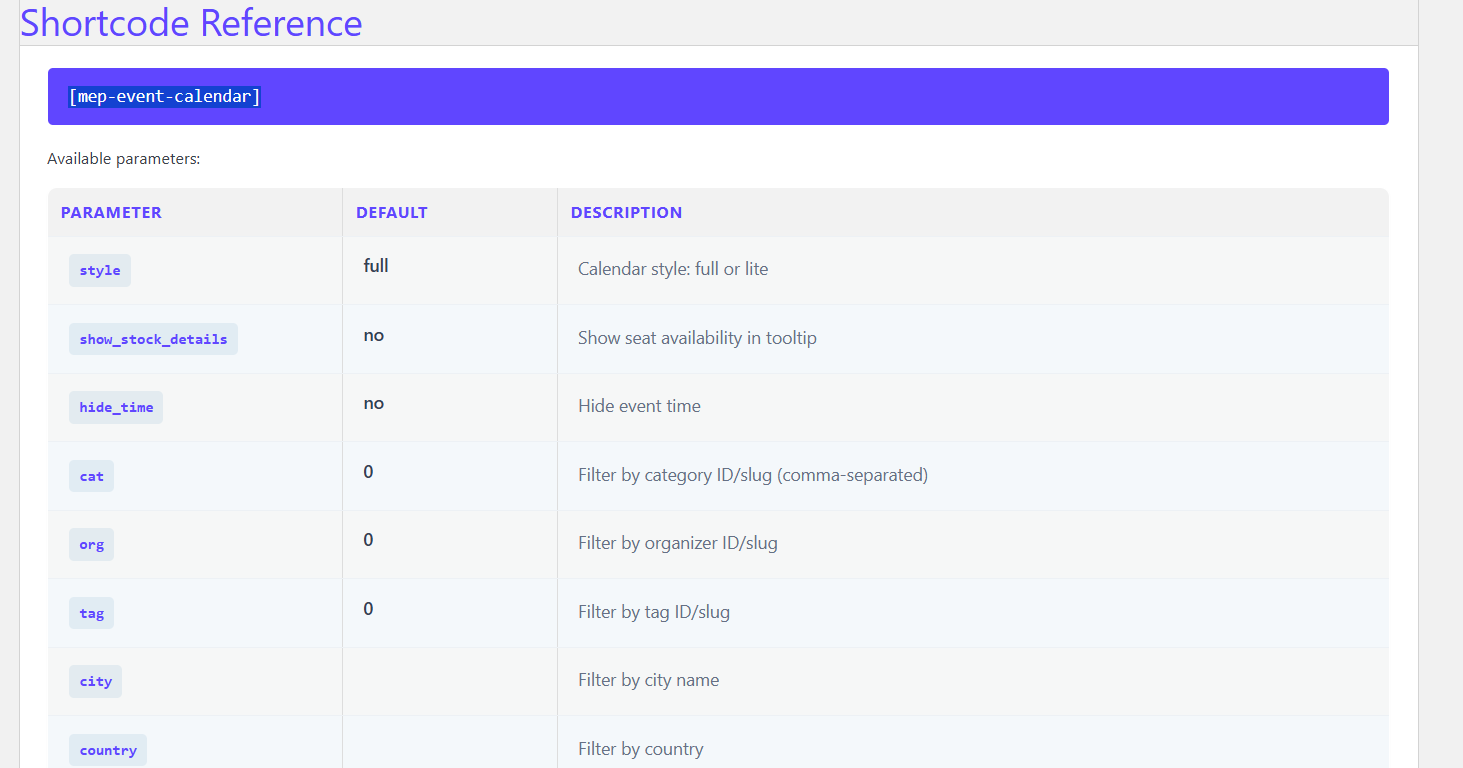
- Add a Shortcode block to the page and paste the shortcode into it.
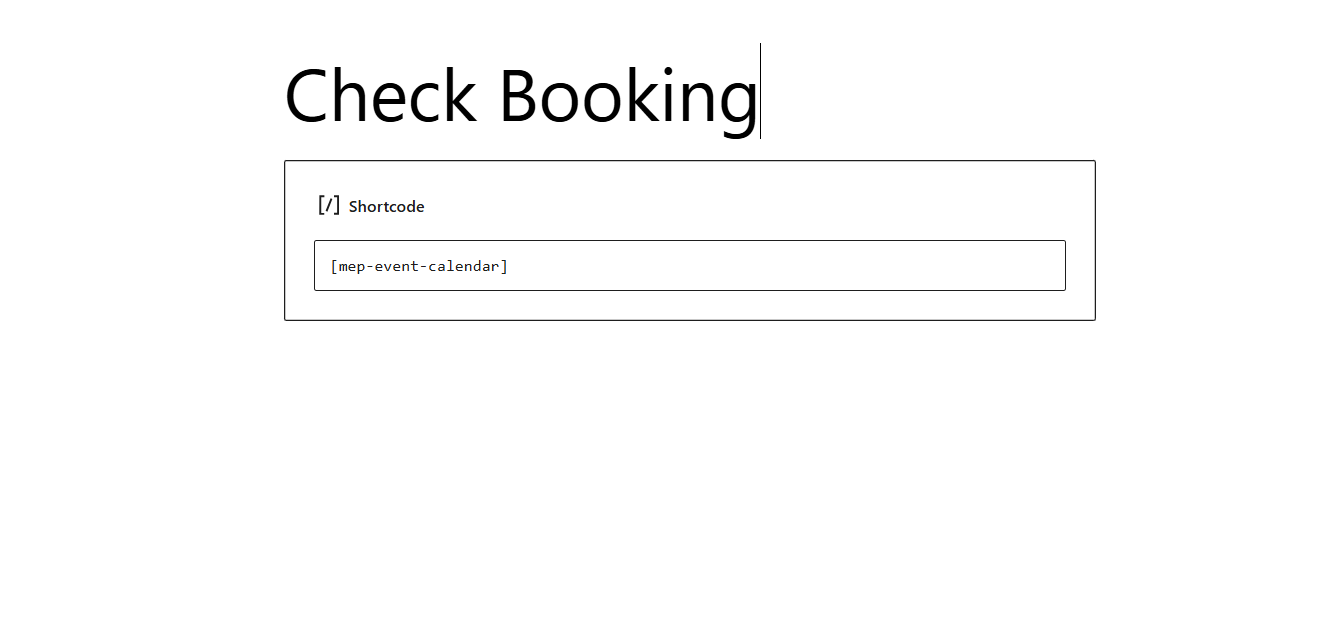
- Use the default calendar shortcode, [mep-event-calendar], then publish or update the page.

Open the page and you should see a working monthly calendar with your events plotted on their dates, styled according to the settings you chose. If you prefer to place the calendar on a dedicated archive page, create a separate page for it and keep your landing page focused on selling tickets.
Making the Calendar Actually Convert
- Keep it current. Remove or archive outdated events so the current month never shows stale listings.
- Write descriptive event titles. The title is the only text many visitors read inside the calendar grid.
- Test on mobile. A monthly grid is the hardest element on an event site to make usable on a phone. Check tap targets, month navigation, and whether the event pop-up is readable on a small screen.
- Use keywords naturally. Put the topic and location in the event title and description so those pages can be found in search. Our guide to SEO for event websites covers the wider checklist.
- Pair the calendar with clear product pages. The calendar creates interest; the WooCommerce ticket product closes the sale.
Troubleshooting Common Calendar Problems
- Calendar not showing at all: confirm both the event manager and the calendar addon are active, and that the shortcode is in a Shortcode block rather than a paragraph.
- Calendar renders blank or unstyled: clear page cache, plugin cache and any server-side cache, then reload in a private browser window.
- Layout broken by another plugin: deactivate plugins one at a time to isolate the conflict, then check the browser console for JavaScript errors.
- Events missing from dates: re-check the event start date, the end date and your store’s timezone, because a mismatch between site timezone and event time shifts everything by hours.
- Wrong month shown on load: the calendar opens on the current month, so review your navigation and expiry settings if you want visitors to land on a specific month.
Frequently Asked Questions
How many calendar views does the addon offer?
The addon provides a monthly view, showing all bookings and events for a month at a glance. Plan your event titles and colours so the month grid stays readable when several events land on the same day.
Do I need WooCommerce to use the event calendar?
You can display events without selling tickets, but the calendar is designed to work alongside WooCommerce. Linking events to WooCommerce products is what turns a schedule into a selling tool with checkout and order management.
Can I use the calendar on more than one page?
Yes. Shortcodes can be reused, so the same calendar can sit on a dedicated events page, inside a landing page, or in a widget area. If you need different styling per page, the Pro calendar settings give you those controls.
Can I add a waiting list when an event fills up?
Not from the calendar addon itself. See our guide on adding a waitlist to your WordPress events and ticket selling website for that workflow.
Will the calendar slow my site down?
One shortcode loading a monthly grid is lightweight. Performance problems usually come from page builders and caching conflicts rather than the calendar itself, so keep the surrounding page simple.
Wrapping Up
You now know how to add a calendar in a WooCommerce event management website: install WpEvently, upload the WooCommerce Event Calendar addon, configure the appearance in Calendar Settings, create your events, and drop [mep-event-calendar] onto any page. The setup is short, but the payoff is long: visitors find events faster, you avoid scheduling clashes, and every date in the grid leads to a WooCommerce product waiting to be bought.
Before you publish, run through the troubleshooting list once and open the calendar on a phone. A calendar that works well on mobile is the difference between a schedule people browse and one they abandon.
