

Want to know how to create a tours and travels website that actually takes bookings? This guide walks you through the whole build in order: domain, hosting, WordPress, a WooCommerce tour booking plugin, payments, a travel theme, and finally a live tour listing on your front end. No code, no developer, and every step is something you can finish in a single sitting.
Online travel demand keeps climbing, and travellers now expect to search, compare and pay on their phones in a few taps. A generic brochure site will not win those bookings — a real booking engine will.
What You Need Before You Start
These ten essentials cover everything a working tour booking site needs.
1. Domain Name
A domain name is the unique, memorable address for your brand. If you run city walking tours, something like yourcitywalks.com tells visitors exactly what you sell before they even click. Keep it short, easy to spell and, where possible, tied to your destination or niche.

You can register a domain through registrars such as GoDaddy or Namecheap, or buy one directly from your hosting provider during checkout.
2. Web Hosting
Hosting keeps your site online 24/7, and booking sites are hit hardest during peak season — exactly when downtime costs you money. Look for WordPress-optimised plans with SSD storage, sufficient PHP memory limits and daily backups. Bluehost, SiteGround and HostGator are common starting points; check current pricing against your expected traffic.

3. WordPress Installation
Almost every host offers a one-click WordPress installer from the control panel. If you prefer, download WordPress from its official site and upload it manually — the one-click route is faster and less error-prone for a first build.
4. A WordPress Theme
Your theme controls layout, typography and mobile behaviour. For travel, responsiveness is non-negotiable: most tour searches happen on a phone. We install a purpose-built travel theme further down this guide.
5. WooCommerce
WooCommerce turns WordPress into a store: products, cart, checkout, taxes, coupons and payment gateways. Your tour packages become bookable products, which means you get battle-tested e-commerce infrastructure instead of a custom-built checkout. If you want the reasoning, read why WooCommerce suits travel booking websites.
6. A WooCommerce Tour Booking Plugin
This is the piece that makes tours bookable rather than just sellable. WpTravelly from MagePeople adds tour packages, dates, pricing tiers, availability and traveller details on top of WooCommerce. Not sure which extension fits your business model? Compare the options in how to choose a travel booking plugin for your site before you commit.
7. Additional Plugins
Round out the site with a small, well-chosen stack:
- SEO: Yoast SEO or Rank Math — titles, sitemaps and schema.
- Security: Wordfence or Sucuri — firewalls and malware scanning.
- Caching: WP Rocket or W3 Total Cache — faster pages, better conversions.
- Analytics: Google Site Kit — see which tours actually get booked.
8. Content and Images
Write descriptions that sell the experience: what travellers see, how long it takes, what is included, who it suits. Pair each tour with your own high-quality photos. Original imagery outsells stock, and it doubles as a trust signal.
9. SSL Certificate
An SSL certificate encrypts data between browser and server. Most hosts include one free, and browsers flag payment pages without it — so install it before you take a single booking.
10. Payment Gateway Integration
Decide how you want to get paid: cards via Stripe or PayPal, or a bank transfer option for high-value group bookings. Set this up in WooCommerce so checkout works from day one.
What a Travel Booking Website Actually Needs
Beyond the technical stack, these seven elements separate a site that converts from one that just exists:
- A clear, effortless interface. Simple navigation, readable text, obvious booking buttons.
- Secure payments. An encrypted gateway customers recognise and trust.
- Multiple search and filter options. Let visitors narrow by destination, date, duration, group size or budget.
- Live customer support. Live chat or a fast-response channel for people stuck mid-booking.
- Reviews and ratings. Past travellers’ feedback shortens the decision for new ones.
- Detailed tour information. Itinerary, inclusions, meeting point, cancellation terms — no guessing.
- Repeat-booking incentives. Loyalty points or a returning-guest discount keep customers off competitor sites.
How to Create a Tours and Travels Website: Step by Step
With your domain and hosting live, run the one-click WordPress installer from your host’s dashboard and log in to your new dashboard.
Now install the tour booking plugin. WpTravelly from the WordPress plugin directory is free to start with, and it is the engine behind everything that follows.
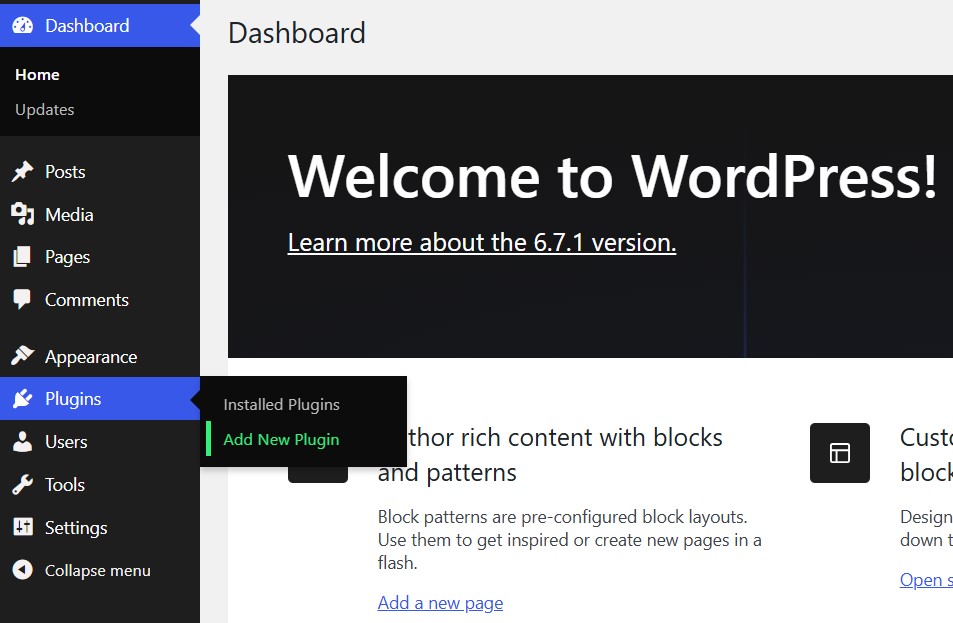
In your dashboard, go to Plugins → Add New Plugin.
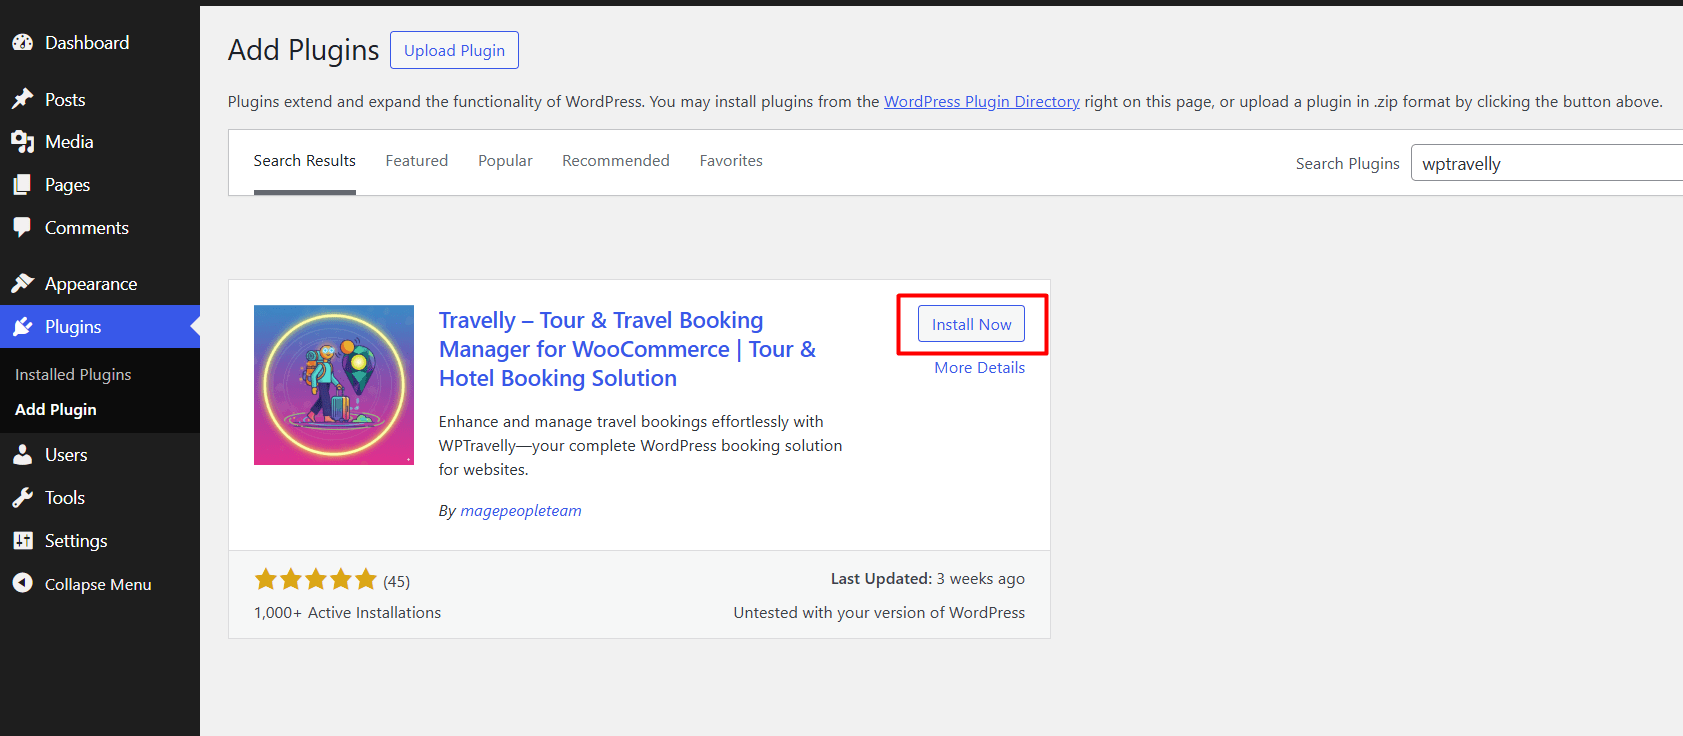
Search for WpTravelly, then click Install Now.
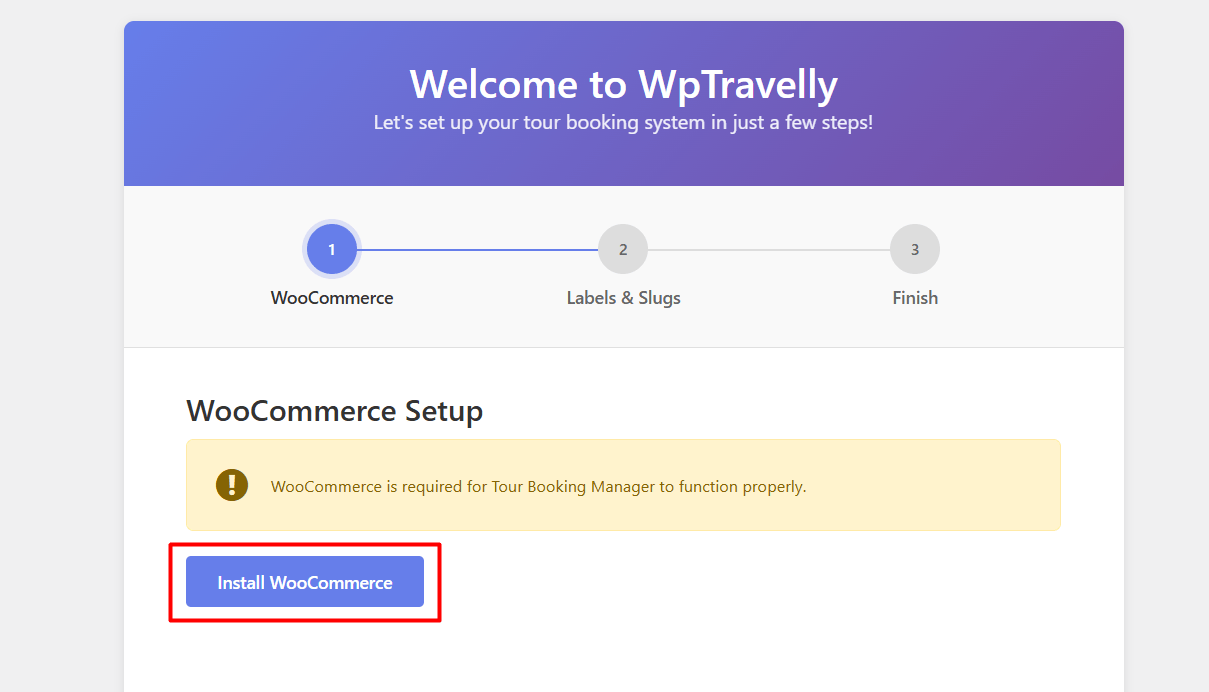
Activate the plugin. A setup wizard opens and walks you through the first configuration, including the required WooCommerce install. Once WooCommerce is active, continue to the next screen.
Configure Payment Methods for Your WooCommerce Store
With WooCommerce active, set up how customers pay. Go to WooCommerce → Settings → Payments, choose your gateway — PayPal, Stripe and Authorize.net are all supported out of the box — and follow the on-screen instructions to connect your account.
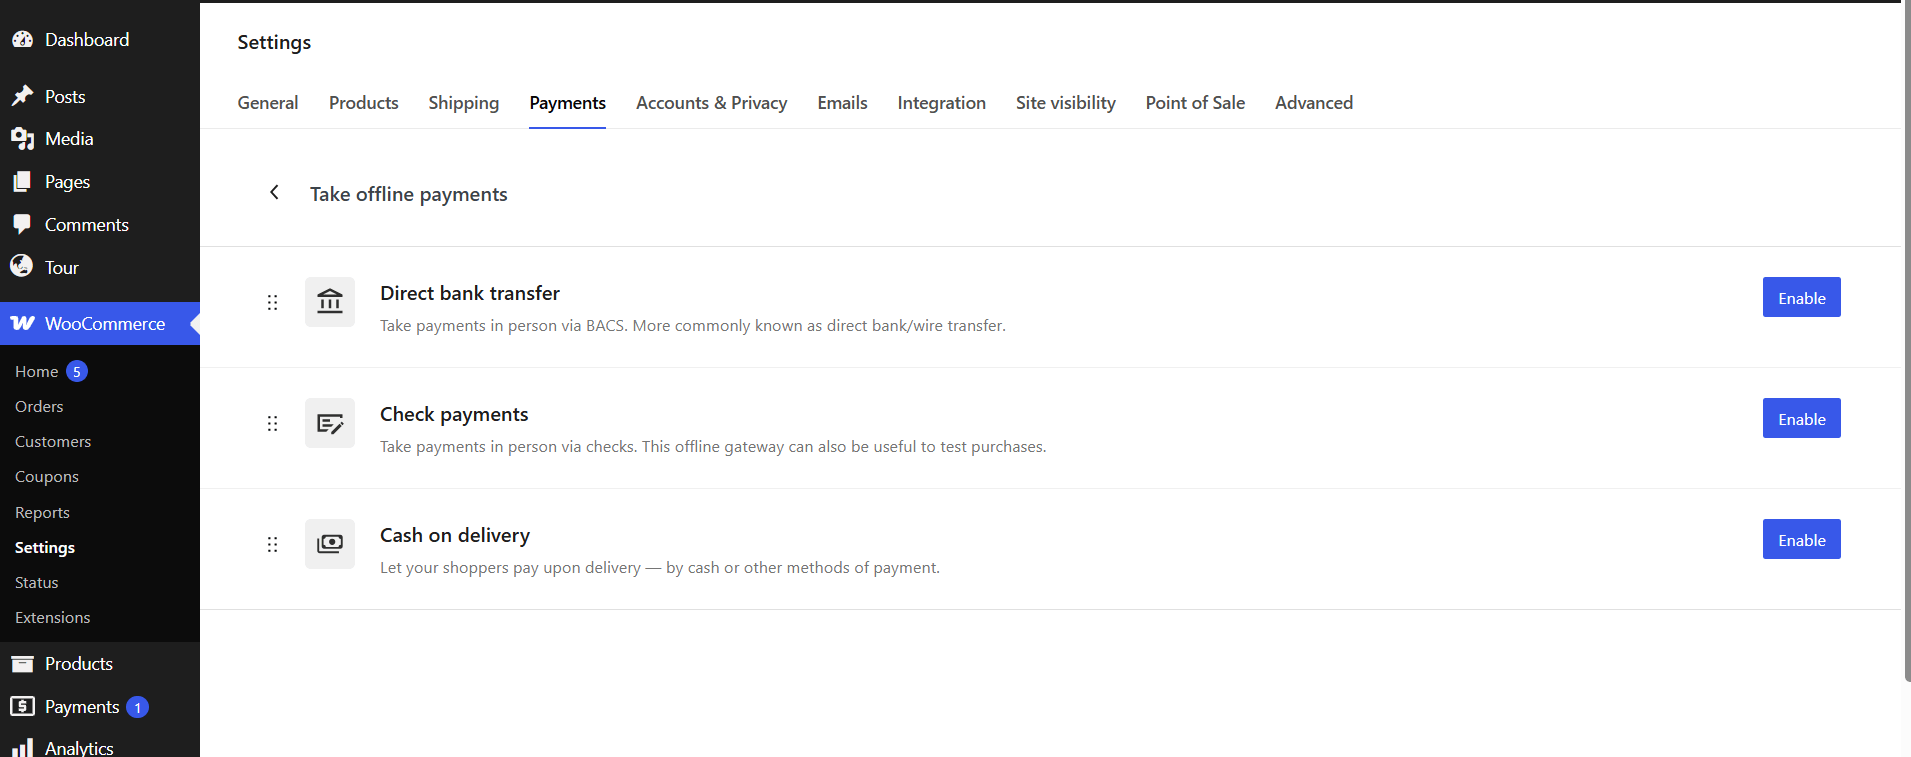
Test each gateway in sandbox mode with a small booking before you go live, and make sure your currency, tax settings and refund policy match the terms you publish on your tour pages. For a wider comparison of options, see this guide to payment gateways for travel booking sites.
Install a Theme
A travel-specific theme saves you weeks of layout work. WpTravelly ships alongside Travail, a tour and travel agency WordPress theme built for tour operators and agencies, with tour listing, detail and checkout templates already designed. Purchase, install and activate it, and your pages inherit a booking-ready structure instead of a generic blog layout.
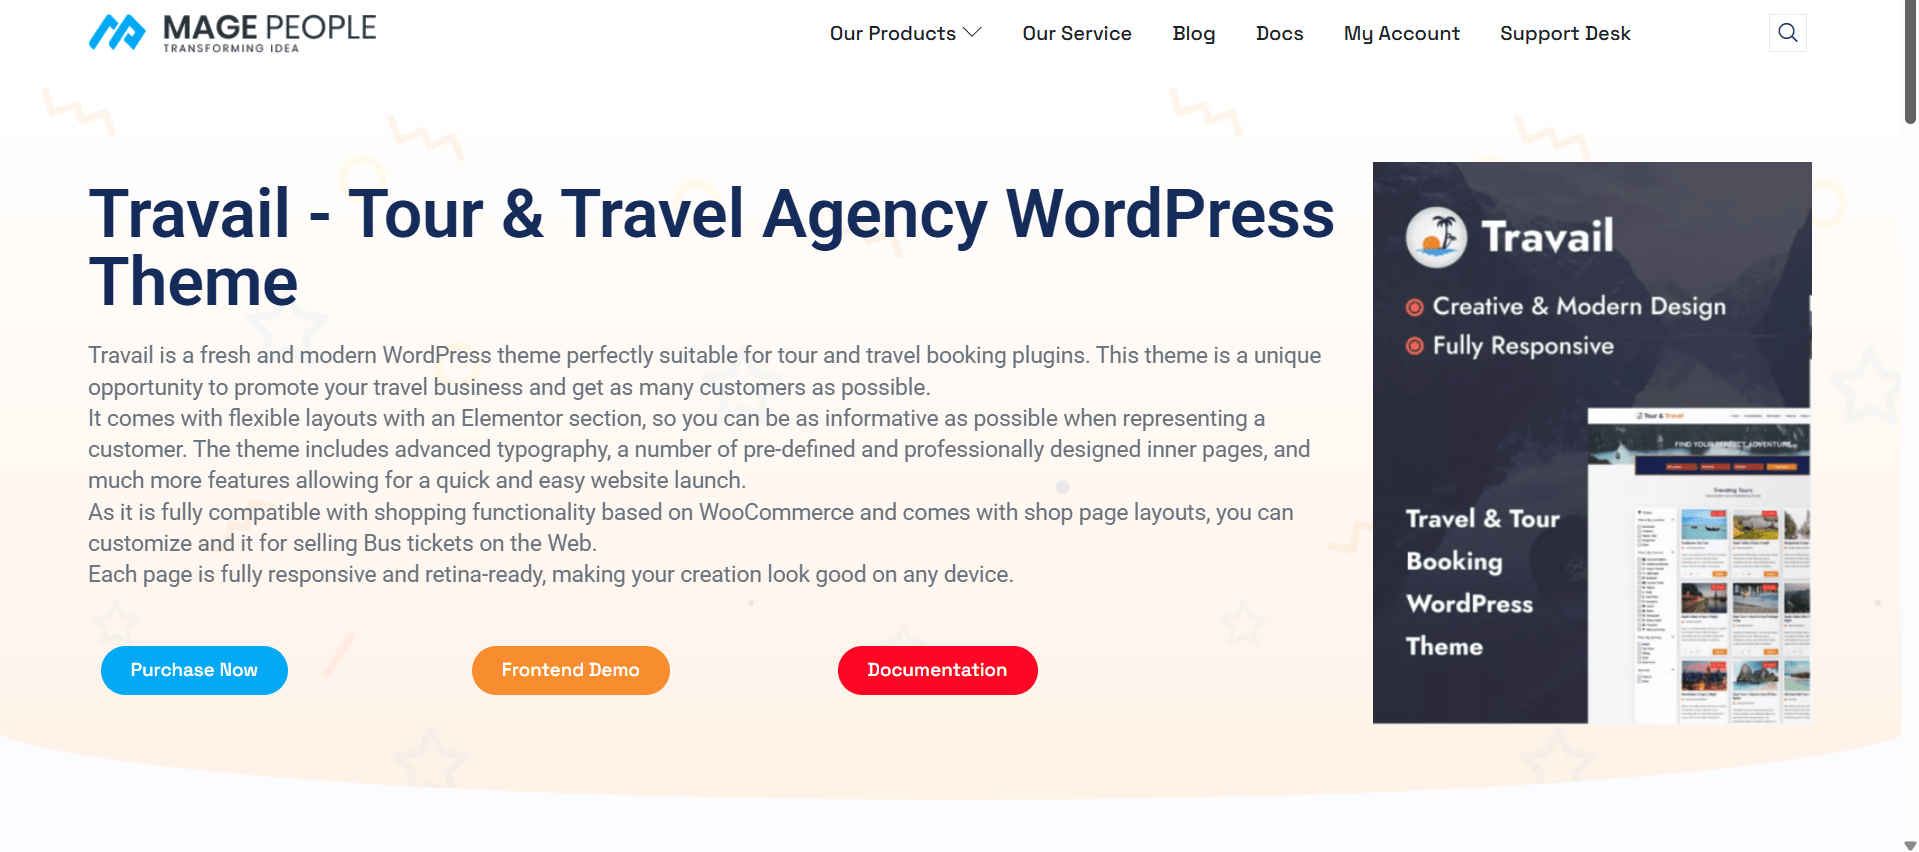
If you need more capability — extra booking types, additional service modules and deeper configuration — extend the setup with WpTravelly Pro.
Create Your First Tour Packages
Before anything shows on the front end, you need something to sell. When adding each tour, decide on:
- Title and slug — descriptive and searchable, e.g. “Sundarbans 3-Day Mangrove Tour”.
- Duration and departure dates — fixed departures or a recurring daily schedule.
- Pricing tiers — adult, child, group and any private-tour rate.
- Capacity — how many travellers per departure, so availability stays accurate.
- Inclusions and exclusions — transport, meals, guide, entry fees.
- Gallery and itinerary — the visual and practical detail that closes the sale.
Set these carefully once and every booking that follows inherits the correct price and availability.
Add a Travel Booking to Your Front End
WpTravelly includes a built-in booking template you can edit to start managing travel bookings. Adjust the layout and fields to match how you actually take bookings.
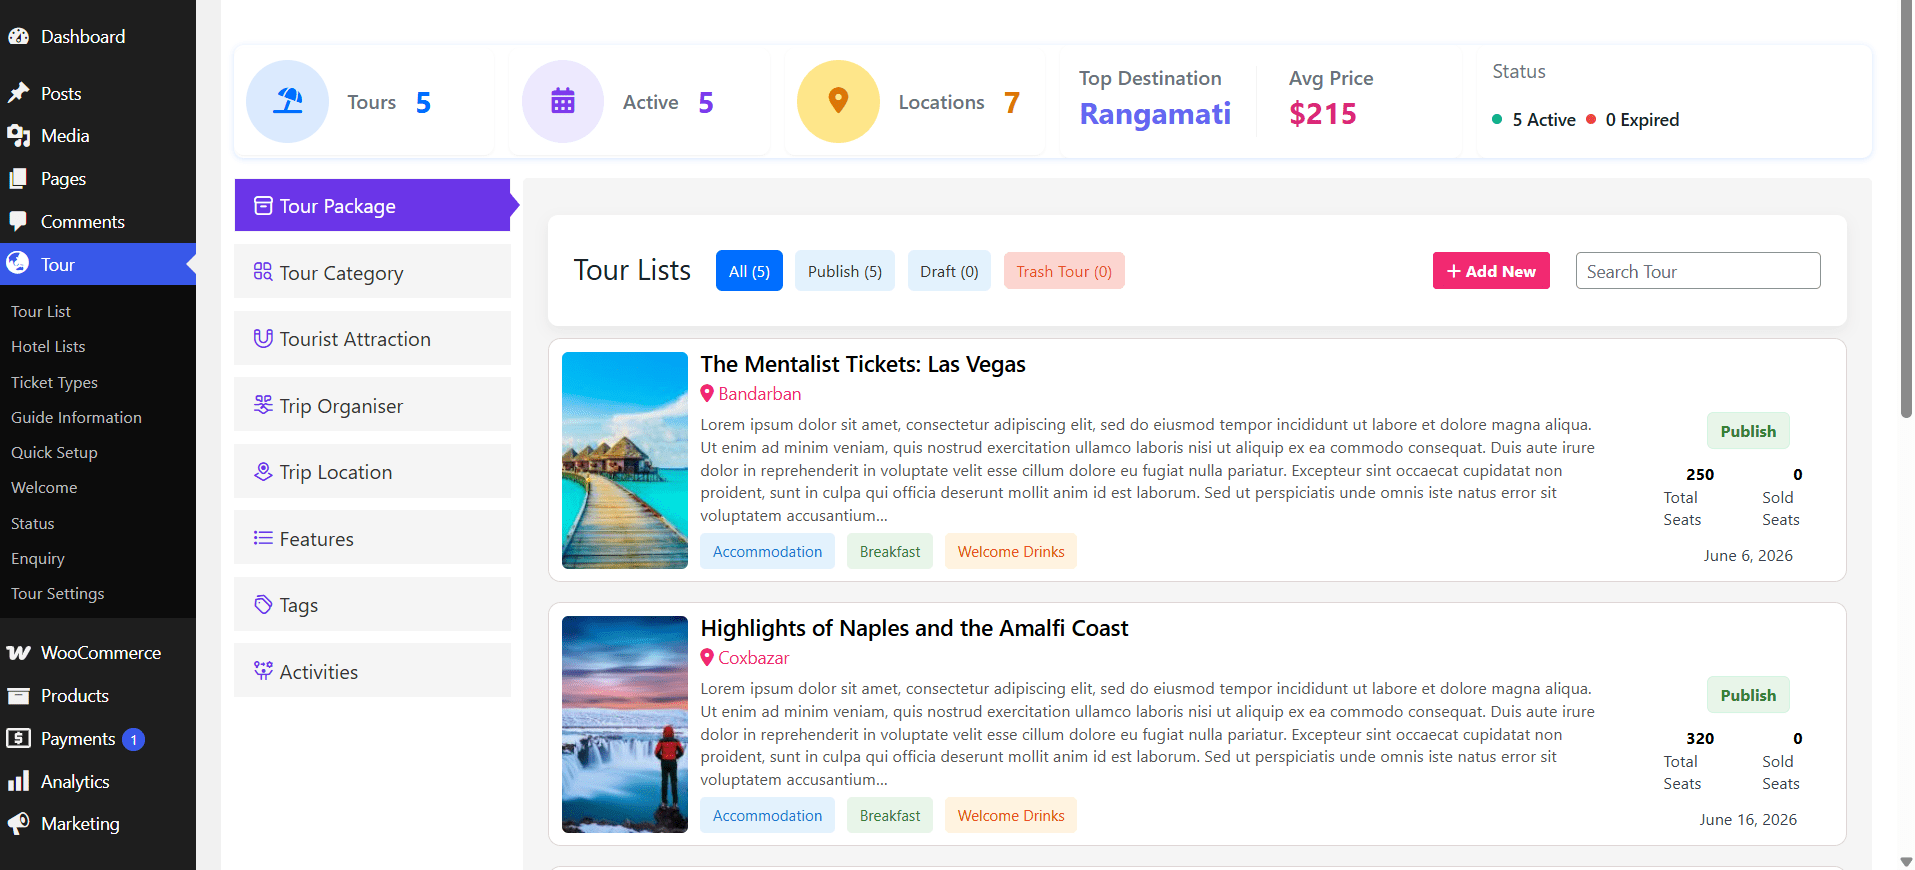
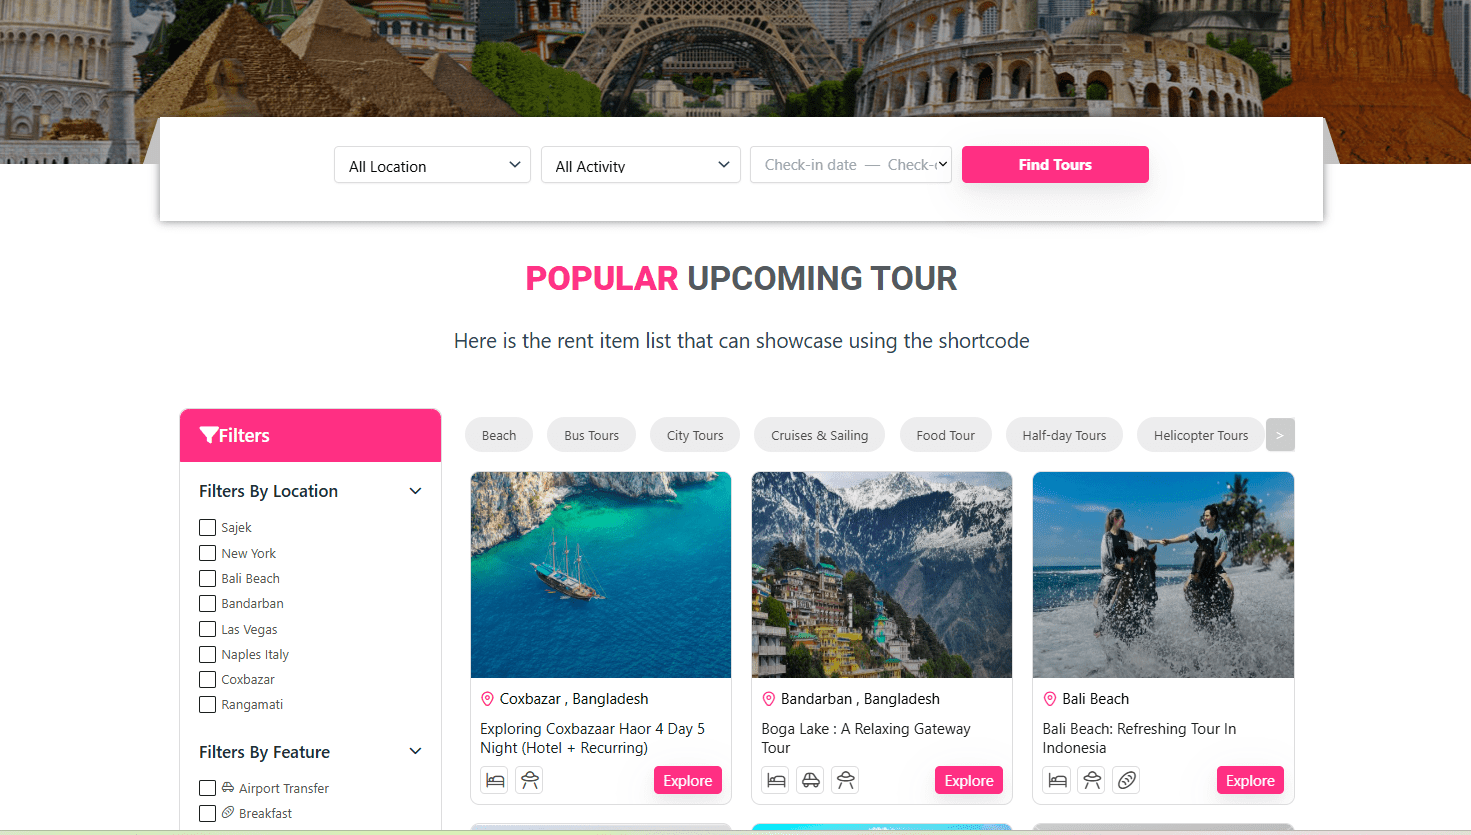
Once your packages are set up, display them on a page using a shortcode. Open the WpTravelly shortcode documentation and copy the tour list shortcode.
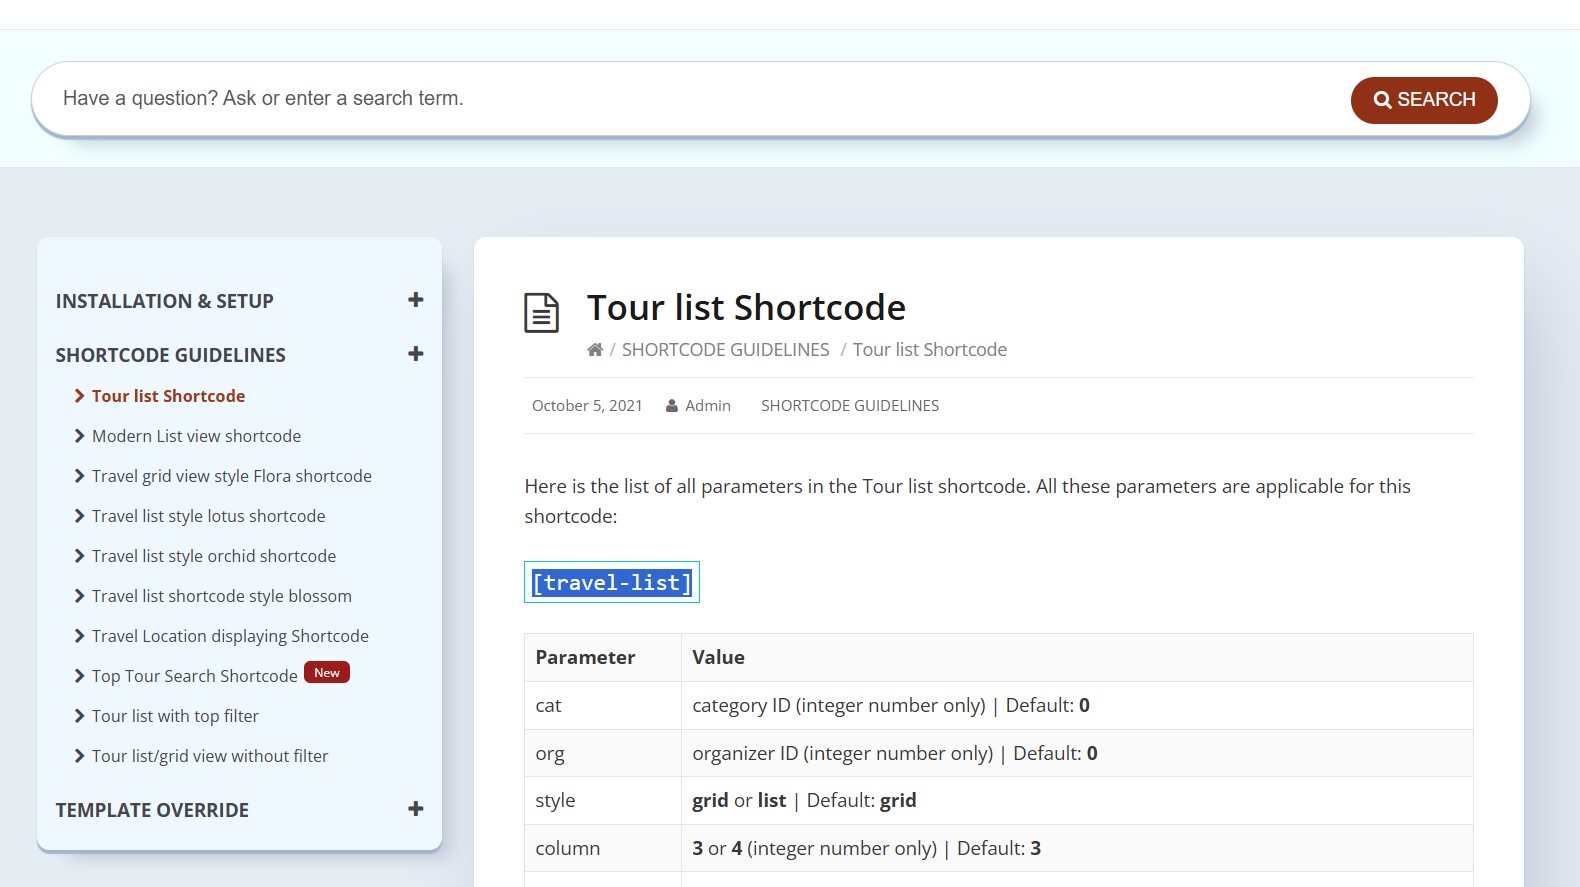
Create a new page, add a shortcode block and paste the code in. Publish the page — that is your booking page.
Here is what visitors see on the front end: a browsable list of tours that leads straight into booking and checkout.
If you want the shorter, faster route through package creation and configuration options, follow this guide to building a personalised travel booking website.
After Launch: What to Improve Next
Your site takes bookings, but the build is not finished. These are the highest-impact next moves.
Extend the Booking Engine
Pro add-ons cover backend order management, seat plans and group pricing — useful once you are handling multiple departures a week and need staff-side control rather than just a customer-facing cart.
Finish Your Plugin Stack
Install and activate your SEO, caching, analytics and security plugins now. Caching and clean markup matter more on travel sites than most, because your pages carry large image galleries.
Optimise for Search
Build a page for each destination and tour type, add structured data via your SEO plugin, and keep image files compressed and descriptively named. Then work through these 15 tips to create the best travel booking website to tighten everything from trust signals to mobile checkout.
Measure What Converts
Watch which tours get views versus bookings, and where people drop out at checkout. If a tour gets traffic but no reservations, the problem is usually price clarity, date availability or missing detail — not traffic volume.
Conclusion
You now have the full path: register a domain, pick WordPress-optimised hosting, install WordPress, then add WooCommerce and a WooCommerce tour booking plugin, configure payments, apply a travel theme, and publish a tour listing page with a shortcode. That sequence gives you a functioning tours and travels website that takes real bookings and real payments — whether you sell guided city walks, multi-day packages or single-day activities.
Start with the free plugin, get one tour live and bookable, then layer on the Pro features and content improvements as demand grows. The faster you have a real booking page in front of travellers, the faster you learn what they actually want to buy.
