 Get Halloween 15% for Limited Time on Lifetime & Bundle Deal

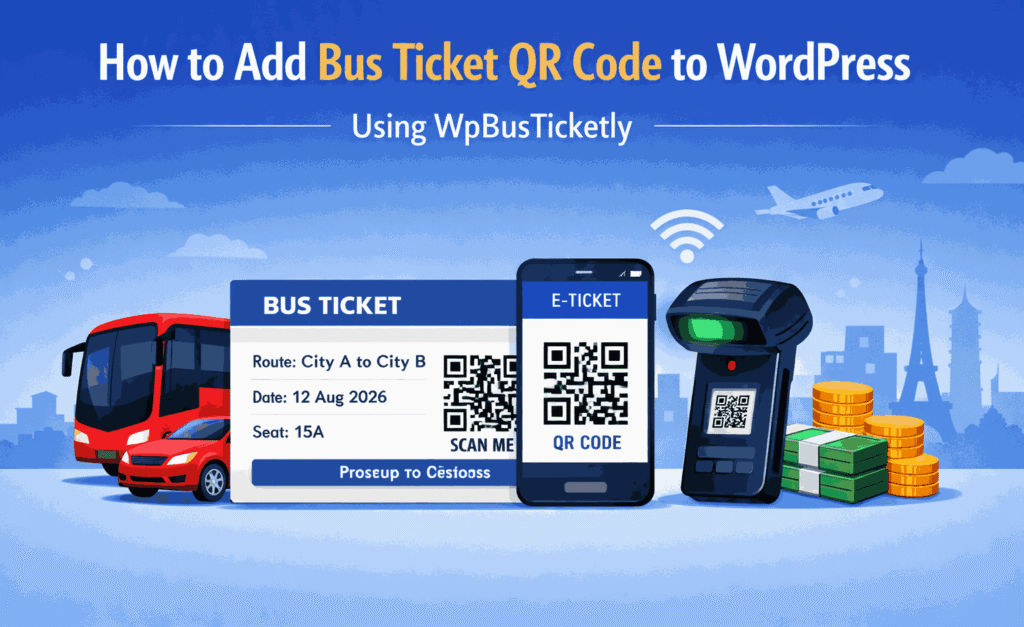
If your bus booking site still hands over tickets that staff verify by eye, boarding is slow and duplicate tickets slip through. This guide shows you how to add a bus ticket QR code to WordPress using WpBusTicketly and its QR Code Addon, so every booking generates a scannable PDF ticket that updates the passenger list the moment it is checked in. It is a hands-on setup walkthrough, not an overview — you will need the WpBusTicketly Pro plugin, WooCommerce, and the separate QR Code Addon.
- Why Add QR Codes to Bus Tickets?
- Prerequisites Checklist
- Step 1: Install and Activate WpBusTicketly
- Step 2: Install the QR Code Addon
- Step 3: Configure the QR Code and PDF Ticket
- Step 4: Test the Booking and QR Code System
- Step 5: Verify Payment and Security
- Step 6: Optional — Improve the Front End with Bahon Theme
- Step 7: Monitor, Manage, and Train Staff
- Troubleshooting Common QR Code Problems
- Frequently Asked Questions
- Conclusion
Why Add QR Codes to Bus Tickets?
A QR code turns a paper or PDF ticket into a machine-readable record. Instead of a conductor reading a seat number and route name, one scan confirms the booking, the seat, and the journey in a second — and marks that ticket as used.
- Faster boarding: Scanning removes the queue that builds when staff check printed tickets manually.
- Duplicate prevention: Because a scanned ticket is flagged as used in the passenger list, the same booking cannot board twice.
- Cleaner records: Every scan writes a check-in status against a named passenger, which makes disputes and reporting far easier.
- No smartphone required: Passengers can print the PDF ticket and present the printed QR code; only the boarding point needs a scanner.
The addon is a paid extension, so treat this as a setup decision rather than a free toggle. If you are still building the booking side itself, start with our guide on how to create a bus booking website with WordPress and come back here once routes, seats, and checkout work.
Prerequisites Checklist
Before you touch the QR Code Addon, confirm all of the following:
- A working WordPress site on a host that can send transactional email.
- The WpBusTicketly Pro plugin installed and activated (the free core alone is not enough).
- WooCommerce installed and configured, since bookings are processed through it.
- The QR Code Addon for WpBusTicketly purchased and downloaded — it is sold separately, not bundled with Pro.
- Bus routes, seat plans, and pricing already created and tested.
- Access to your WordPress admin dashboard.
Step 1: Install and Activate WpBusTicketly
If WpBusTicketly Pro is not on the site yet, start here. Log in to your WordPress dashboard and keep the plugin ZIP file and license key from your purchase email within reach.
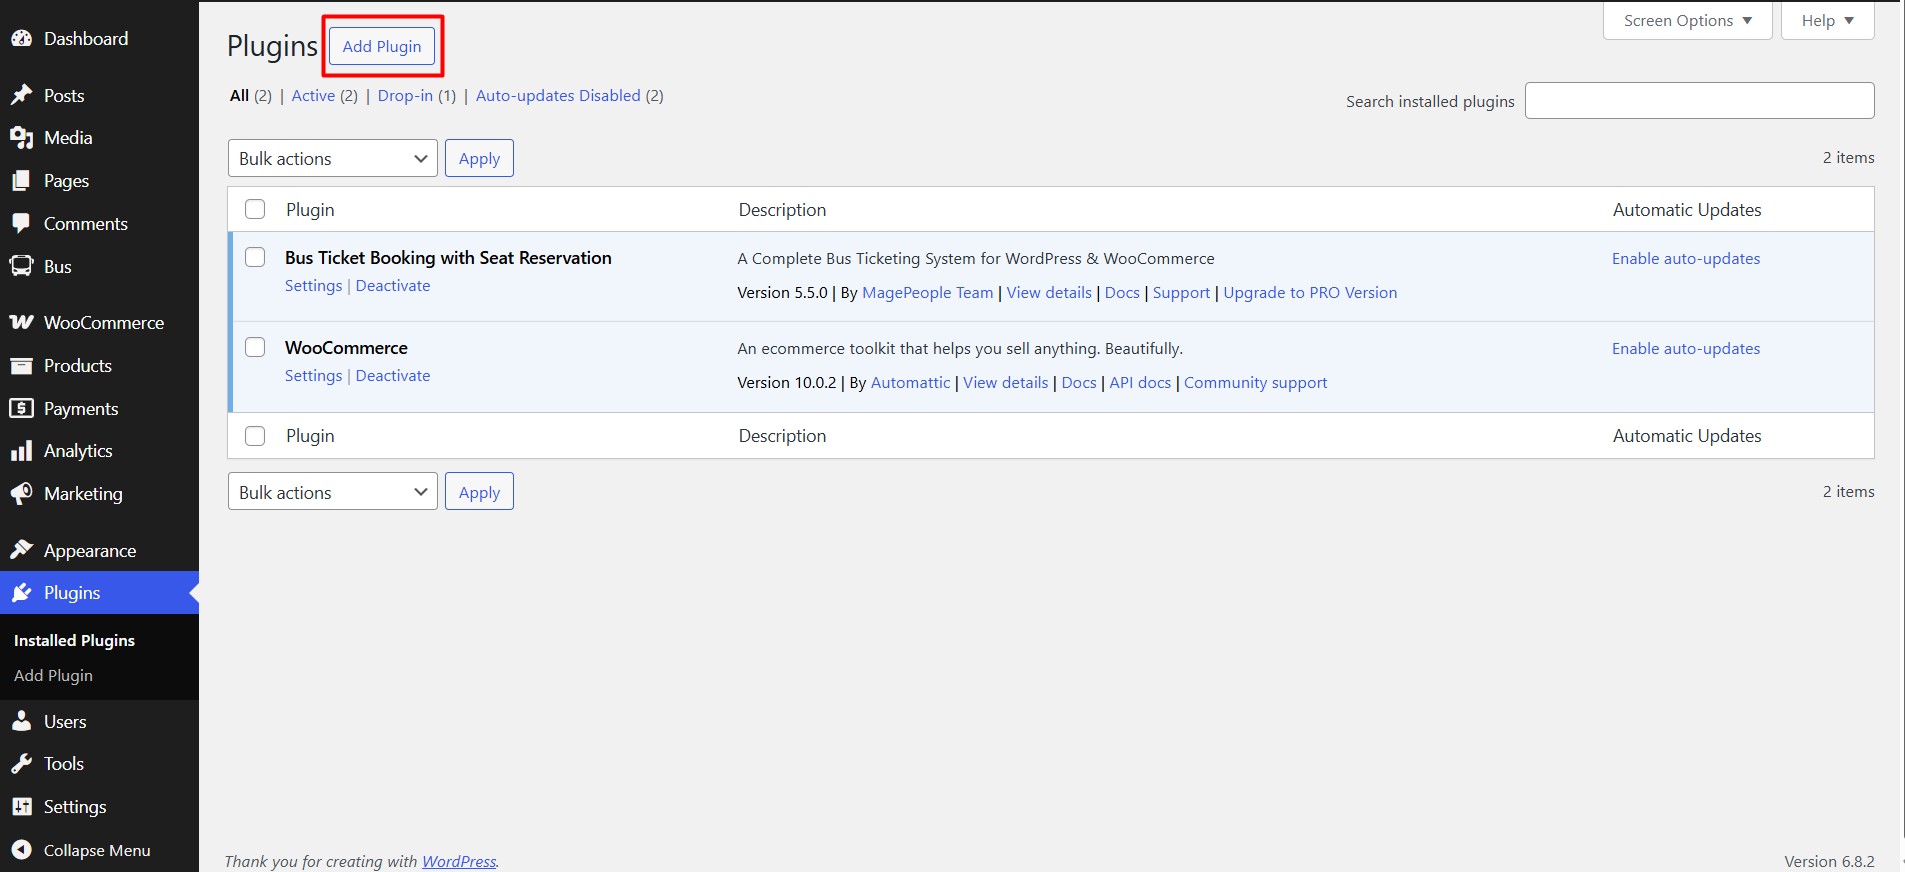
Go to Plugins > Add New and click Upload Plugin to install the Bus Ticket Booking with Seat Reservation Pro package.
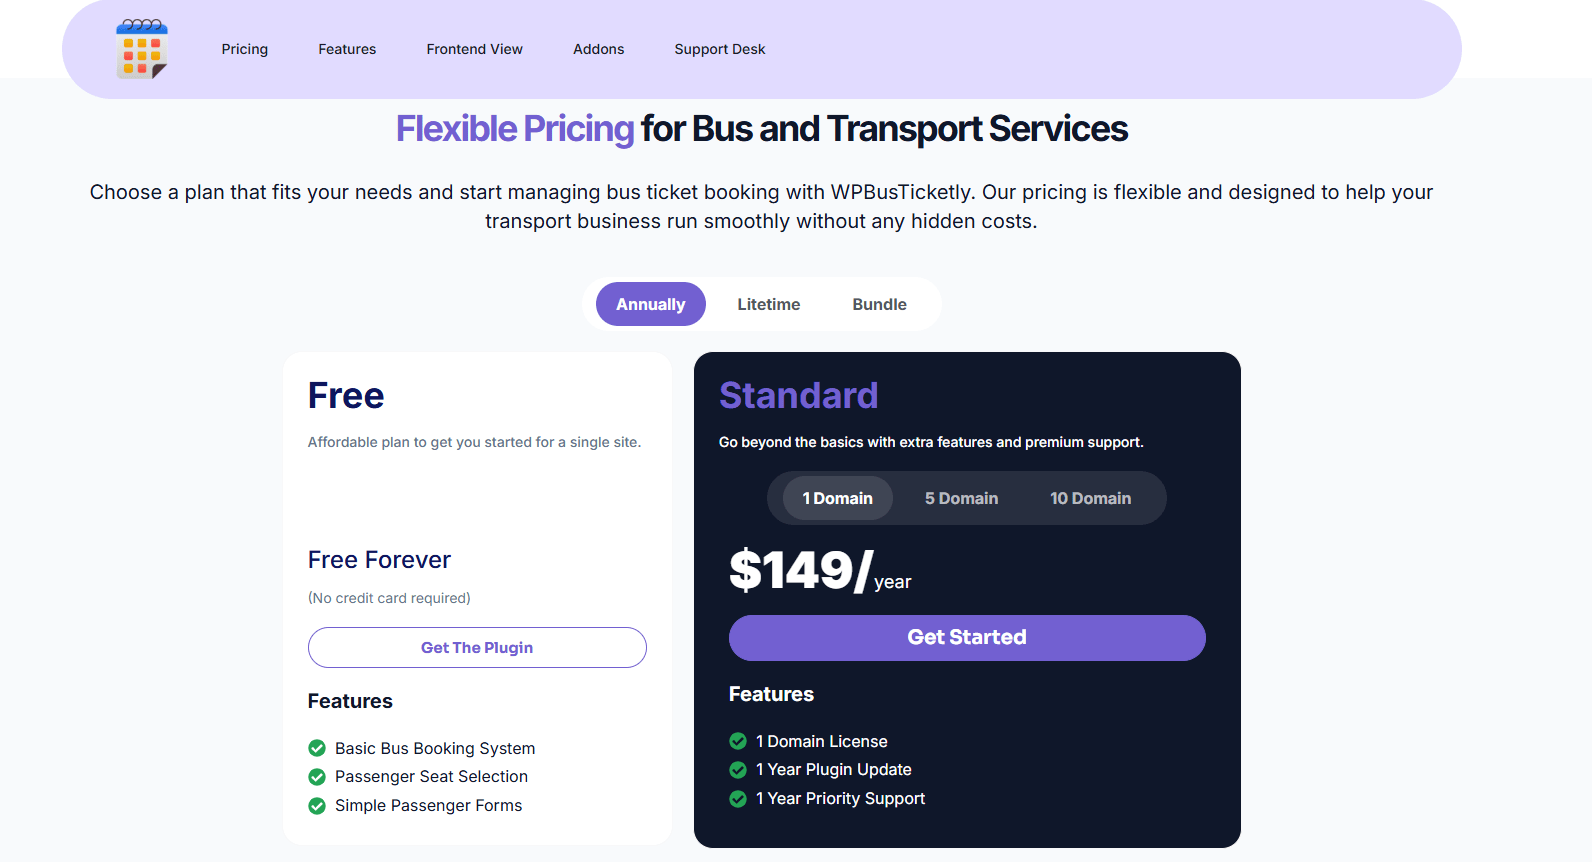
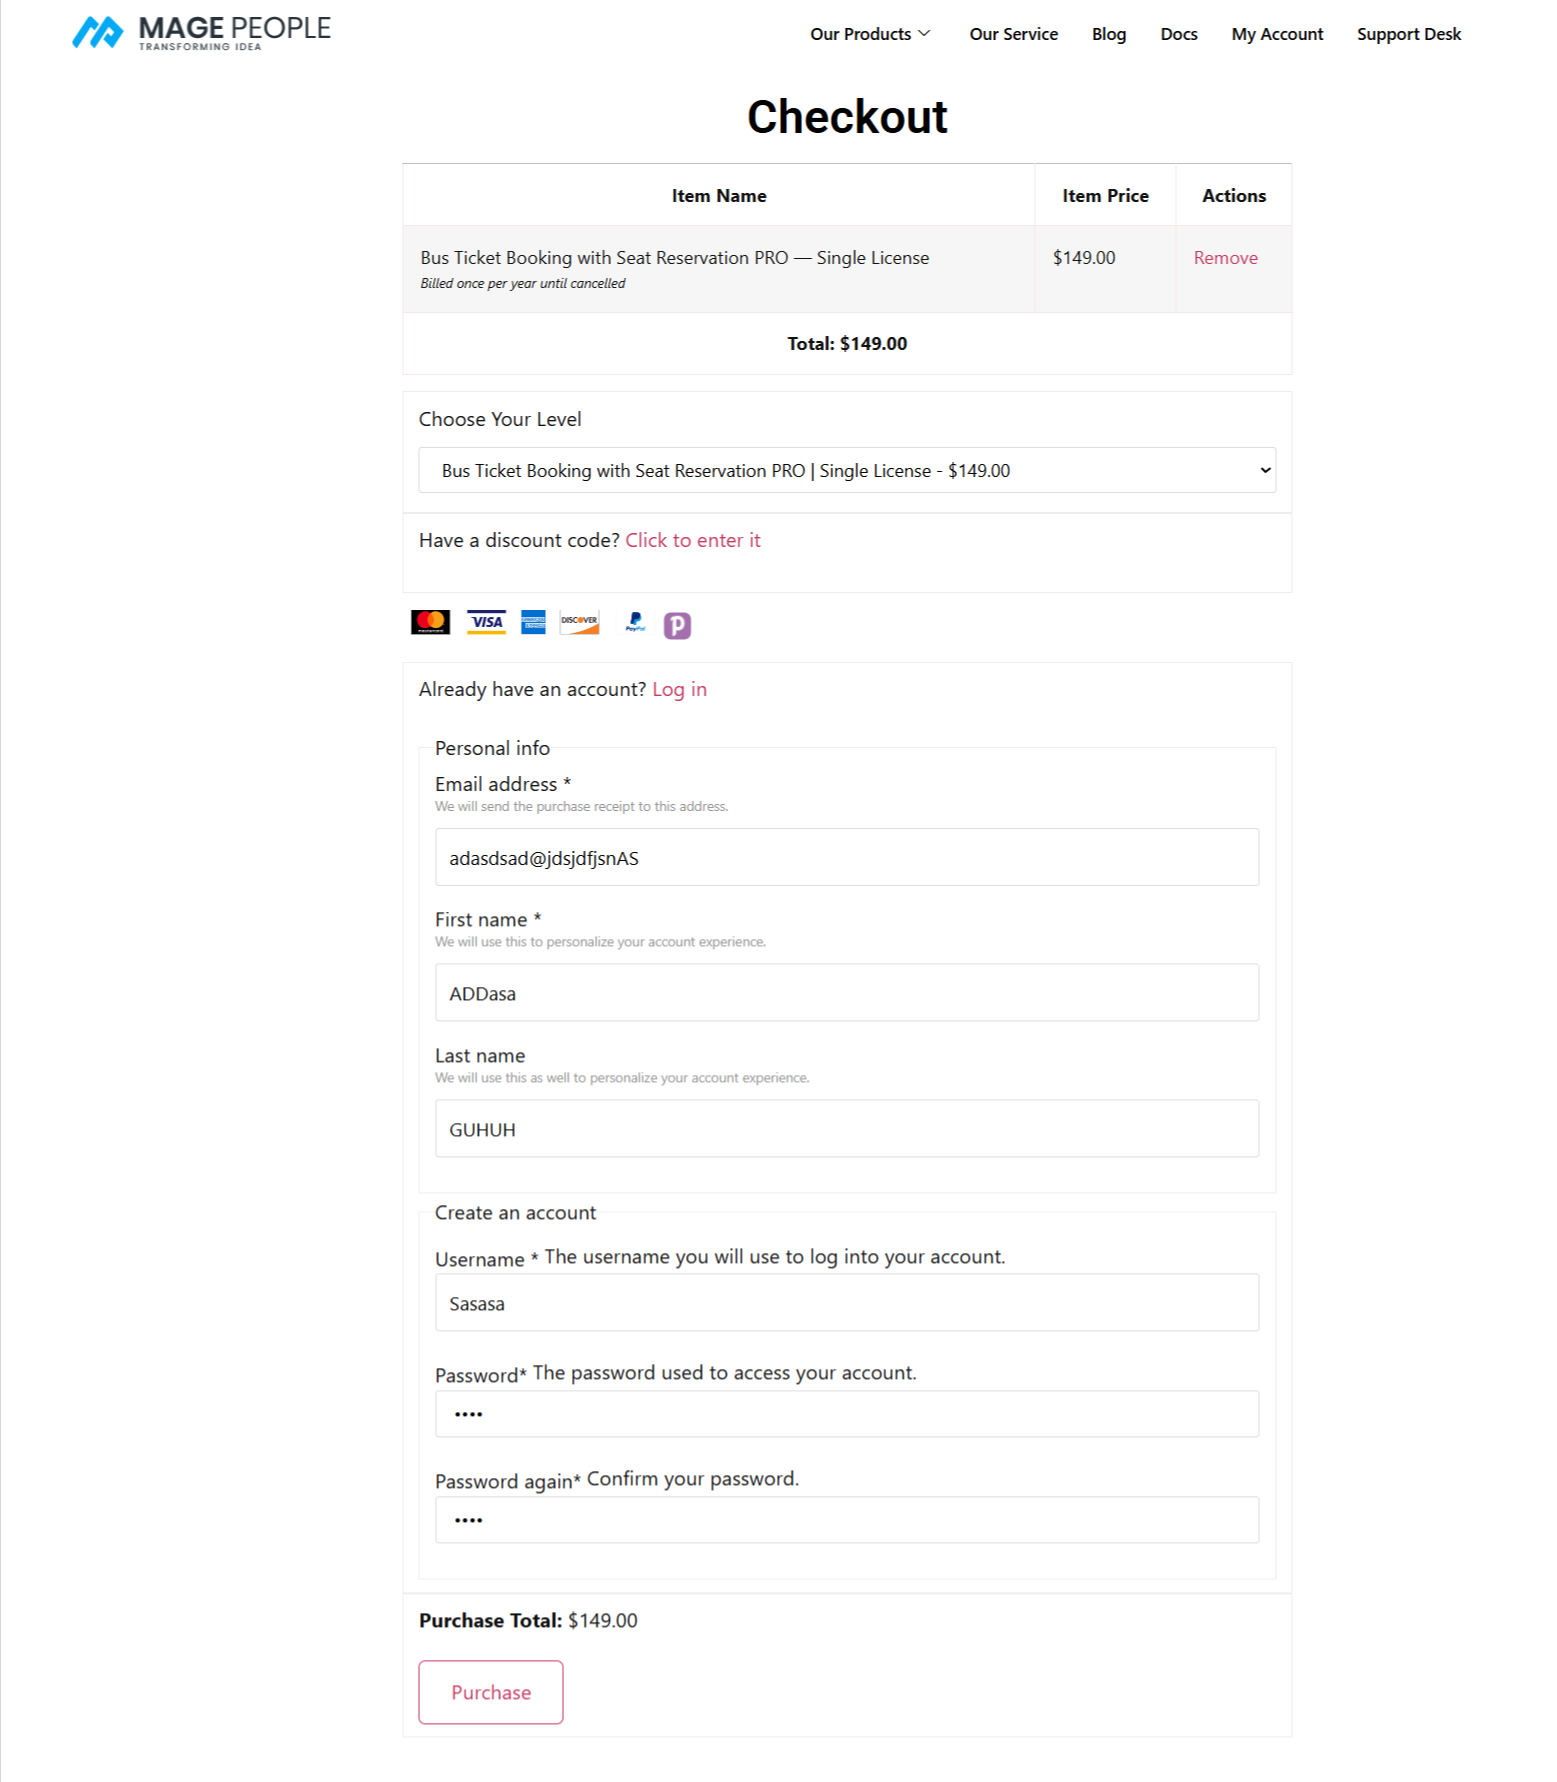
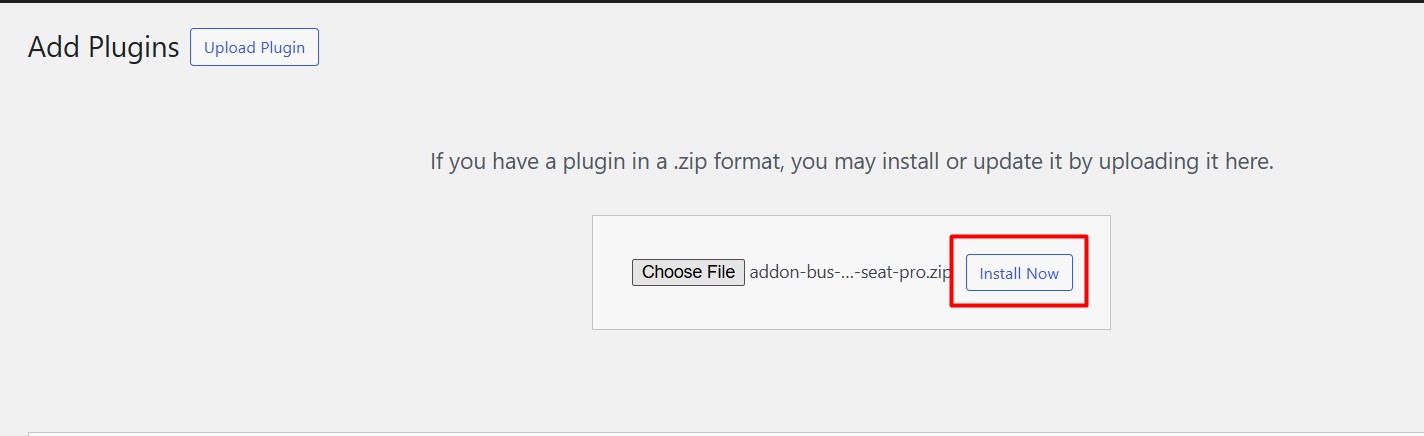
Choose the ZIP file from your computer and click Install Now, then Activate.
Once the core plugin is active, enter your license key on the plugin’s settings screen the way your purchase instructions describe. Licensing matters here: without an active key you may be blocked from receiving addon updates, and outdated addons are the usual cause of QR codes that render but do not validate.
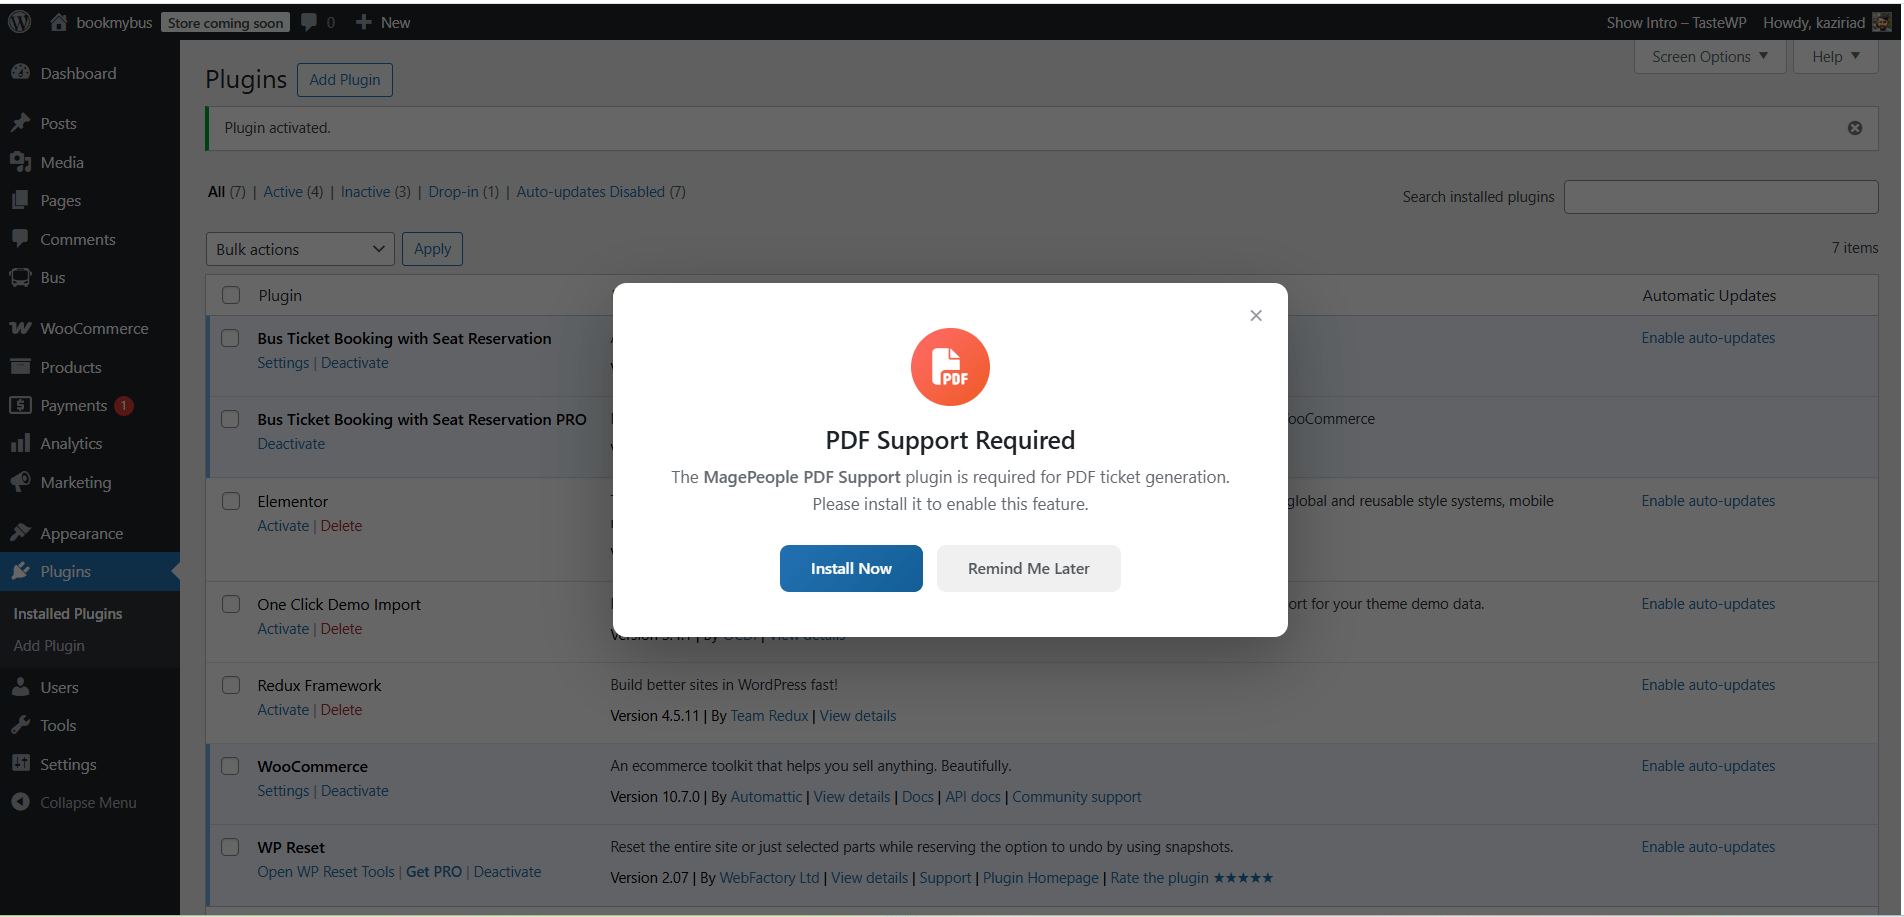
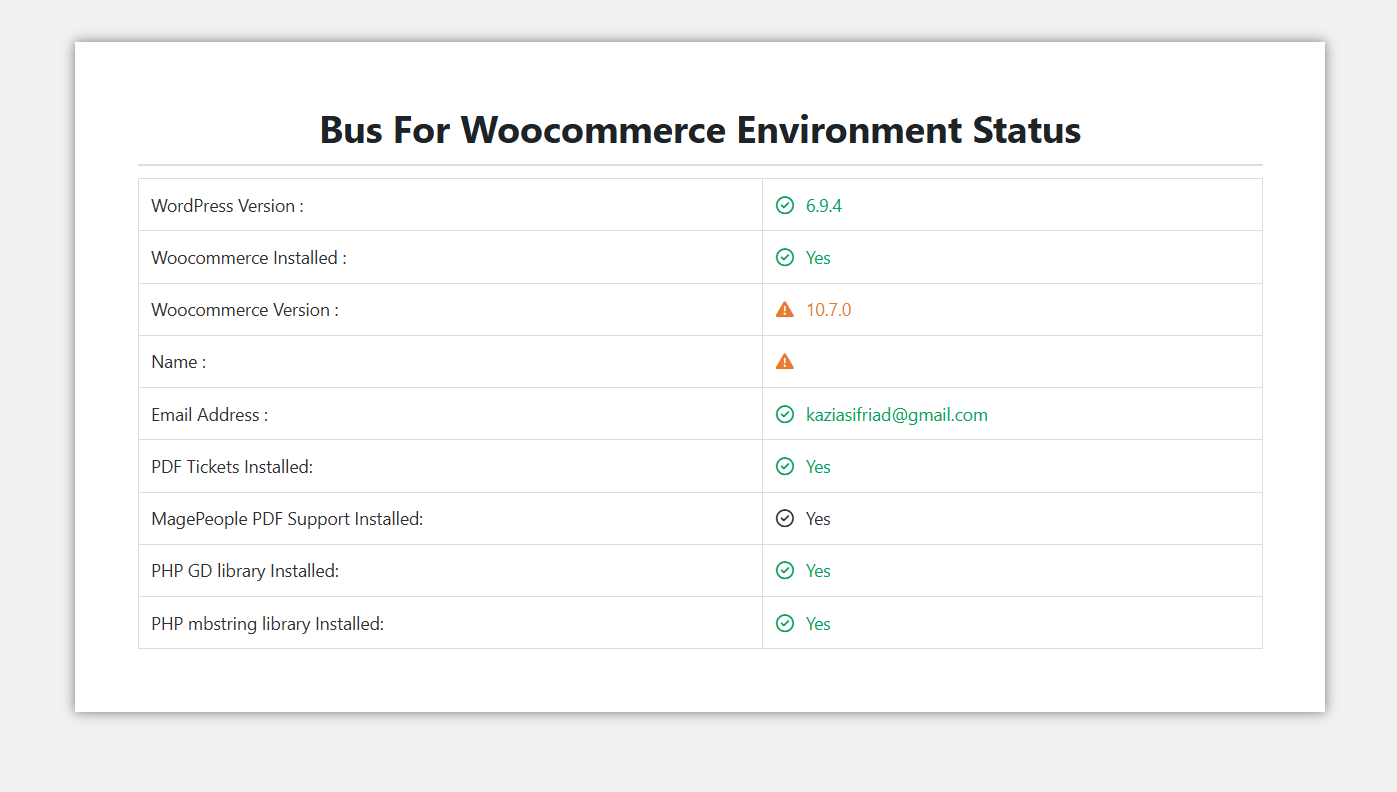
One more dependency: if you want a downloadable PDF ticket with the QR code embedded, the Mage PDF addon must also be installed and activated. Install it from the same addon area, then activate it. Without Mage PDF, passengers may still see a booking confirmation, but there is no scannable ticket attached.
If the plugin upload fails or you get a “stylesheet missing” style error, do not rename folders — re-download the package from your account and upload the ZIP exactly as delivered. You can also review the WpBusTicketly Pro package details to confirm you have the correct file and plan.
Uses of a half-installed booking plugin are covered in depth elsewhere; for now, the key point is that the QR Code Addon is inert until the Pro core is fully active and licensed.
Step 2: Install the QR Code Addon
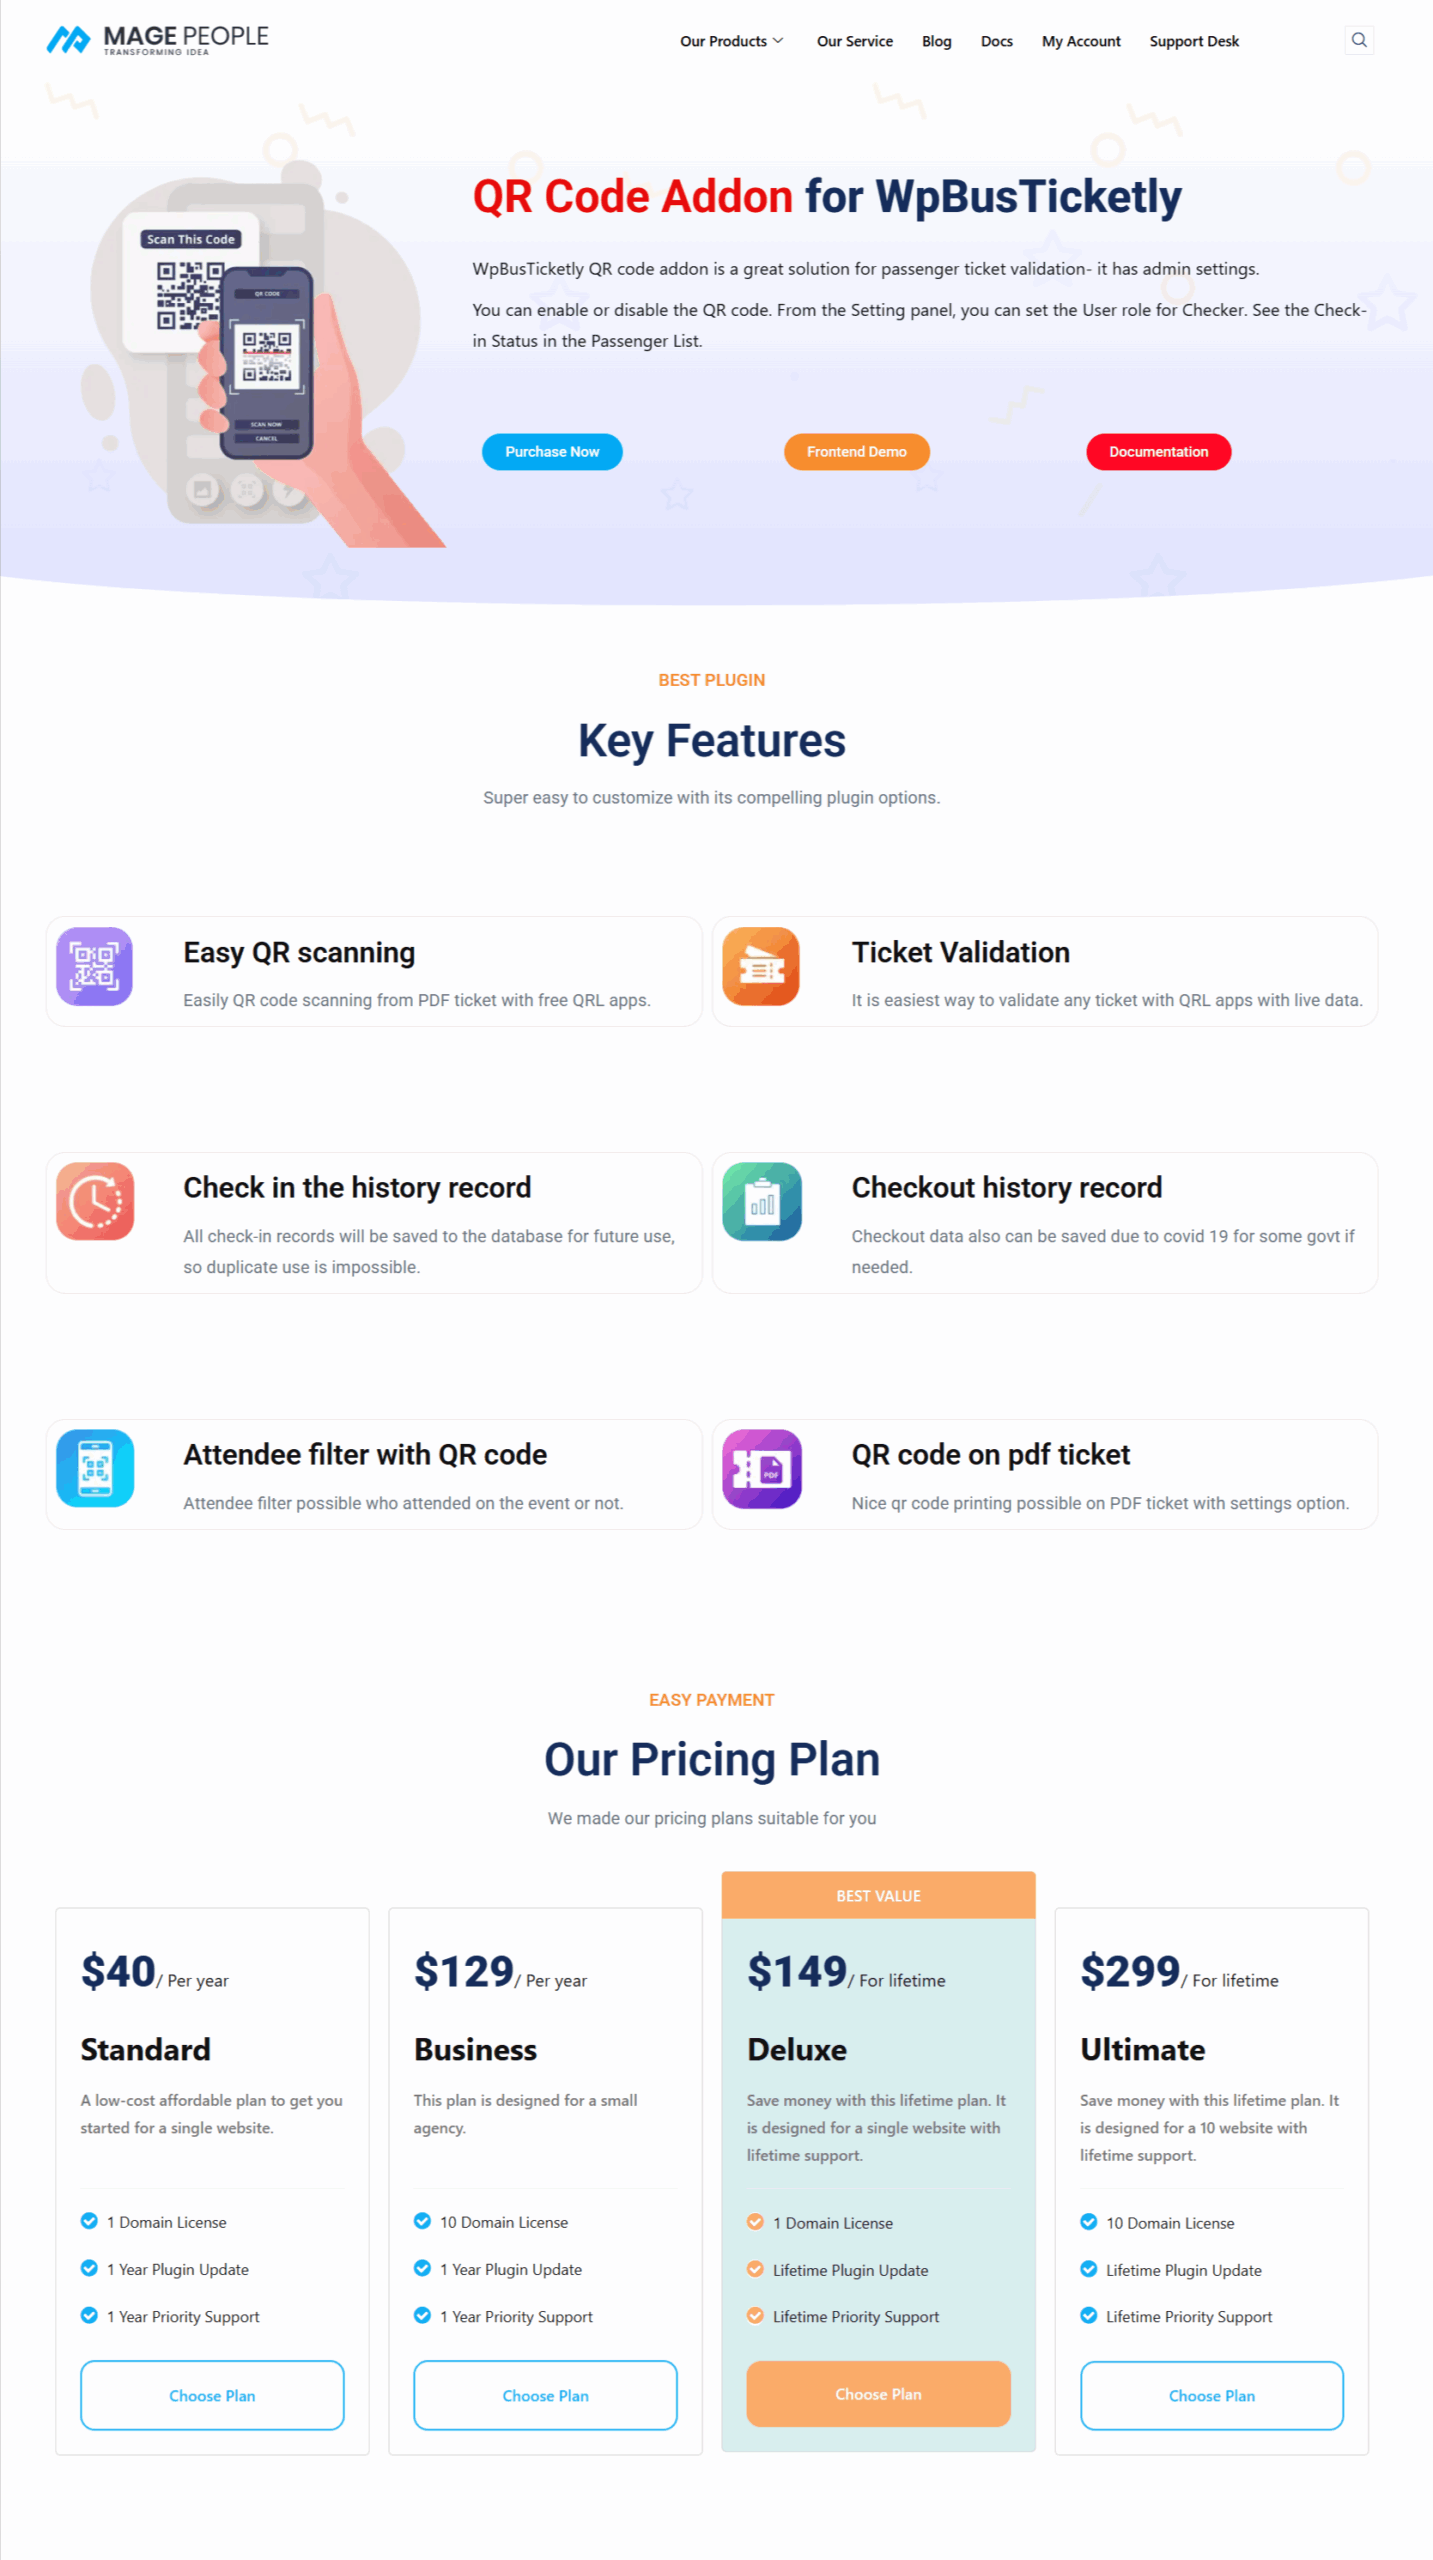
Buy the QR Code Addon for WpBusTicketly from the official MagePeople store. Check current pricing on the product page, choose the plan that matches your licence length, and complete checkout. You will receive the addon ZIP file and a licence key.
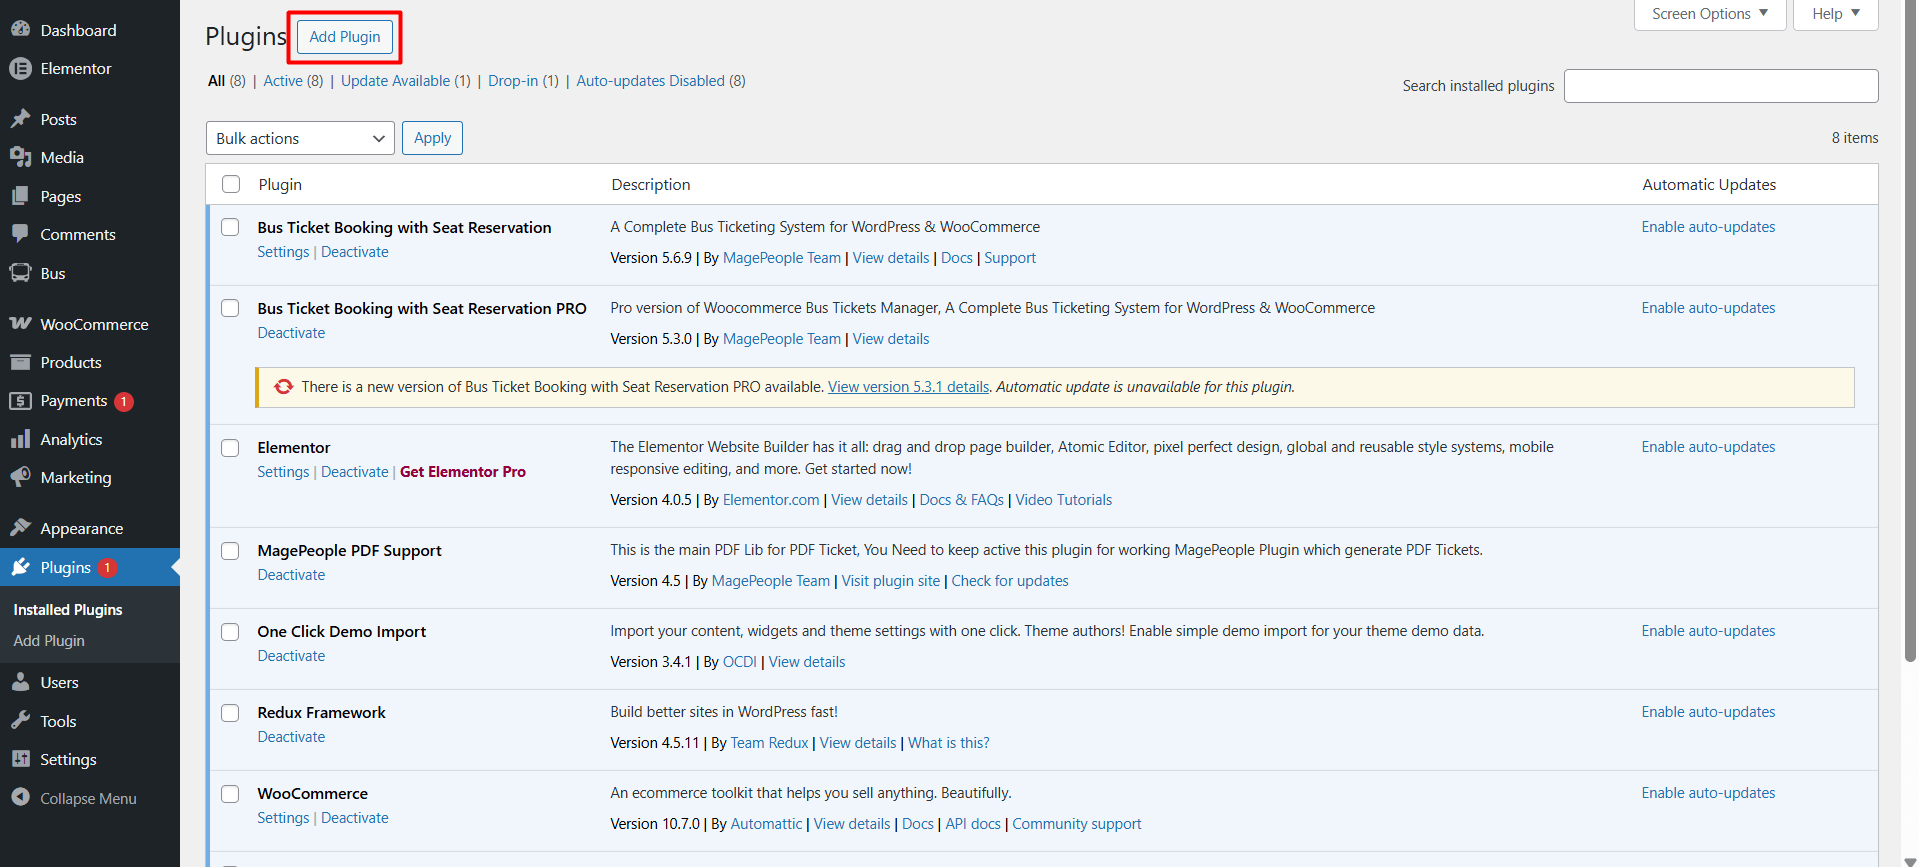
Back in WordPress, go to Plugins > Add New > Upload Plugin, select the addon ZIP, and click Install Now.

Activate the addon, then enter its licence key. A simple check: if the QR Code settings panel does not appear after activation, the licence has not taken — re-check the key rather than reinstalling repeatedly.
Two things worth knowing before you configure anything:
- The addon is a separate purchase from WpBusTicketly Pro and requires Pro to function.
- Keep the addon updated alongside the core plugin. A version mismatch between core and addon is the most common reason a QR code generates but fails to validate on scan.
Step 3: Configure the QR Code and PDF Ticket
With both plugins active, open WpBusTicketly > Settings and locate the QR Code settings section.
- Enable QR code generation for tickets.
- Choose where the QR code appears on the PDF ticket template — typically below the booking reference and journey details.
- Adjust the QR code size so it is large enough to scan reliably from a printed page but still fits the layout.
- Save the settings, then open the PDF ticket template settings and confirm the template you edited is the one assigned to bus bookings.
Increase the size by a few millimetres if scans fail at the boarding gate; small, faint codes on cheap thermal printers are the usual culprit.
You should also think about who is allowed to scan. If your setup supports a checker or staff role, create a dedicated user for your boarding staff rather than sharing your administrator login. That keeps scanning access controlled and gives you an audit trail of who validated which ticket.
Step 4: Test the Booking and QR Code System
Never go live without a live test booking. Run through this exactly as a passenger would.
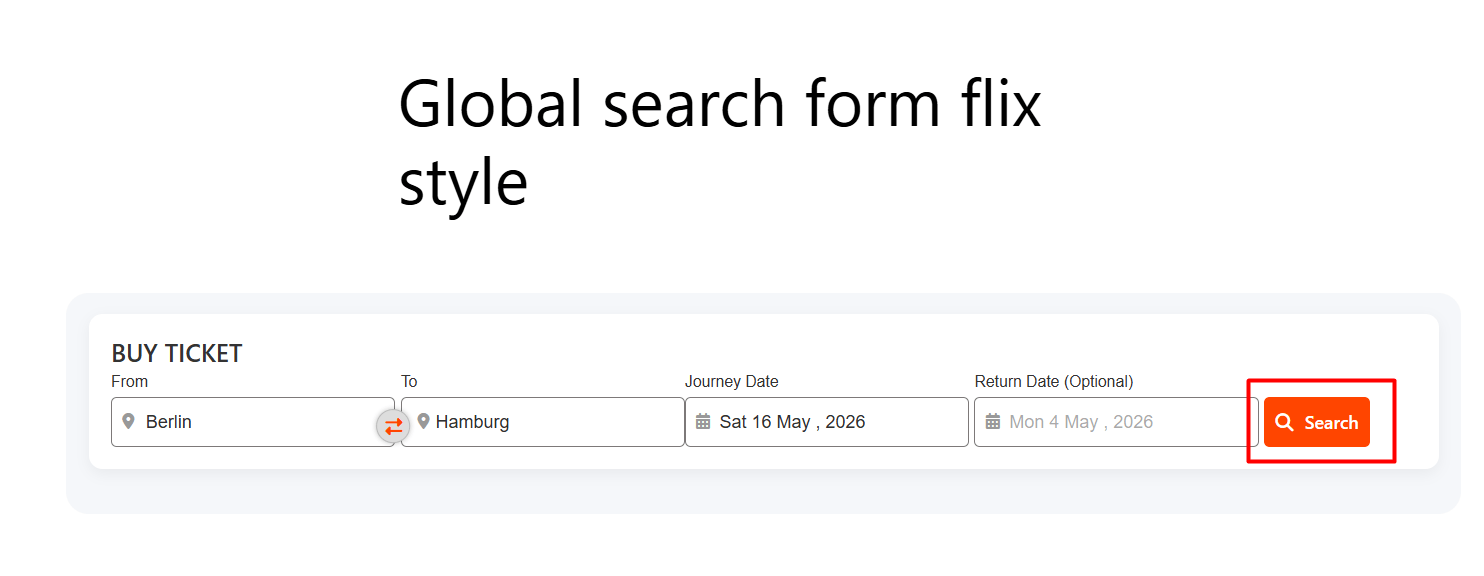
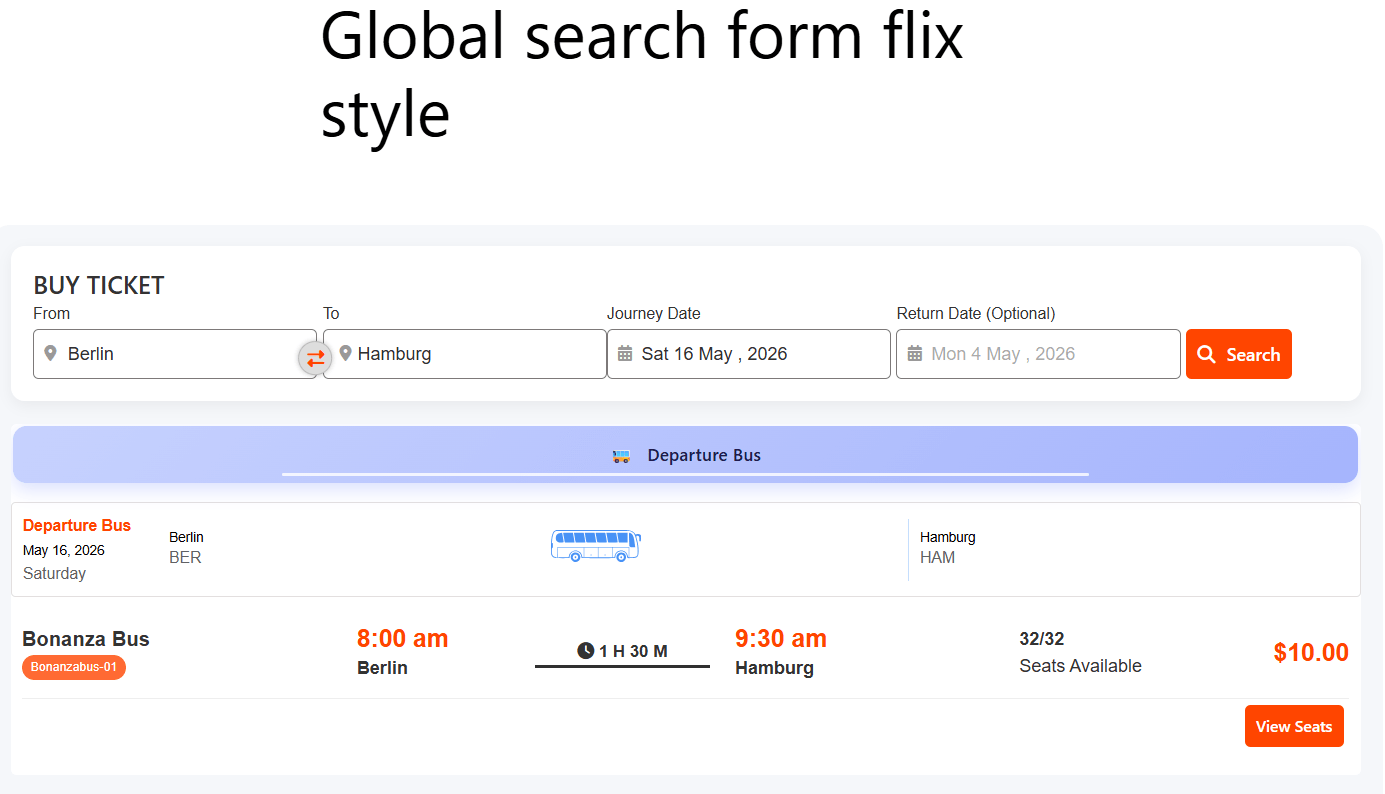
- Open your bus search page, pick a route and date, and click View Seats.
- Select a seat and click Book Now.
- Check the cart and proceed to WooCommerce checkout.
- Fill in the passenger details and place the order, using a real (or test-mode) payment gateway.
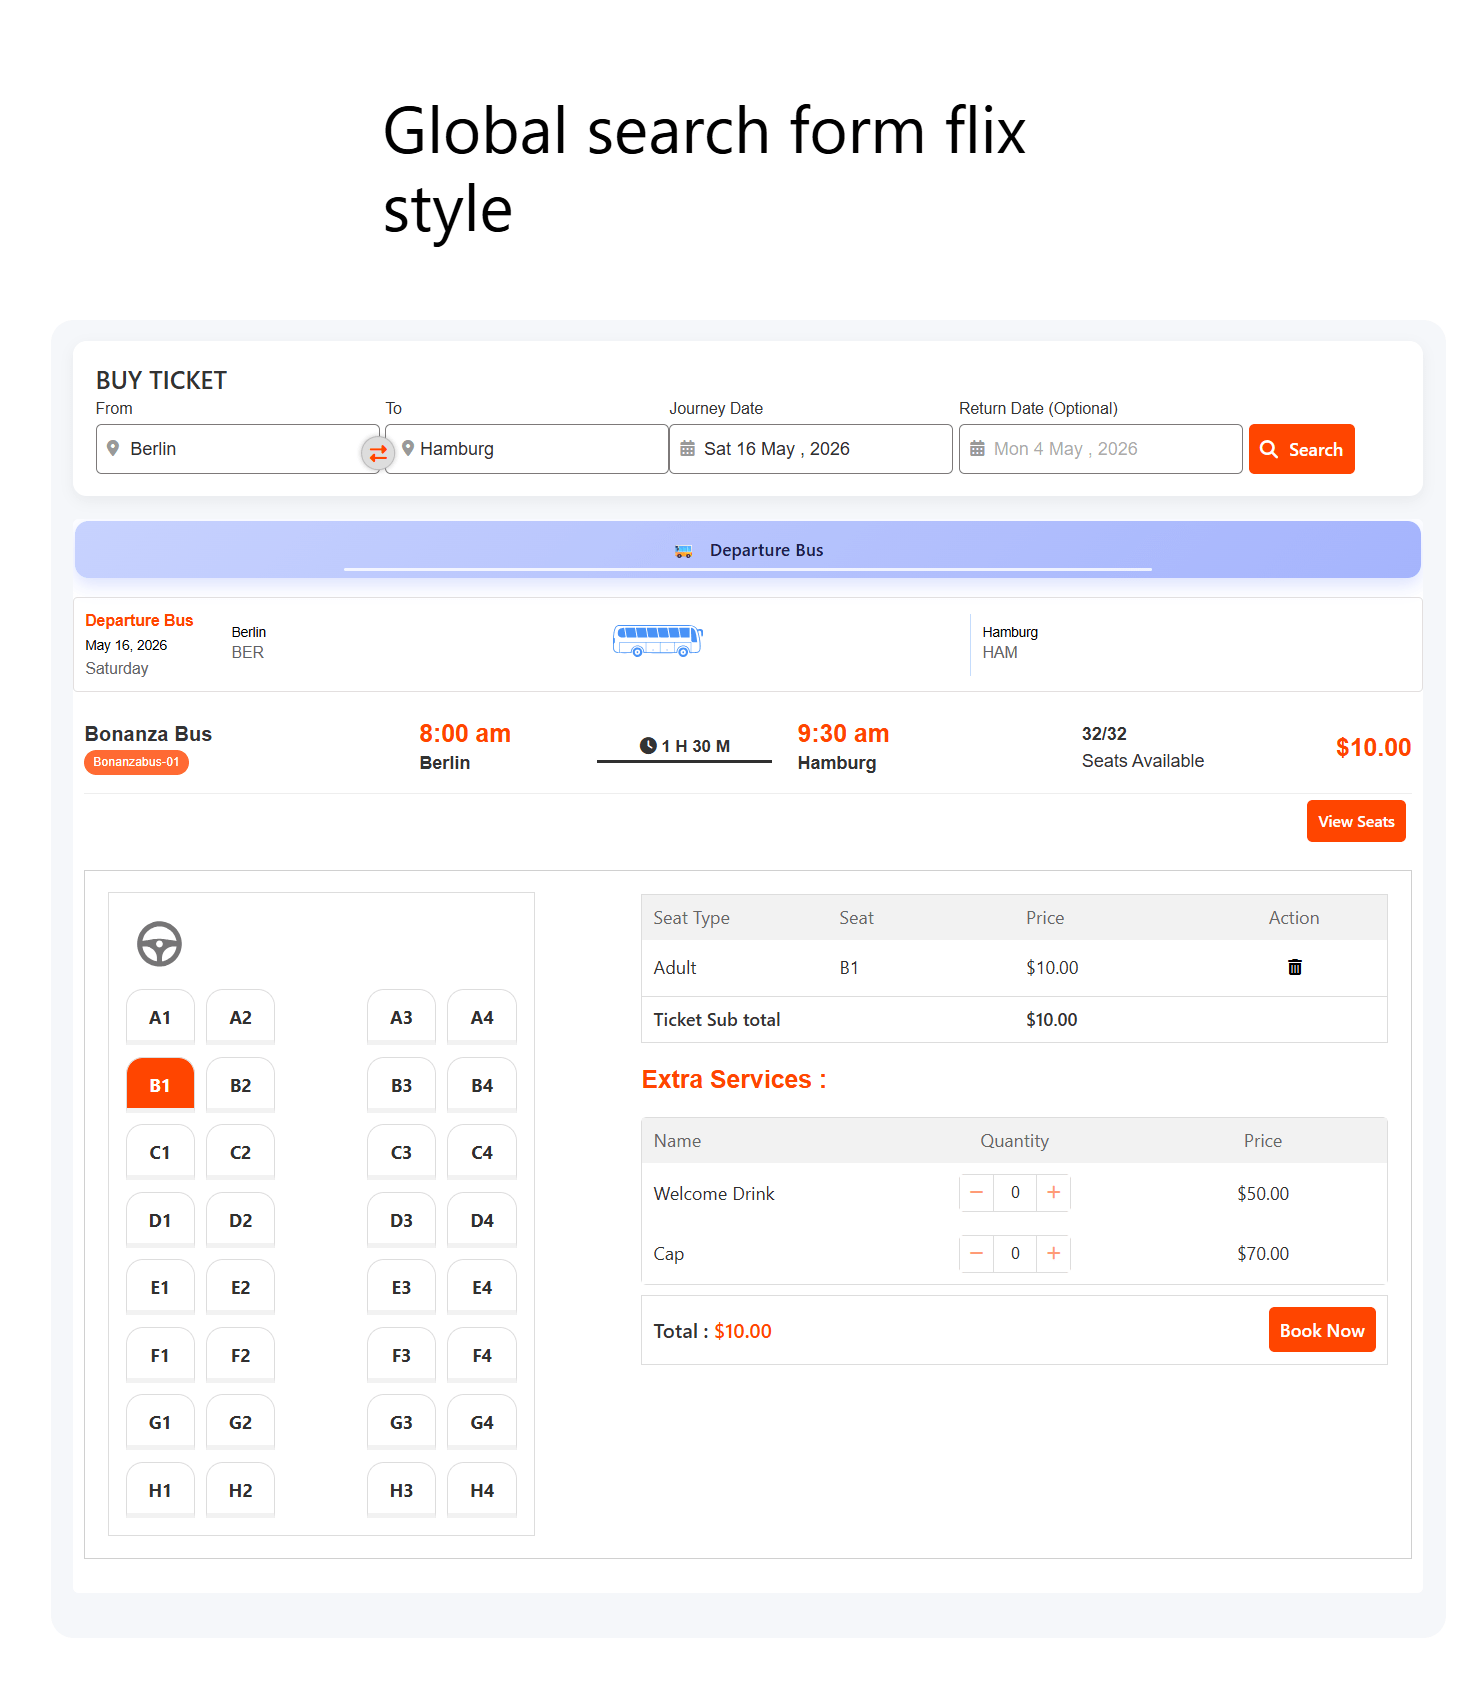
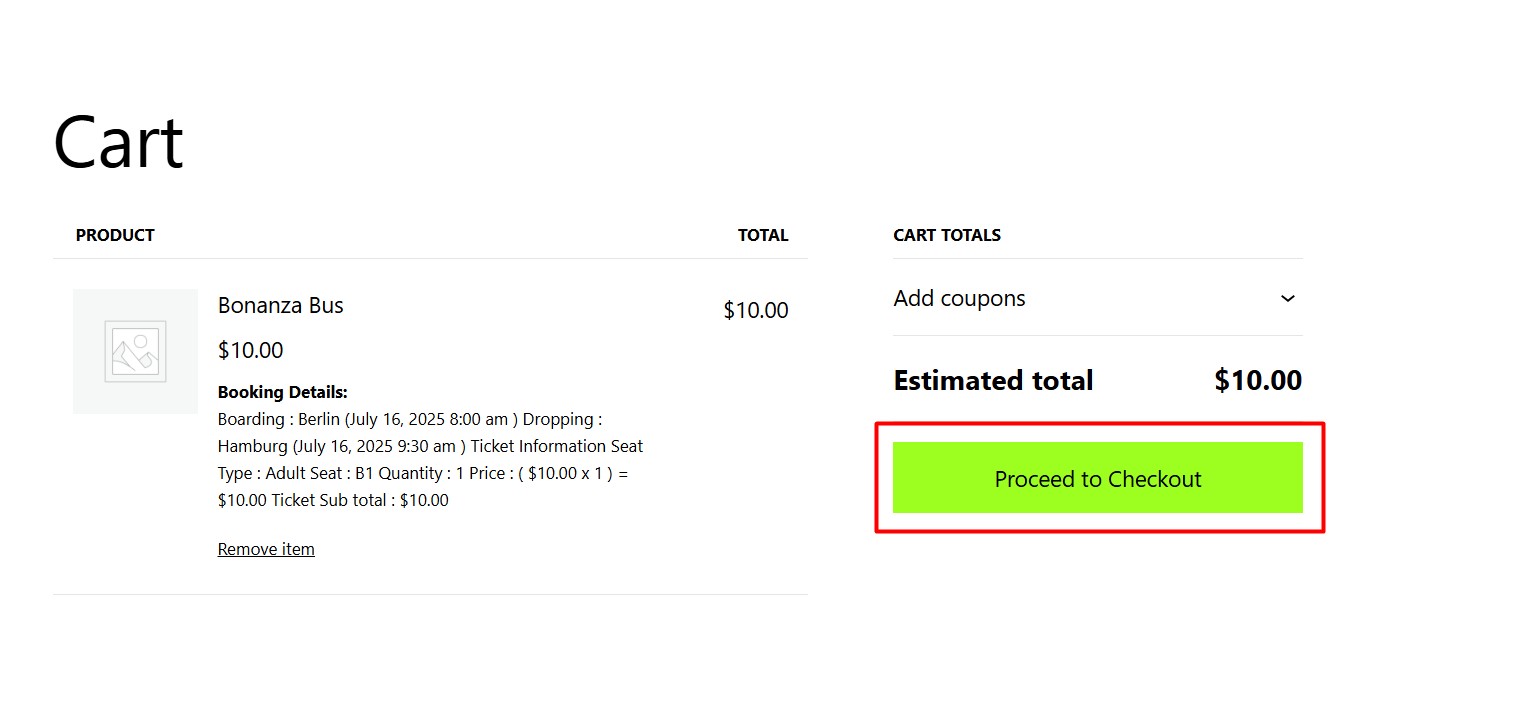
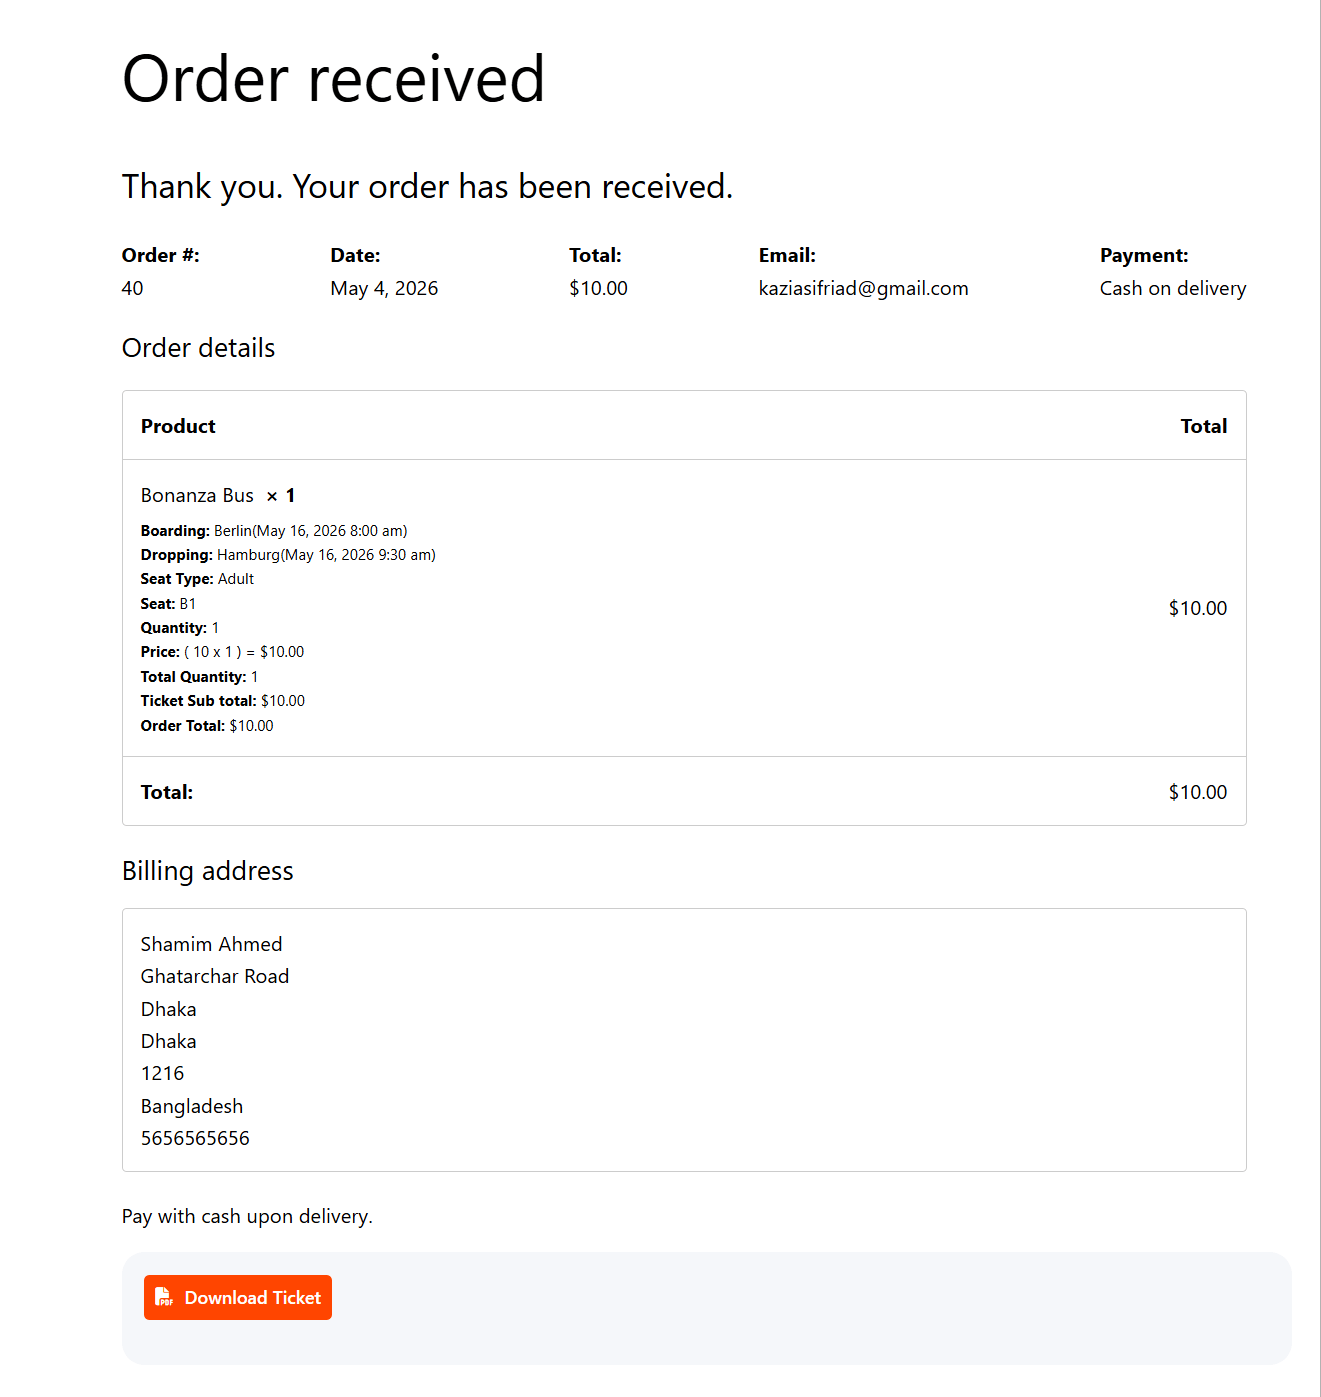
After the order completes, the confirmation should show a download link and an email should arrive with the PDF ticket attached.
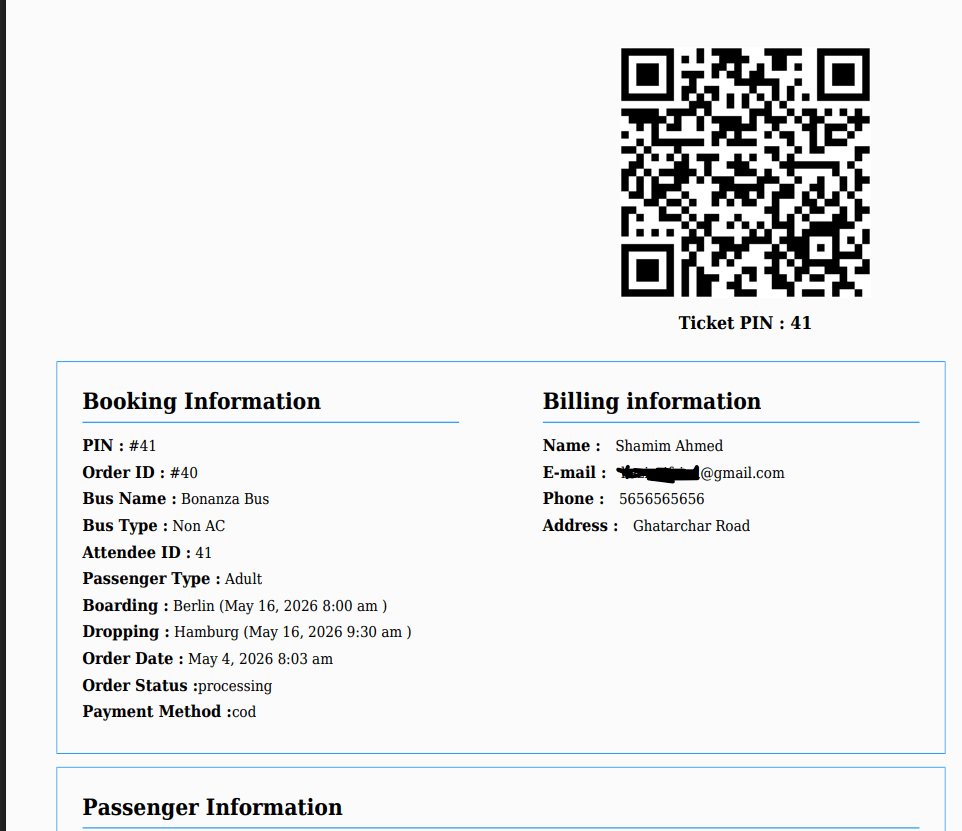
Download the ticket and open it. The QR code should sit alongside the booking reference, passenger name, route, and seat number.
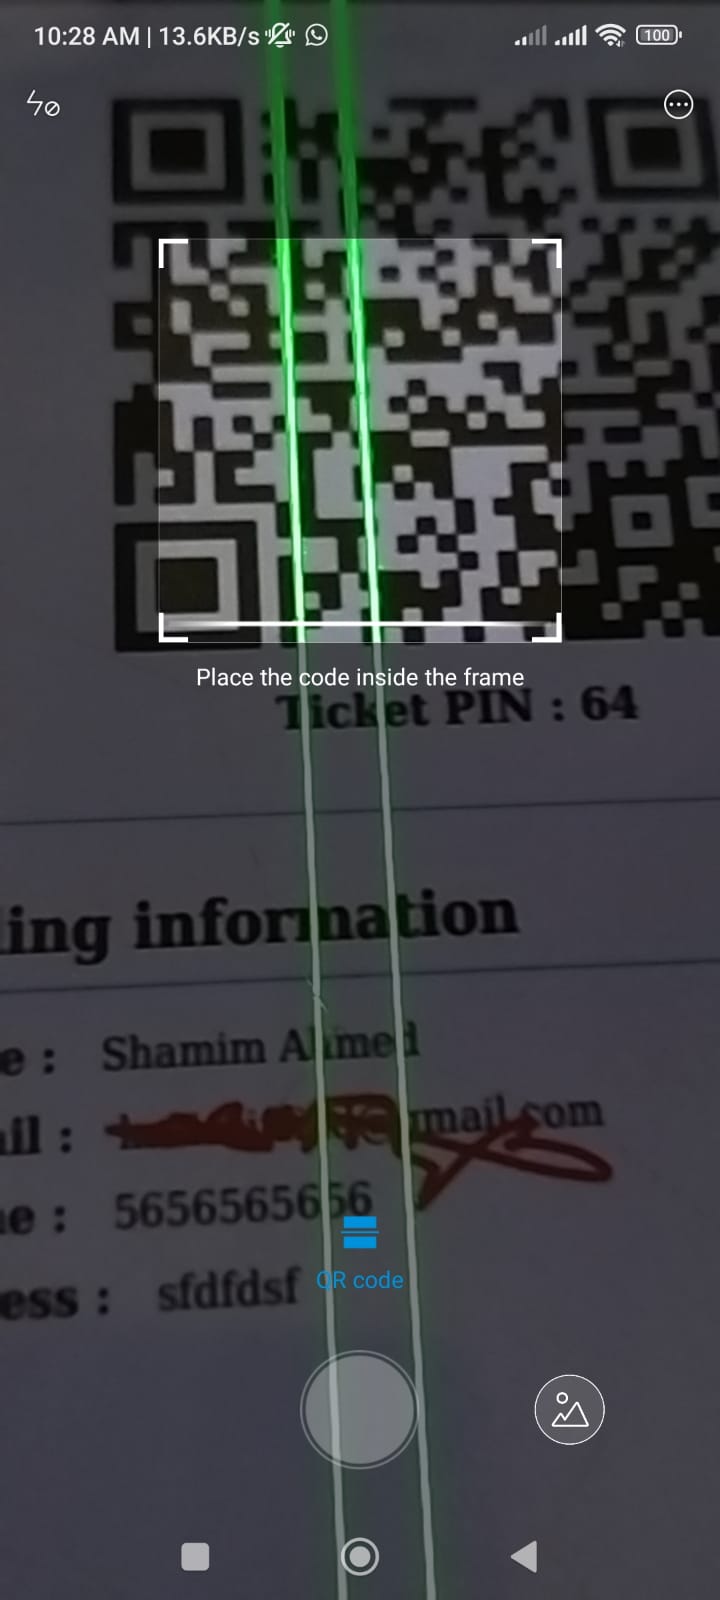
Now scan it. Use any standard QR reader on iOS or Android — there is nothing proprietary about the code itself.
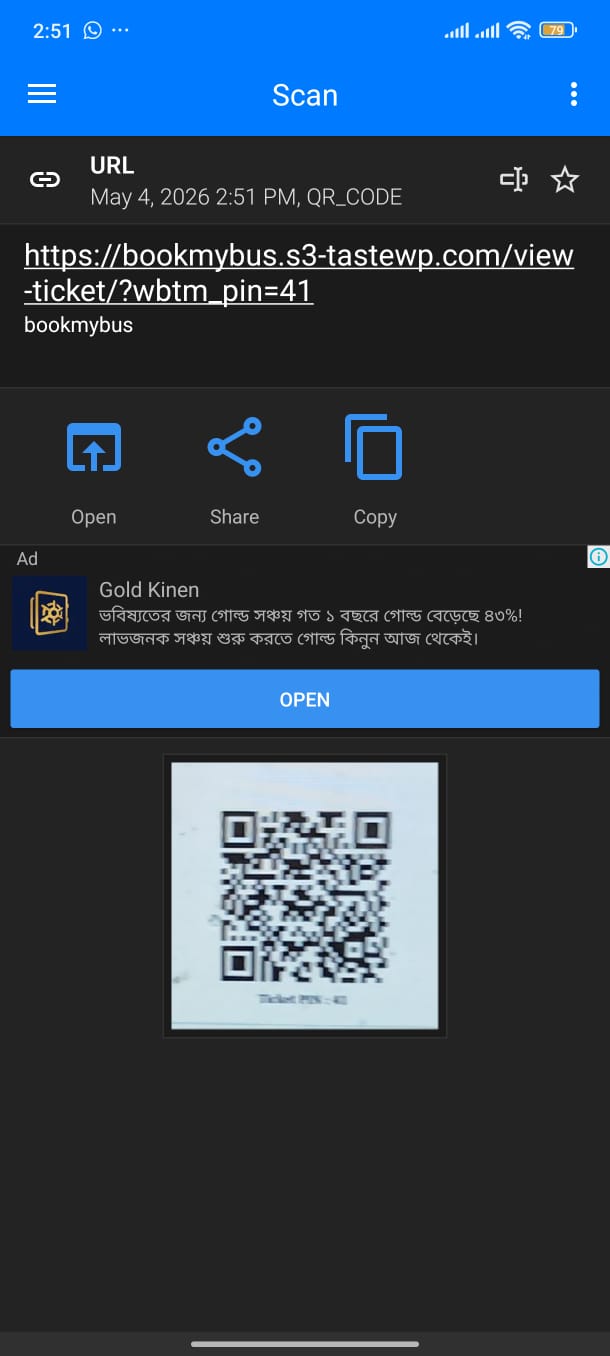
The scan should return a validation link pointing at your site. Open that link and confirm it resolves to the correct booking rather than a 404.
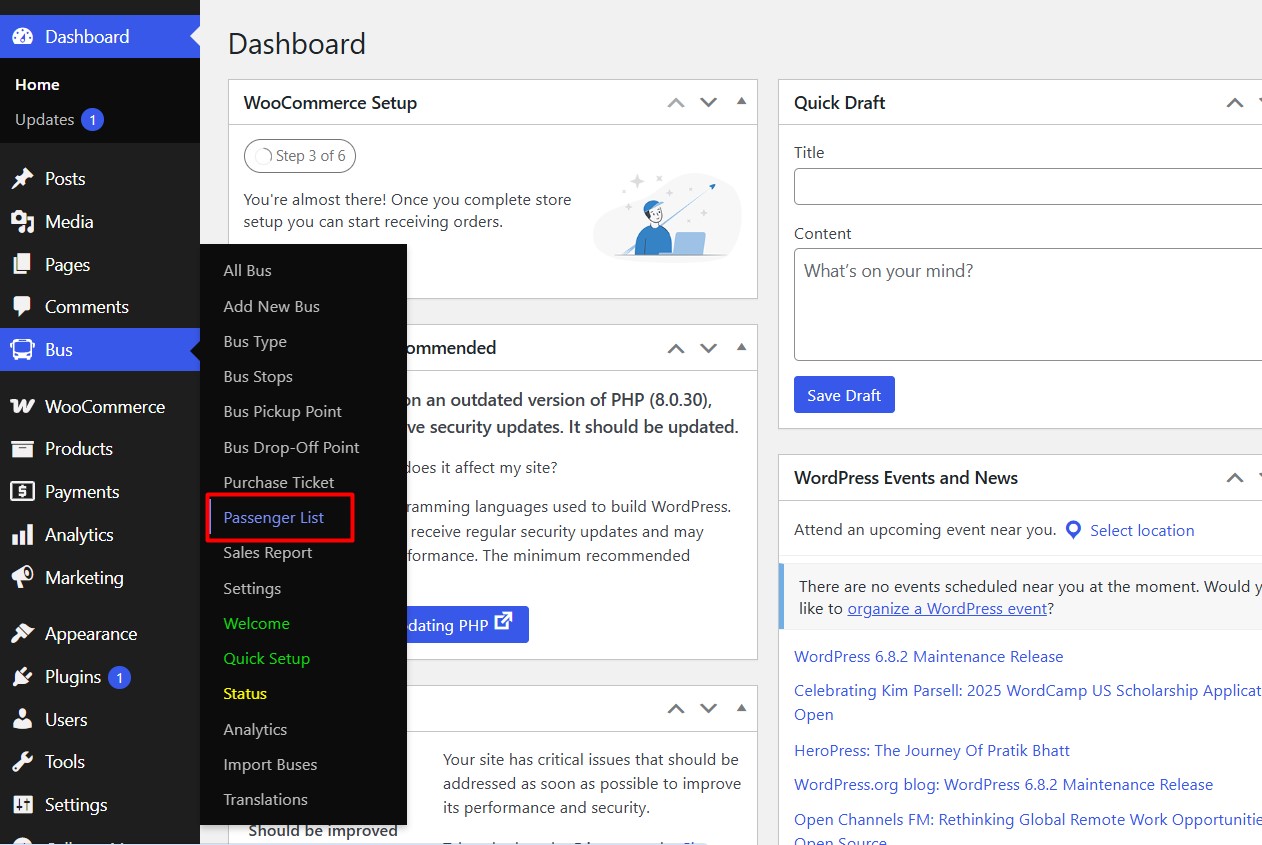
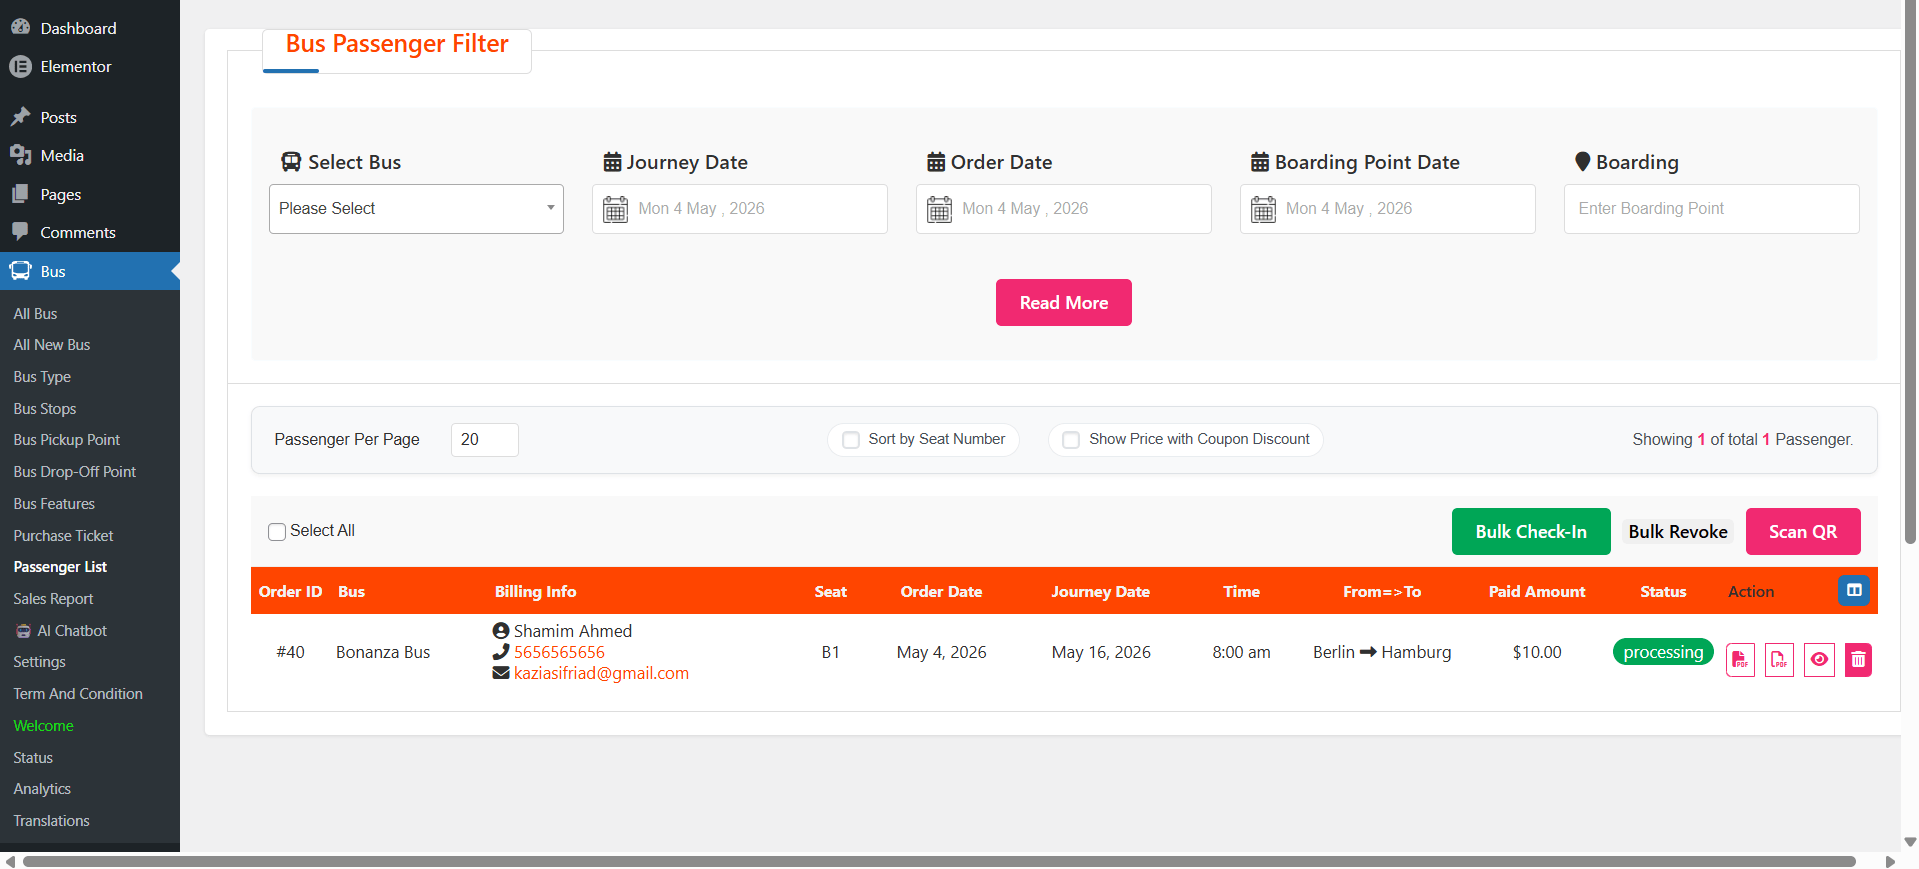
Finish by checking WpBusTicketly > Passenger List and confirming the check-in status for that passenger has flipped to used. Then scan the same code a second time: it should be rejected or flagged, which is the behaviour that stops duplicate boarding.
What a Failing Test Looks Like
- Ticket arriving without a QR code: Mage PDF missing or inactive, or the QR setting not saved.
- Scan returns a 404: permalinks need re-saving under Settings > Permalinks, or the validation URL is pointing at a page that no longer exists.
- Scan works but status never updates: usually a version mismatch between core plugin and addon, or the scanning user lacking the required role.
Step 5: Verify Payment and Security
- Confirm your WooCommerce gateways (PayPal, Stripe, or a local gateway) are enabled and in the correct mode.
- Place a test order and verify that tickets are only generated after successful payment — pending orders should not produce usable QR codes.
- Enable HTTPS across the whole domain. A scannable ticket that resolves over plain HTTP undermines the whole system.
- Keep WordPress core, WooCommerce, WpBusTicketly, and the addon all on current releases. Security patches in any one of them protect the ticket data.
Step 6: Optional — Improve the Front End with Bahon Theme
The QR code system works with any well-built WordPress theme, but the checkout and seat-selection pages are where passengers get nervous. If you want a layout designed around bus search, seat plans, and ticket flows, install the Bahon bus booking theme by MagePeople through Appearance > Themes > Add New and activate it.
Switching themes does not affect QR code generation, since the code is produced by the plugin and rendered in the PDF, not by the theme. Follow our Bahon theme installation walkthrough if you want the site styled consistently before launch, and remember to re-test one booking afterwards to confirm the ticket email still renders correctly.
Step 7: Monitor, Manage, and Train Staff
- Use the Passenger List to filter by journey date and watch check-in statuses during the first few departures.
- Export passenger data to CSV for accounting, depot records, or regulatory reporting.
- Review sales reports against scans to spot routes where scanning is being skipped.
- Brief drivers or conductors on the fallback path: if a code will not scan, look up the booking reference in the passenger list and check the passenger in manually.
Troubleshooting Common QR Code Problems
- Search form missing: confirm the bus search shortcode is placed on a published page.
- 404 on search results: re-save Settings > Permalinks after confirming the results page slug.
- QR code not appearing on the PDF: verify Mage PDF is active and that the QR setting is saved on the correct ticket template.
- Code scans inconsistently: increase the QR size, avoid low-ink or low-contrast printing, and test the same code on two different reader apps.
- Ticket validates twice: the addon is not communicating with the core plugin — update both to matching, current versions.
If a problem persists, contact MagePeople support with your plugin versions, licence keys, and a copy of the ticket PDF so the team can reproduce it quickly.
Frequently Asked Questions
Do I need the Pro version to use QR code tickets?
Yes. The QR Code Addon requires WpBusTicketly Pro to function. It is also sold separately from Pro rather than bundled with it, so budget for two purchases. Check current pricing on each product page before you buy.
Can passengers board with a printed ticket instead of a phone?
Absolutely. The QR code is embedded in the PDF ticket, so a printed copy scans exactly like a screen. Only the boarding point needs a scanner or a phone with a reader app.
Can the same ticket be used twice?
No — once a code is scanned, the booking is marked as used in the passenger list, and a second scan is rejected or flagged. That is the main anti-fraud benefit over paper stubs.
Can I change how the QR code looks?
You can adjust its size and placement within the PDF ticket template from the QR code settings. Keep it reasonably large and high-contrast rather than styling it heavily, because decoration reduces scan reliability.
Which staff can scan tickets?
Assign scanning to a dedicated user role rather than sharing admin credentials. Restricting access keeps validation controlled and gives you a record of who checked in each passenger.
What if a QR code will not scan at the gate?
Check print quality and screen brightness first, and try a second reader app. Always keep a manual fallback: the booking reference can be verified directly in the passenger list and the passenger checked in by hand.
Does the addon work with any WordPress theme?
Yes. The QR code is generated by the plugin and rendered into the PDF, so the active theme does not affect it. A booking-focused theme such as Bahon simply improves the passenger-facing pages.
Conclusion
Adding a bus ticket QR code to WordPress with WpBusTicketly comes down to four moves: get Pro and Mage PDF active and licensed, install and license the QR Code Addon, configure the code inside the PDF ticket template, then test a full booking and scan before you sell a single seat. Do the test properly — including the double-scan check in the passenger list — and you will catch the version and permalink problems that otherwise only surface at the departure gate.
Once validation is running, the operational win is quieter but real: boarding speeds up, duplicate tickets disappear, and every passenger has a timestamped check-in record you can report on.
