 Get Halloween 15% for Limited Time on Lifetime & Bundle Deal

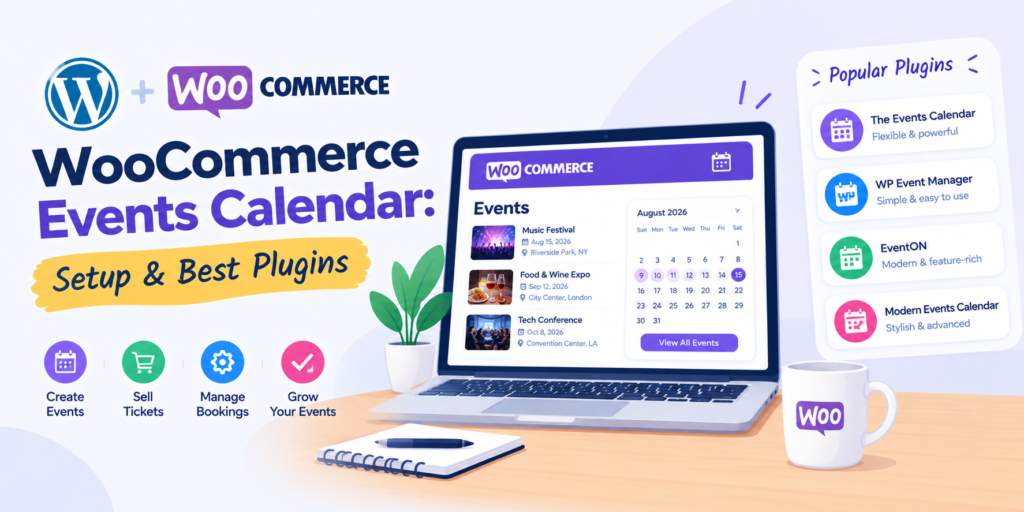
A WooCommerce events calendar turns your WordPress website into a self-hosted ticketing and reservation engine. Instead of paying hefty commissions to third-party platforms, visitors can view upcoming dates on an interactive calendar, select a session, and check out directly through your existing payment gateway.
This guide walks through the exact setup process step-by-step, highlights essential configuration settings—from shortcodes to stock indicator colors—and compares the top event management tools for WordPress.
- Why Use WooCommerce for Events Instead of Third-Party Platforms?
- 3 Core Event Models: Match Your Plugin to Your Business
- Step-by-Step: Setting Up a WooCommerce Event Calendar
- Comparing the Best WooCommerce Event Calendar Plugins
- 4 Technical Best Practices: Performance and SEO
- Frequently Asked Questions
Why Use WooCommerce for Events Instead of Third-Party Platforms?
Third-party ticketing platforms like Eventbrite or Ticketmaster offer rapid deployment, but they take a percentage of every ticket sold and retain your attendee data. Running events natively on WooCommerce provides five primary business advantages:
- Zero Per-Ticket Commission: Pay only your credit card gateway fees (e.g., Stripe, PayPal), saving 3% to 10% per sale.
- Unified Checkout: Attendees can buy a workshop ticket, add physical merchandise (such as a book or t-shirt), and apply discount coupons in a single transaction.
- Full Data Ownership: Attendee email addresses, custom registration fields, and order histories feed directly into your WordPress database and connected CRM.
- Seamless Branding: The calendar, event listings, and checkout experience live entirely on your custom domain.
- Scalable Extensions: Use existing WooCommerce tools for automated receipts, EU VAT calculations, membership discounts, and customer accounts.
3 Core Event Models: Match Your Plugin to Your Business
Before configuring your calendar, select the model that fits your operational needs:
- Fixed-Date Ticketed Events: Conferences, concerts, festivals, and one-time workshops. Requires multi-tier tickets (General Admission, Early Bird, VIP), custom attendee fields, and QR code check-in scanning.
- Recurring Classes and Courses: Weekly fitness classes, webinars, or educational workshops. Requires repeating event logic, multi-week passes, and automated waitlists.
- Time-Slot Appointments: Personal training, consultations, or studio rentals. Requires dynamic availability rules, buffer times between sessions, and two-way Google Calendar synchronization.
Step-by-Step: Setting Up a WooCommerce Event Calendar
This tutorial uses WpEvently alongside the WooCommerce Event Calendar Addon, which natively bridges event scheduling with WooCommerce checkout.
1.Establish Store Foundations:Configure base store settings before adding event logic.
Install WooCommerce and run the initial setup wizard. Navigate to Settings → General in WordPress and confirm your store currency and Timezone.
Pro-Tip: Select a geographic city name (e.g., America/New_York or Europe/London) rather than a static UTC offset (UTC+0). This ensures scheduled event times automatically adjust when daylight saving time shifts.
2.Install WpEvently and Event Calendar Addon:
- Navigate to Plugins → Add New in your WordPress dashboard.
- Search for WpEvently, click Install Now, and Activate.
- Upload and activate the WooCommerce Event Calendar Addon (via Plugins → Add New → Upload Plugin). Enter your license key under your plugin settings to unlock front-end design controls.
3.Configure Display and Navigation Settings:
Navigate to Events → Calendar Settings in the dashboard. Adjust the core display parameters:
- Week Start Day: Set your calendar’s starting day (Monday or Sunday depending on your regional audience).
- Color & Dimension Settings: Customize the calendar grid width, cell background colors, and event title typography to match your site’s brand palette.
- Stock Indicator Colors: Enable visual indicators (e.g., Green for Available, Amber for Limited, Red for Sold Out) so attendees can assess remaining ticket availability at a glance.
- Expired Event Settings: Choose whether to automatically archive or hide past events to keep the grid uncluttered.
4.Create Your First Ticketed Event:
Navigate to Events → Add New:
- Title & Description: Add a descriptive, keyword-rich title and an outline detailing what attendees should expect.
- Event Details: Set the exact start date, end date, start time, and finish time.
- Venue & Organizer: Assign the physical venue address (or virtual webinar link) and host contact information.
- Featured Visuals: Upload high-resolution banner images (compressed in
.webpformat for rapid loading). - WooCommerce Integration: Link the event to a WooCommerce product to enable ticket pricing, tiered stock counts, and cart functionality.
5.Publish the Front-End Calendar Page:
- Create a new WordPress page (e.g.,
/events/or/calendar/). - Add a Shortcode block and paste:
[mep-event-calendar]
- Click Publish. Visitors will now see a monthly grid displaying all active, published events with direct booking links.
6.Run an End-to-End Test Transaction:
Open an incognito/private browser tab and place a test booking:
- Select an event date from the calendar.
- Complete checkout using a test gateway (or Stripe test mode).
- Check that the confirmation email and ticket arrive promptly.
- Process a test cancellation/refund in the WooCommerce admin to ensure the seat count automatically returns to available inventory.
Comparing the Best WooCommerce Event Calendar Plugins
| Plugin | Primary Strength | Ideal Use Case | Pricing Model |
| WpEvently + Event Calendar Addon | Native WooCommerce integration, custom styling, visual stock indicators | Workshops, regional conferences, classes, webinars | Free core; affordable annual/lifetime pro add-ons |
| The Events Calendar + Event Tickets Plus | Polished UI views (Month, List, Map), mobile check-in app | Large festivals, multi-venue agencies, city event directories | Free core; tiered annual licenses |
| FooEvents for WooCommerce | PDF tickets, barcode scanning, zero external databases | One-time workshops, sporting events, badge printing | One-time fee + optional add-on extensions |
| WooCommerce Bookings | Granular buffer times, equipment/resource assignment | Salons, consulting appointments, equipment hire | Annual subscription |
| Amelia | Automated employee scheduling, 2-way Google Calendar sync | Multi-staff clinics, personal trainers, appointment-based services | Free tier; annual or lifetime licenses |
4 Technical Best Practices: Performance and SEO
Event calendars run dynamic database queries that can slow down your site if unmanaged. Apply these adjustments to ensure stability and search visibility:
1. Exclude Dynamic Calendar Endpoints from Full-Page Caching
Aggressive caching plugins (such as WP Rocket, LiteSpeed, or server-level Varnish) can freeze calendar output, causing visitors to see outdated dates or incorrect ticket counts. Always add your calendar page (/events/*) and WooCommerce checkout paths to your caching plugin’s Never Cache URLs exclusion list.
2. Implement JSON-LD Event Schema
Search engines display rich interactive event snippets (including dates, locations, and pricing) if your pages output structured data. Ensure your event plugin generates valid Event Schema, or inspect your published URL using Google’s Rich Results Test.
3. Compress Event Media
Upload banners and venue photos sized precisely for your layout. Convert images to .webp format and keep file sizes below 150 KB to protect your page’s Largest Contentful Paint (LCP) score.
4. Provide Essential Logistics in Automated Emails
Include practical details directly on the ticket confirmation:
- Google Maps / directions link
- Parking availability or public transit options
- Virtual link (Zoom/Teams) and passcode if the event is digital
- Clear refund and cancellation deadlines
Frequently Asked Questions
Why is my WooCommerce event calendar not showing on the front end?
The two most common causes are caching conflicts and JavaScript errors. First, purge your site and server cache. If the page remains blank, open your browser’s Developer Tools (F12) and check the Console tab. Script minification or conflicting jQuery libraries from third-party plugins can block calendar rendering.
Can I sell different ticket tiers (e.g., VIP vs. General Admission) for one event?
Yes. Plugins like WpEvently and Event Tickets Plus allow you to create multiple ticket tiers per event, each with independent pricing, stock thresholds, and custom attendee detail fields.
What calendar views are available?
The standard WpEvently calendar add-on provides a full monthly grid view, giving visitors an immediate snapshot of every session scheduled across the month. Other plugins (like The Events Calendar) also offer week, day, list, and map views.
A properly configured WooCommerce events calendar delivers a frictionless booking flow for your customers while keeping ticket revenues, customer lists, and store branding under your direct control. Choose the plugin that aligns with your specific event format, configure your time zones and cache exclusions carefully, and test the full registration flow before publishing your schedule.