 Get Halloween 15% for Limited Time on Lifetime & Bundle Deal

You already run a car rental business, but booking requests still arrive by phone, WhatsApp and walk-ins — and enquiries that come in after hours simply go to a competitor. A car rental plugin for WordPress fixes that. It turns your existing site into a booking system where customers check availability, pick a vehicle, add extras and pay online with no back-and-forth.
This guide is a hands-on setup walkthrough, not a feature list. It shows you how to use a car rental plugin on WordPress in 2026, step by step, using the Car Rental Manager plugin (WpCarRently) — a WooCommerce-based rental manager — as the working example. By the end you will have a bookable vehicle, a test order, and a clear idea of which settings actually matter.
What a Car Rental Plugin Actually Does
A rental plugin adds a booking layer on top of WordPress. Instead of publishing static pages about your fleet, you get structured data WordPress can act on:
- Vehicle inventory — each car becomes a listing with specs, photos, features and terms.
- Bookable dates — the plugin checks availability and blocks double bookings.
- Pricing rules — per day, per season, or discounted for longer rentals.
- Checkout — orders and payments run through WooCommerce, so you get a familiar order list and email receipts.
- Fleet reporting — you can see total rentals and revenue in one dashboard.
That last point is why WooCommerce-based plugins are worth a look: you are not learning a second order system, and payment gateways you already trust stay in play.
Before You Start: What You Need in Place
- A live WordPress site with admin access and a theme that renders standard WooCommerce pages correctly.
- WooCommerce installed and active — the booking layer depends on it for checkout and order records.
- At least one payment gateway connected (or cash-on-pickup enabled) so your test booking can complete.
- Your fleet details written down — types, fuel, seating capacity, brands, model years and genuinely available features. Filling these in first saves you re-editing every car later.
- Pricing decisions — daily rate, any weekend or seasonal adjustment, and whether you charge a one-way transfer fee.
If you are still deciding whether a car-specific plugin is the right tool for your business at all, the faster question is whether you need the paid version; what the free car rental plugin covers before you upgrade is the right place to start. And if you sell several kinds of rentals — cars, bikes, equipment — it is worth understanding how different rental plugins split between vehicle and equipment bookings before you commit.
How to Use a Car Rental Plugin for WordPress
The sequence below is the one that avoids backtracking. You create the taxonomies first, then the reusable extras, then the car itself, and only then test the booking.
Step 1: Install the Plugin and Run the Setup Wizard
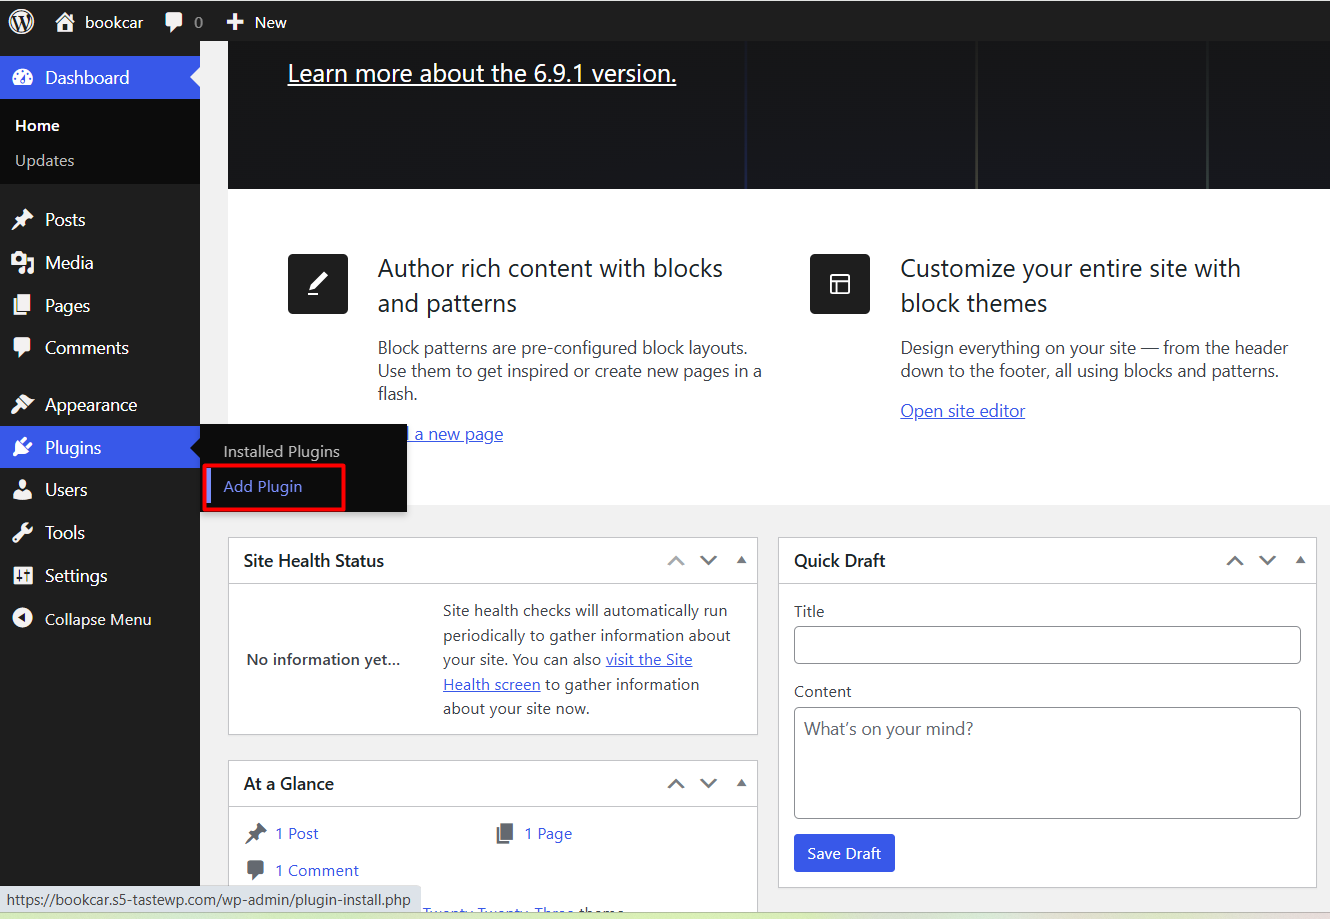
Go to your WordPress dashboard and open Plugins → Add New.
Search for car rental manager and the plugin will appear in the results.
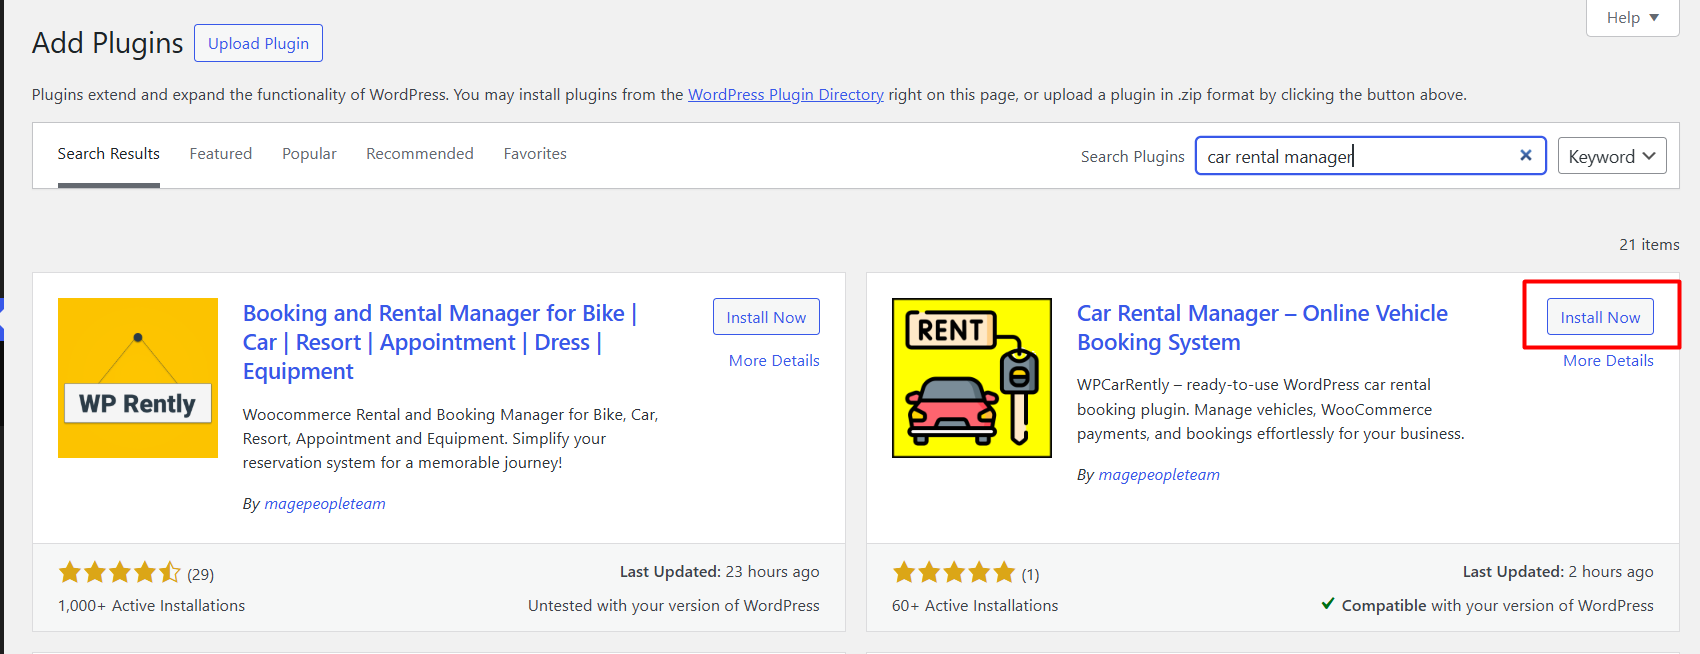
Click Install Now, wait a few seconds, then click Activate. On activation you are greeted with a setup wizard.
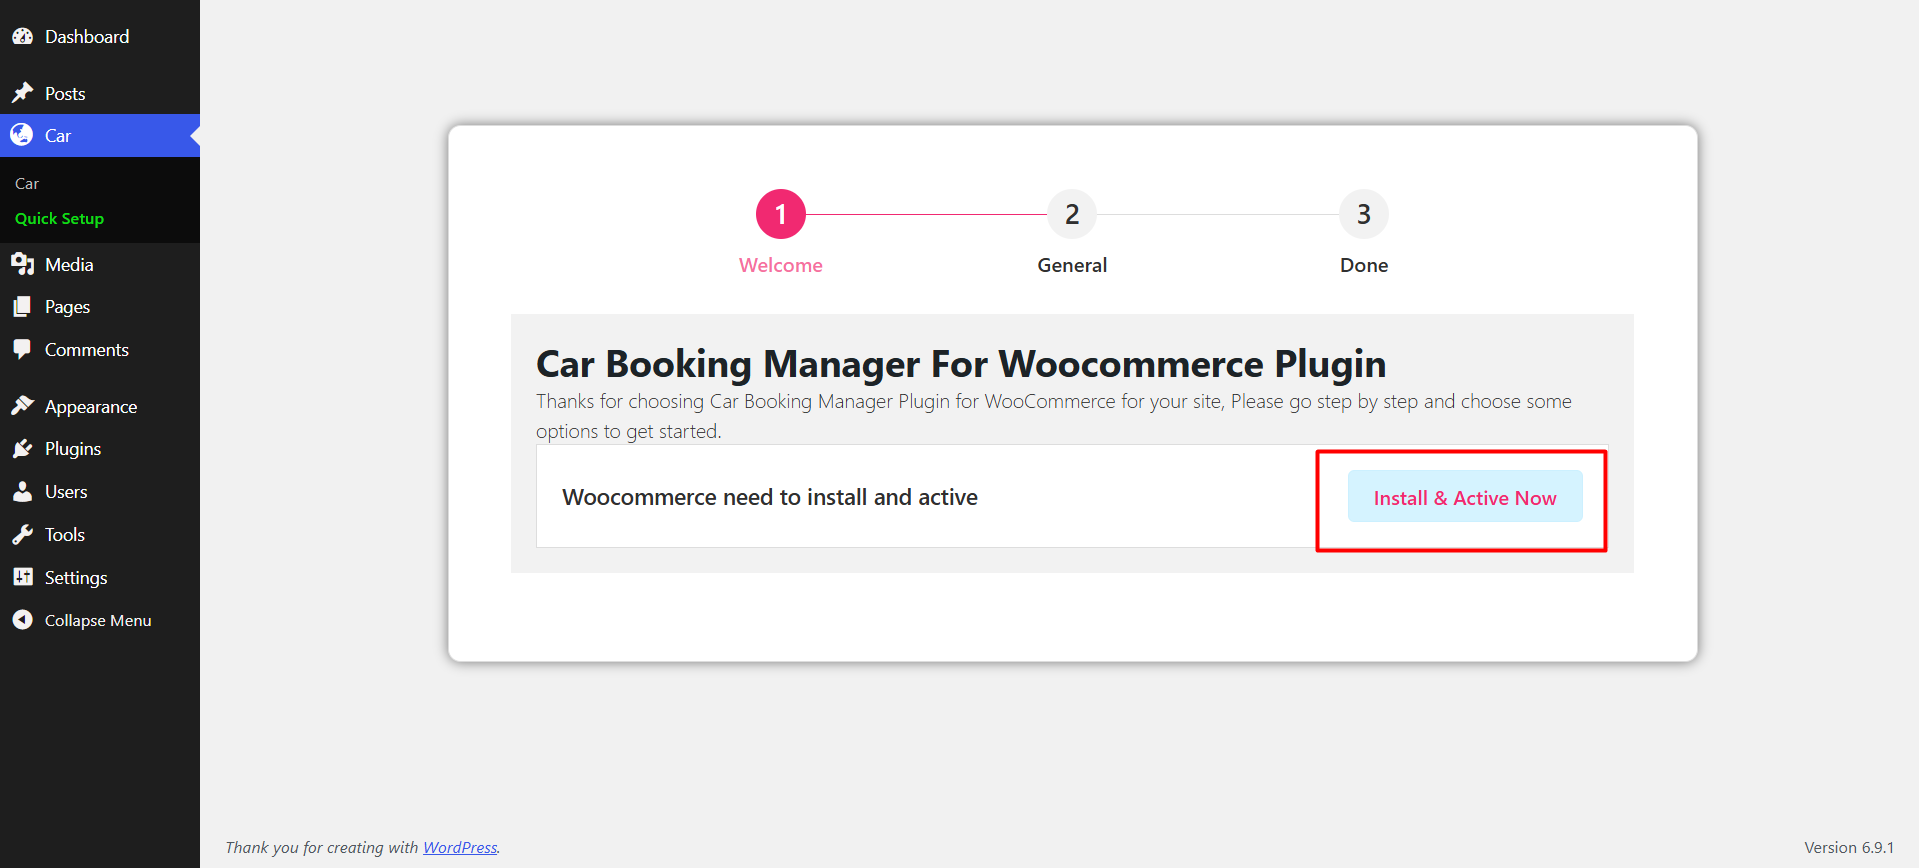
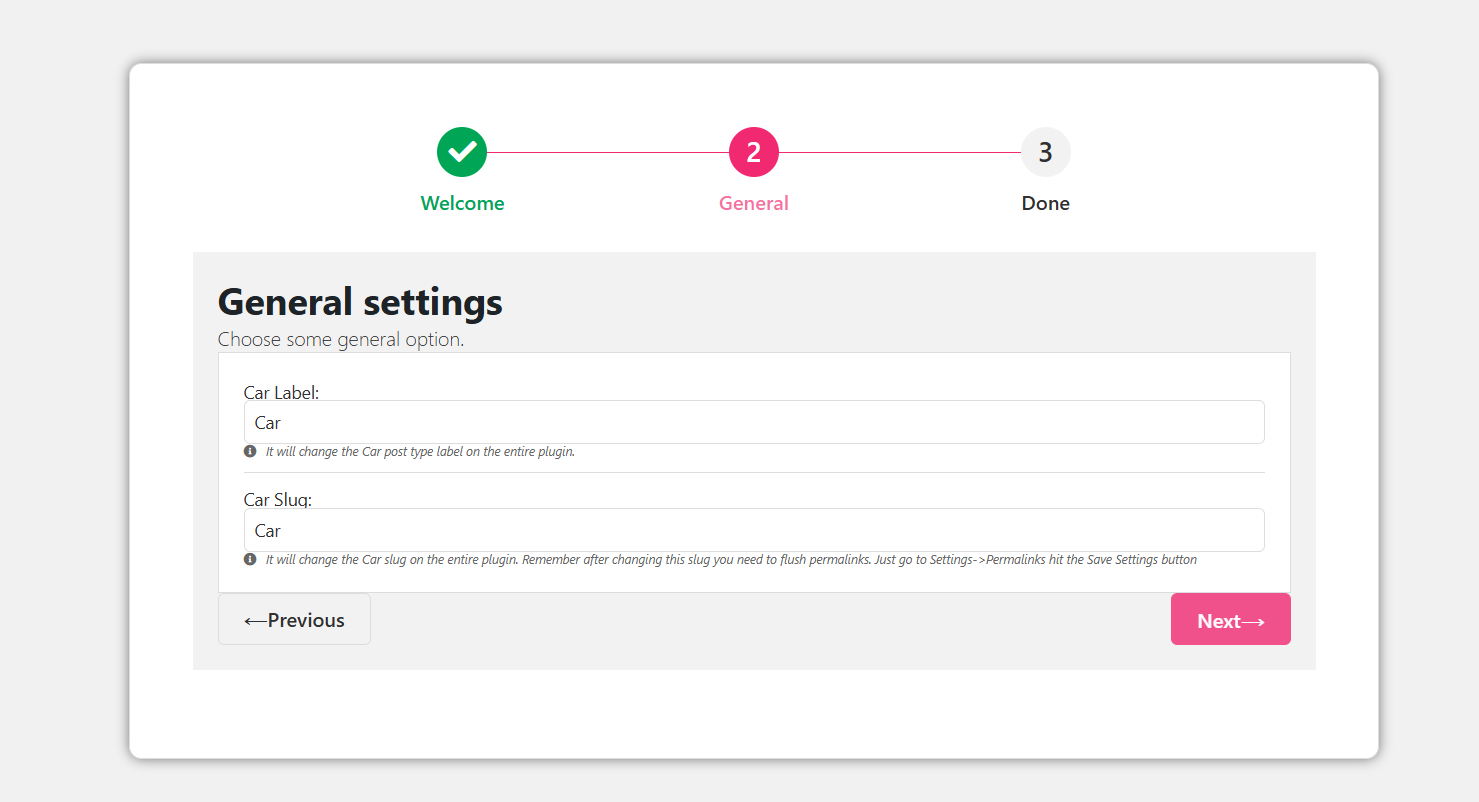
Click through and you get the basic configuration screen, where you set your label and slug — this is the wording that appears in your dashboard menus, so choose something your staff will recognise.
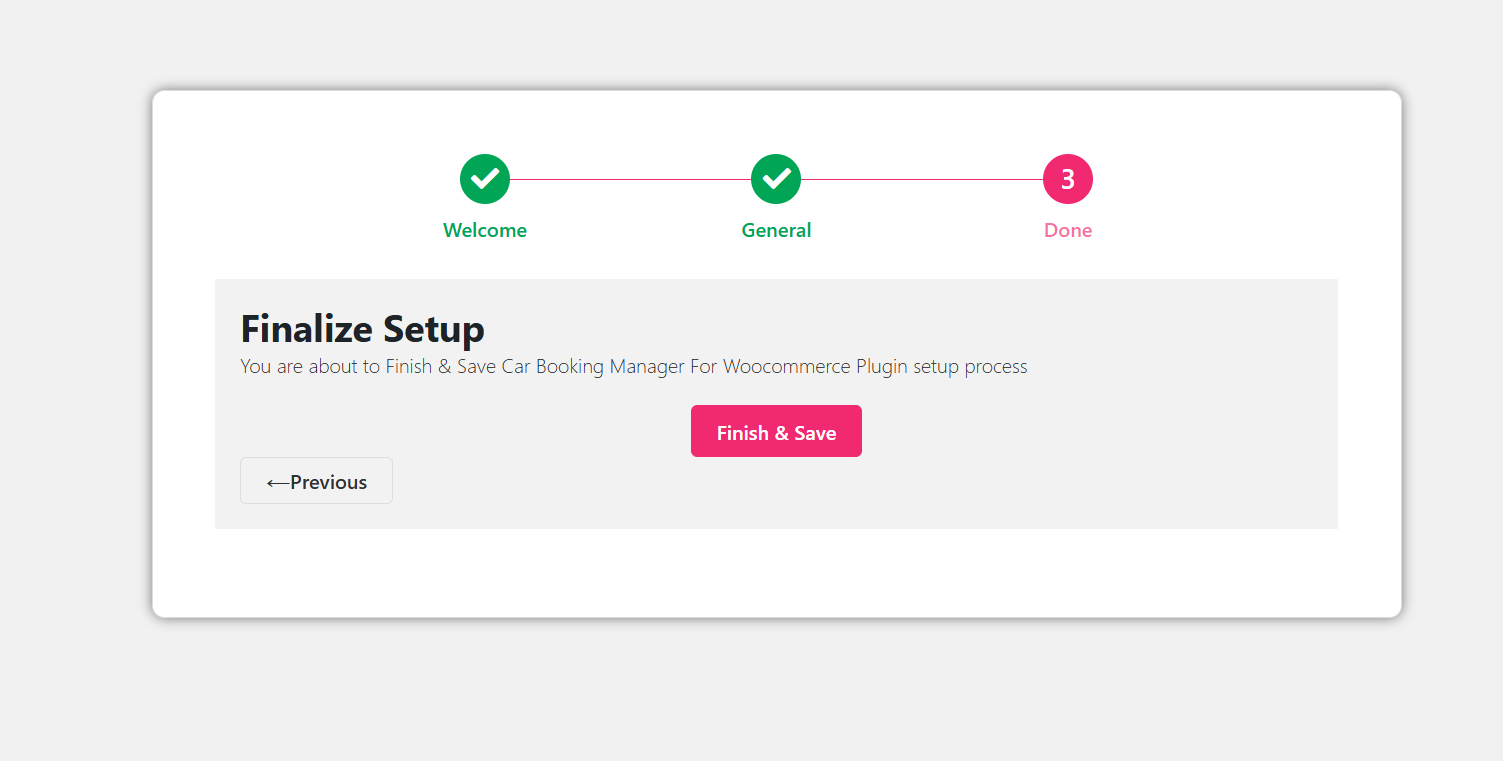
The wizard finishes with a confirmation message.
Step 2: Build Your Car Taxonomies
The plugin creates a pre-built car list you can work from immediately.
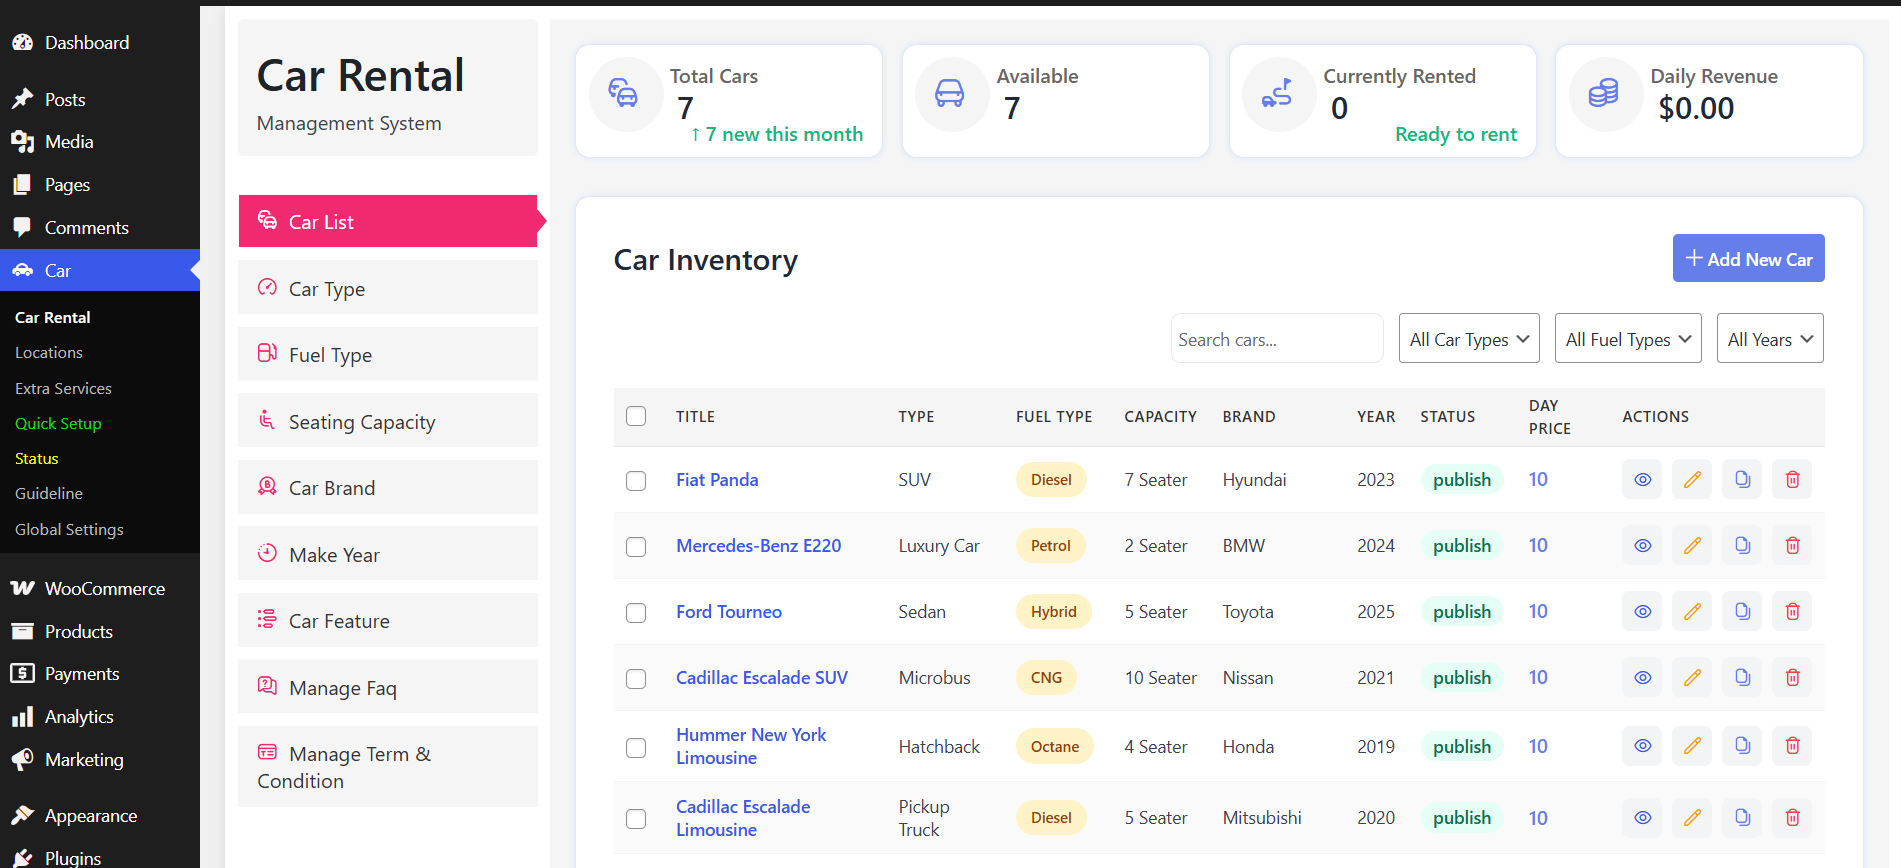
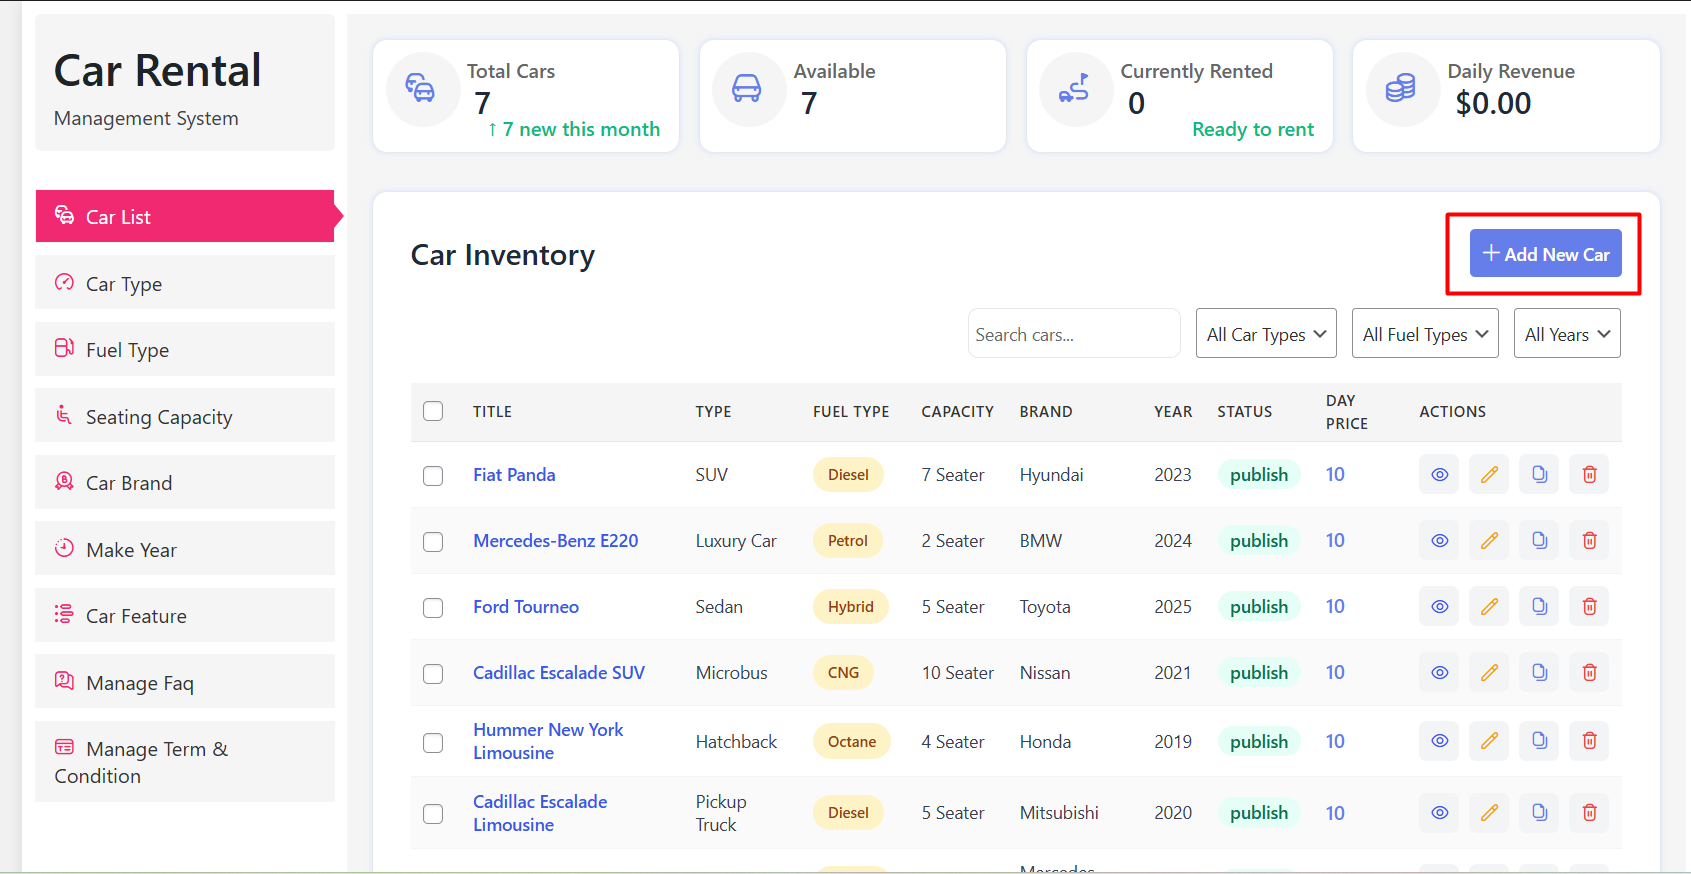
Your rentals live in one place: edit existing listings, add new inventory, and watch total rentals and revenue on the same screen.
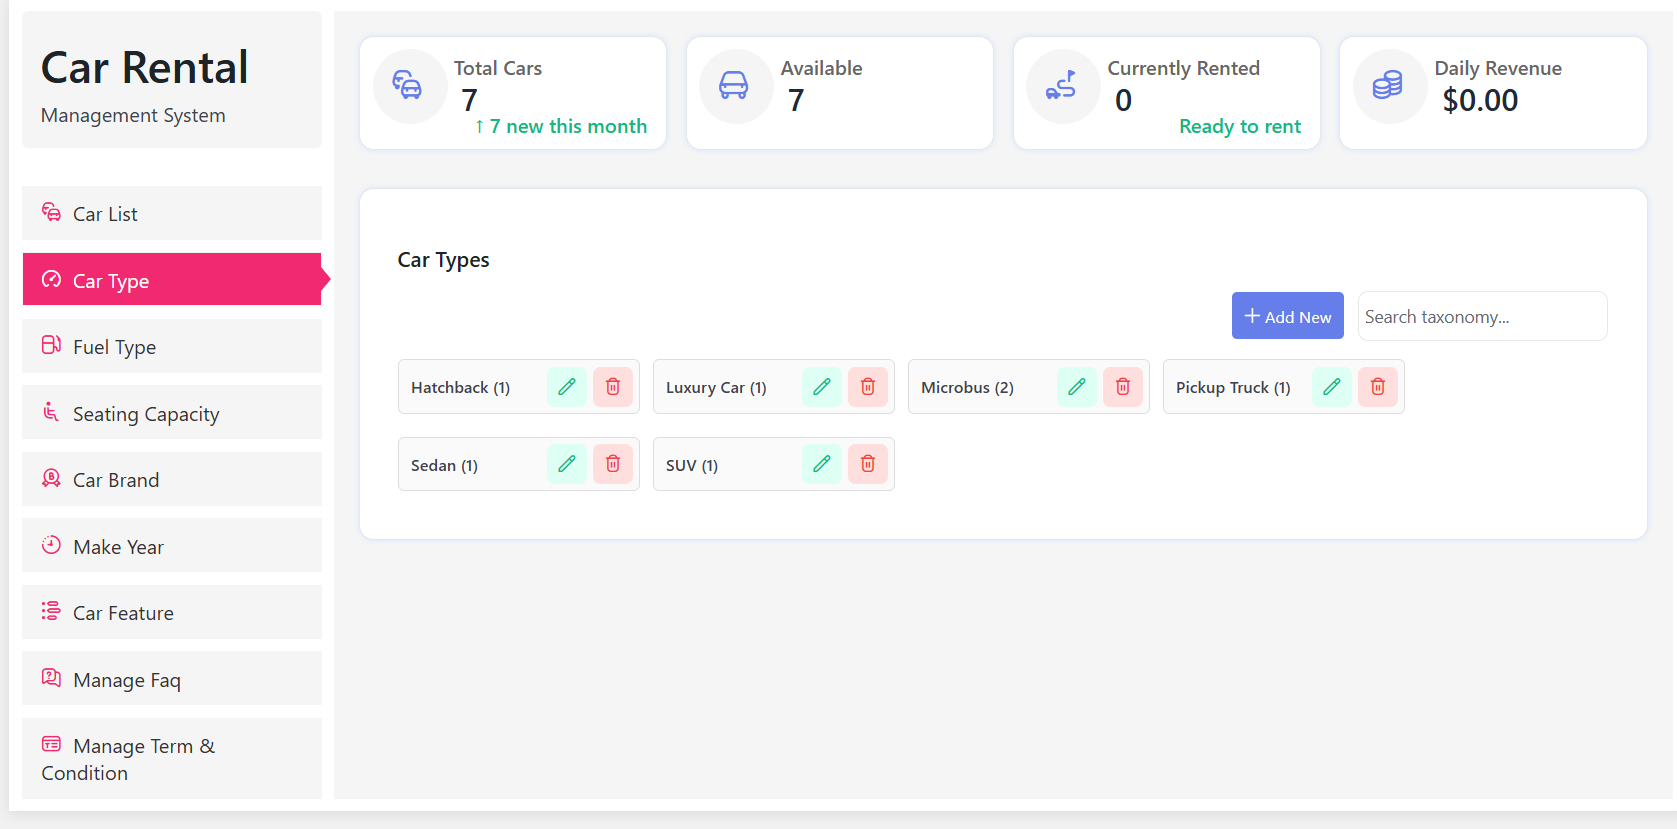
Before you list a single car, set up Car Type. This is one of the filters customers use to narrow results, so keep the names plain — Sedan, SUV, Hatchback, Microbus.
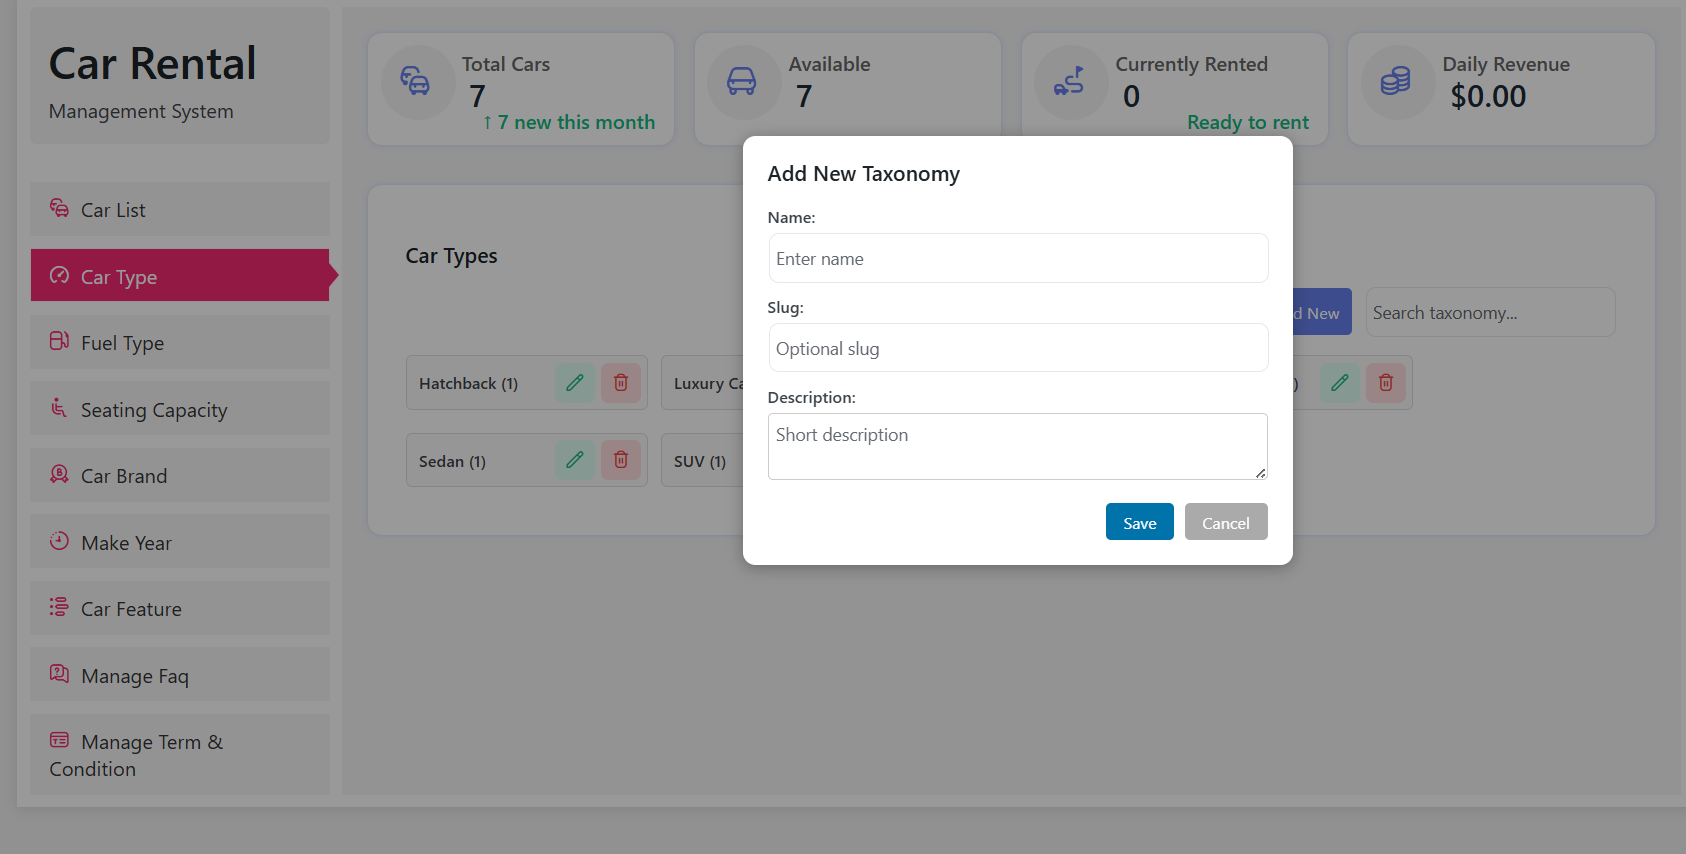
Click Add New, fill in Name, Slug and Description in the pop-up, then Save.
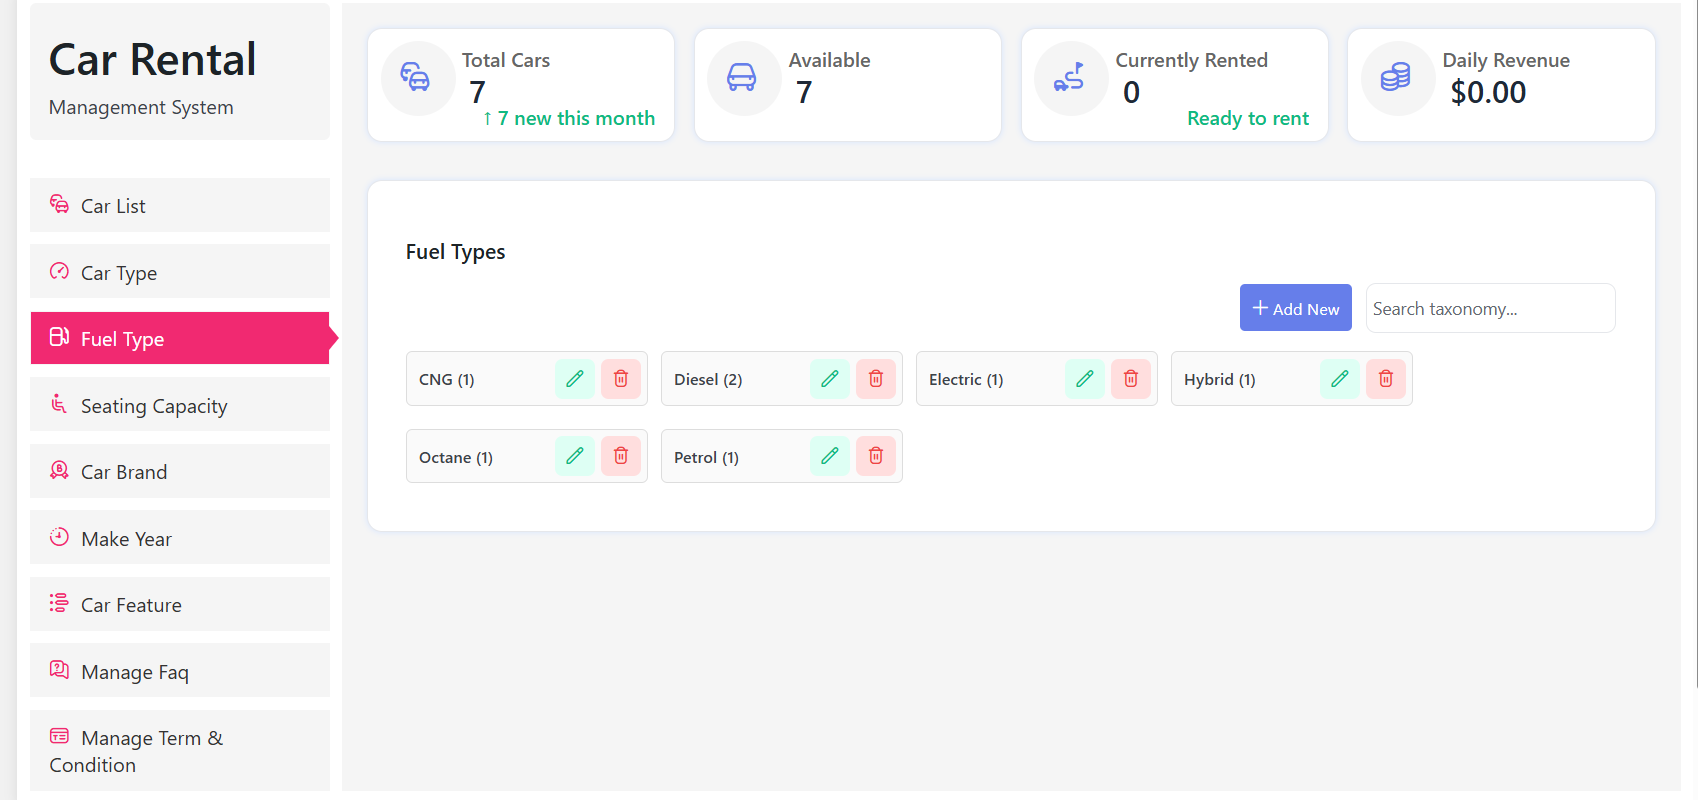
Next, add Fuel Type — Octane, Diesel, Petrol, Hybrid and so on — so renters can filter by running cost.
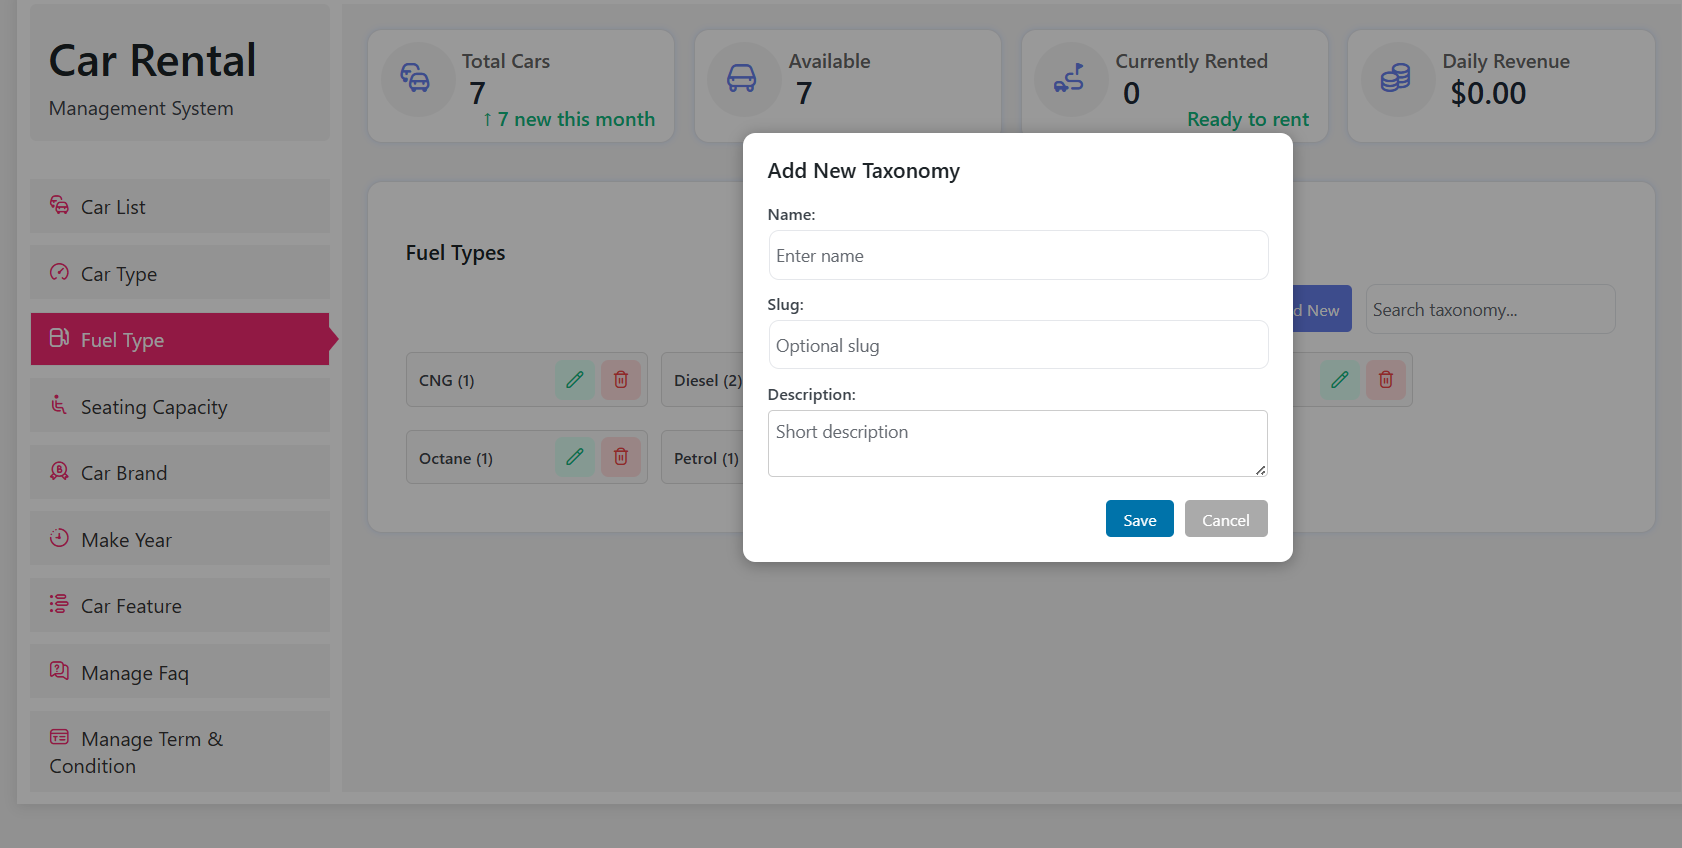
The Add New flow is identical here: Name, Slug, Description, Save.
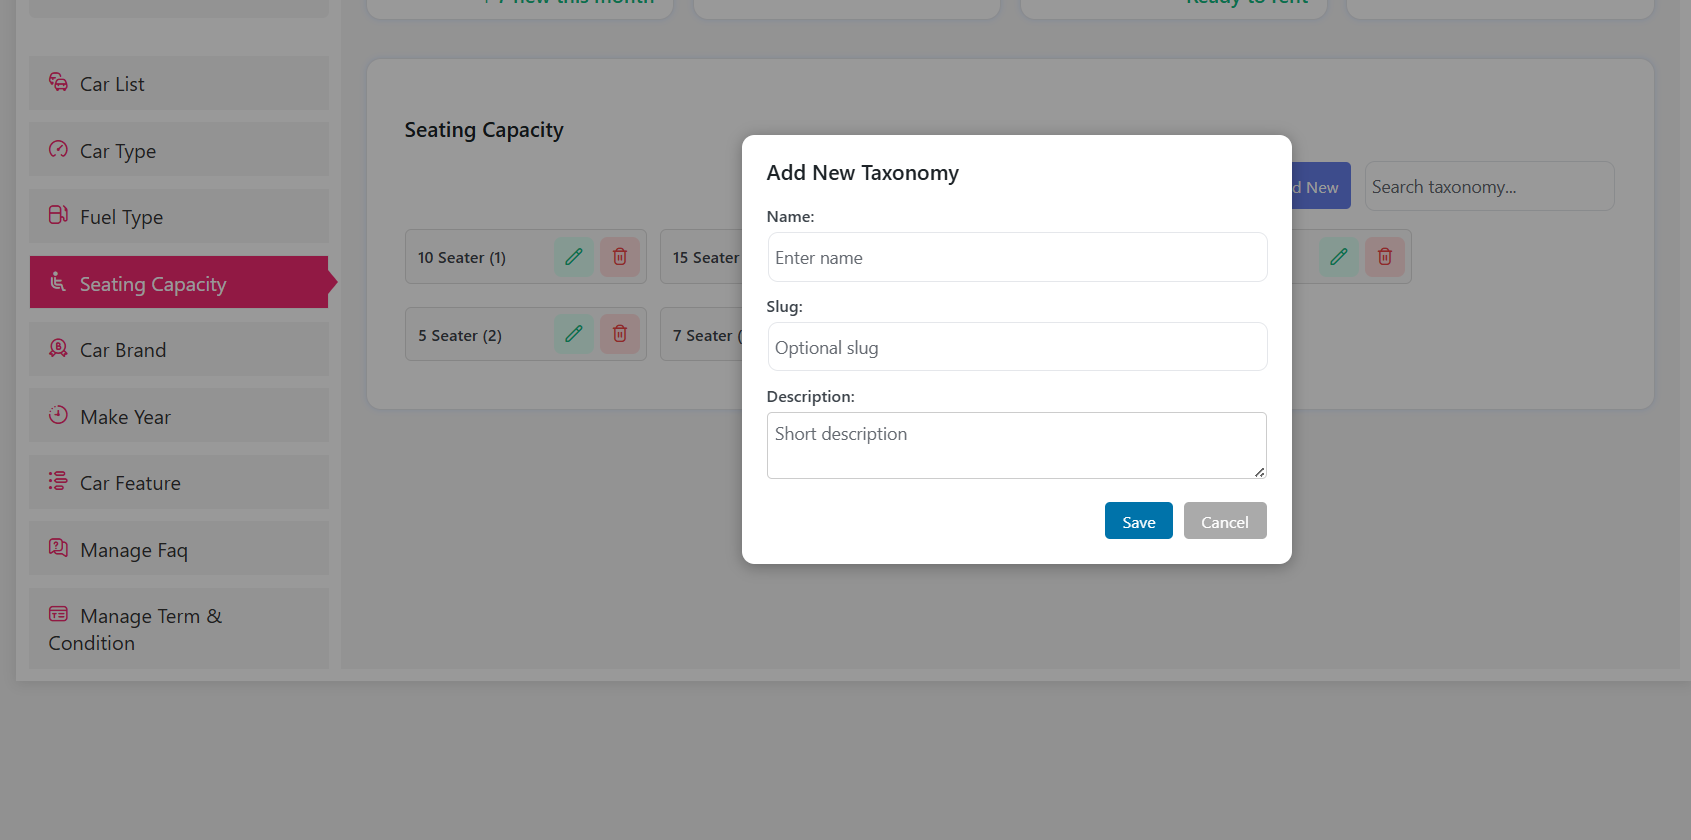
Then set Seating Capacity. Because it feeds into which cars match a search, it also helps justify different rates for different vehicles — a 4-seater and a 7-seater should not be priced the same.
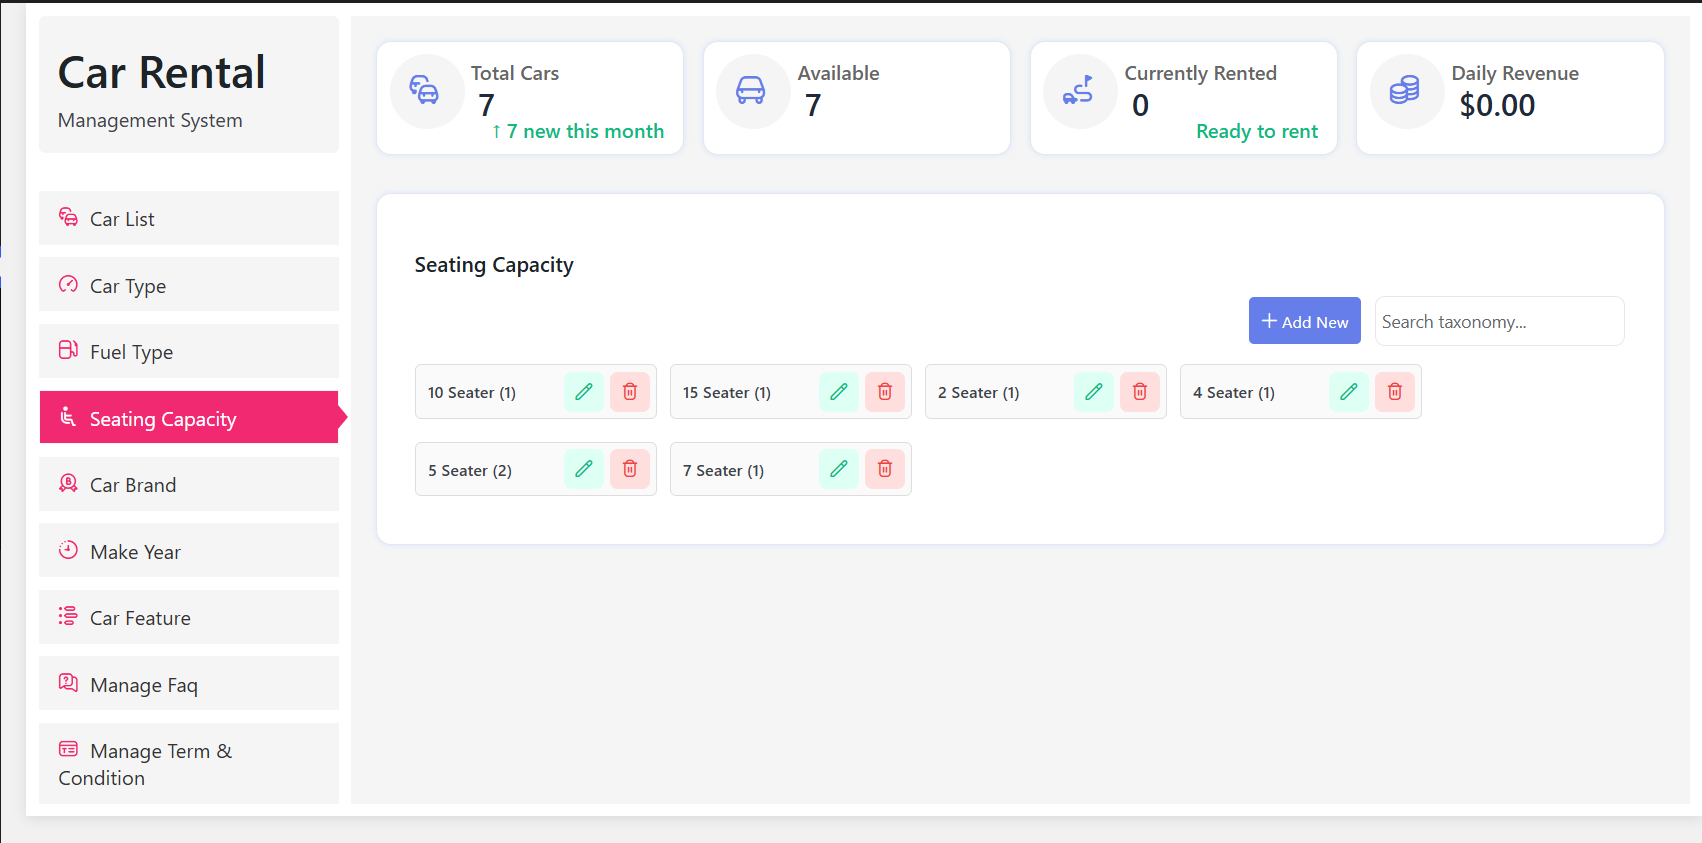
Add your capacity options with Name, Slug and Description, then Save.
Now set up Car Brands. Brand sits at the top of the value ladder for most fleets, so it is a useful anchor when you price a new vehicle.
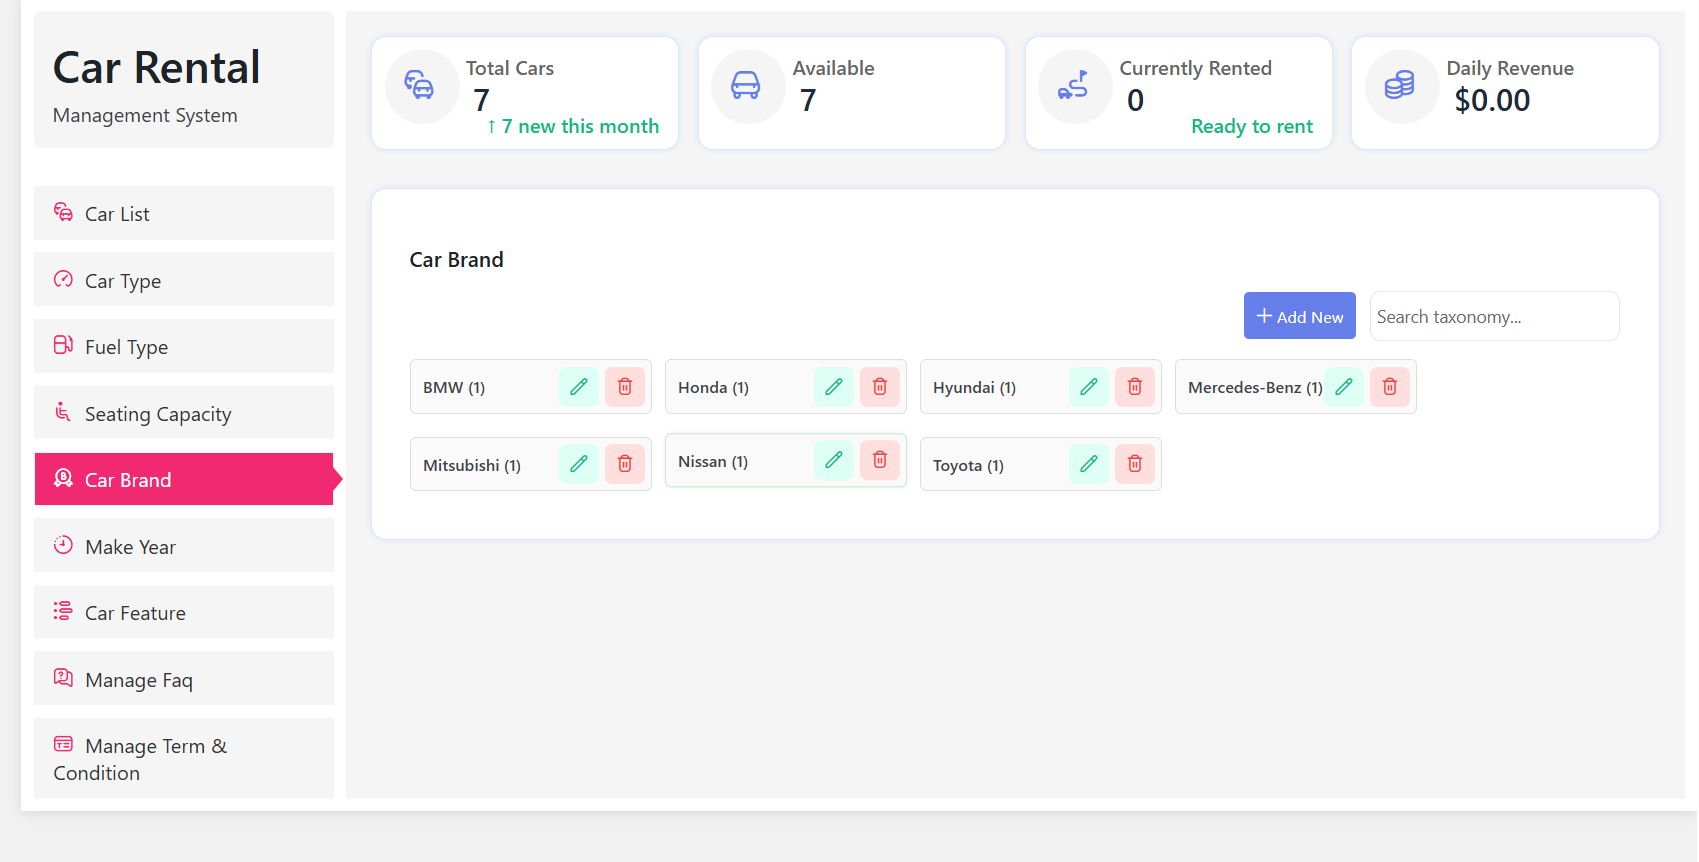
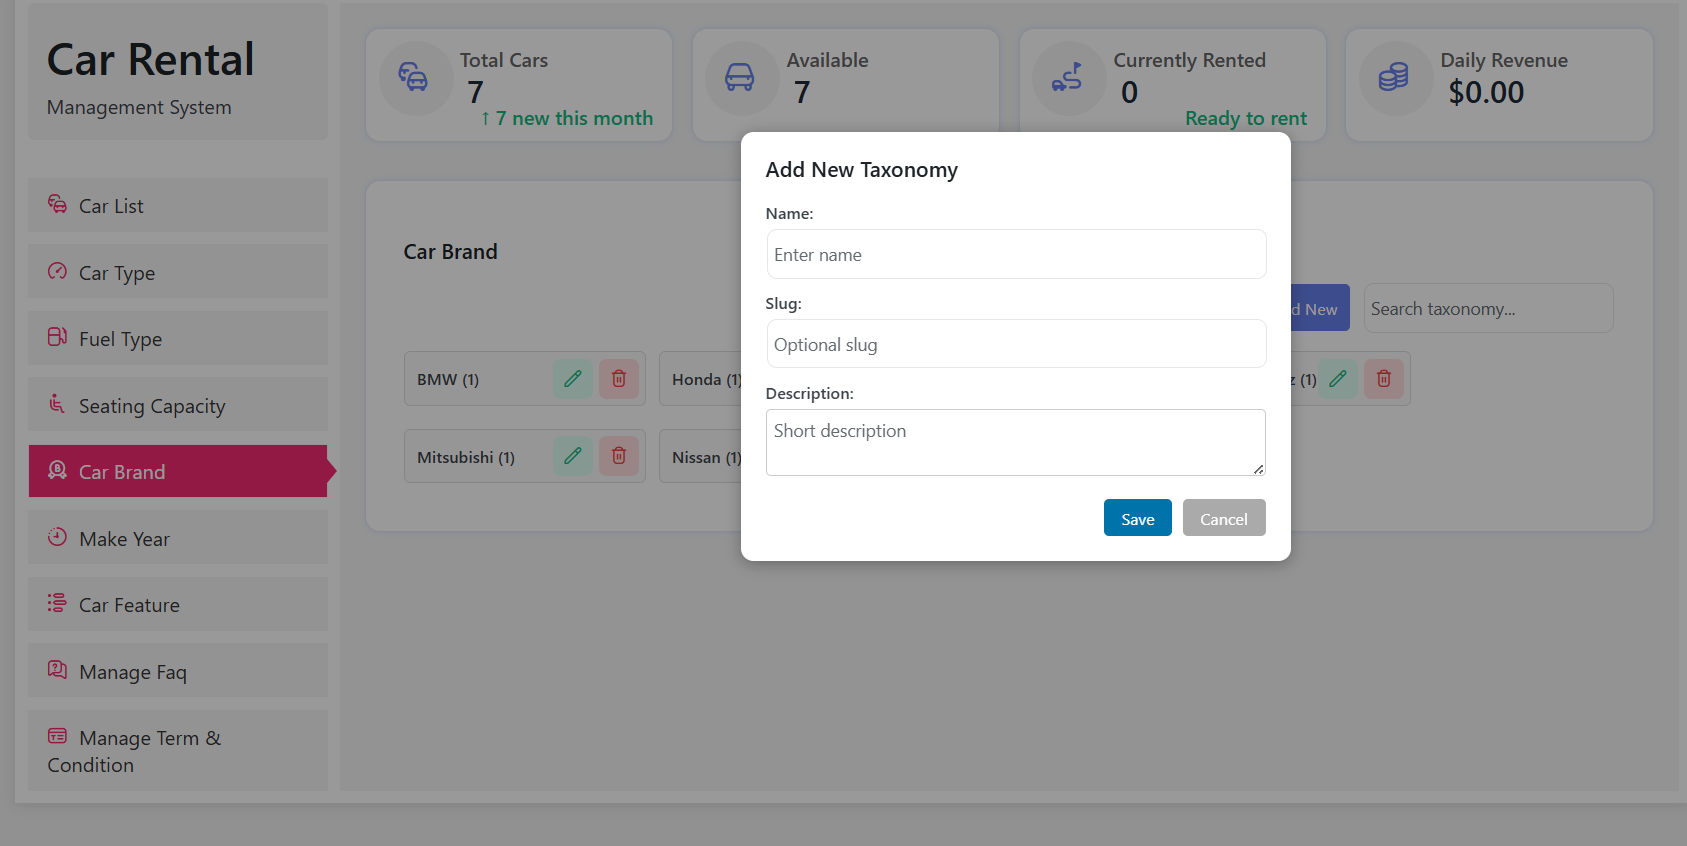
Add each brand the same way: Add New, Name, Slug, Description, Save.
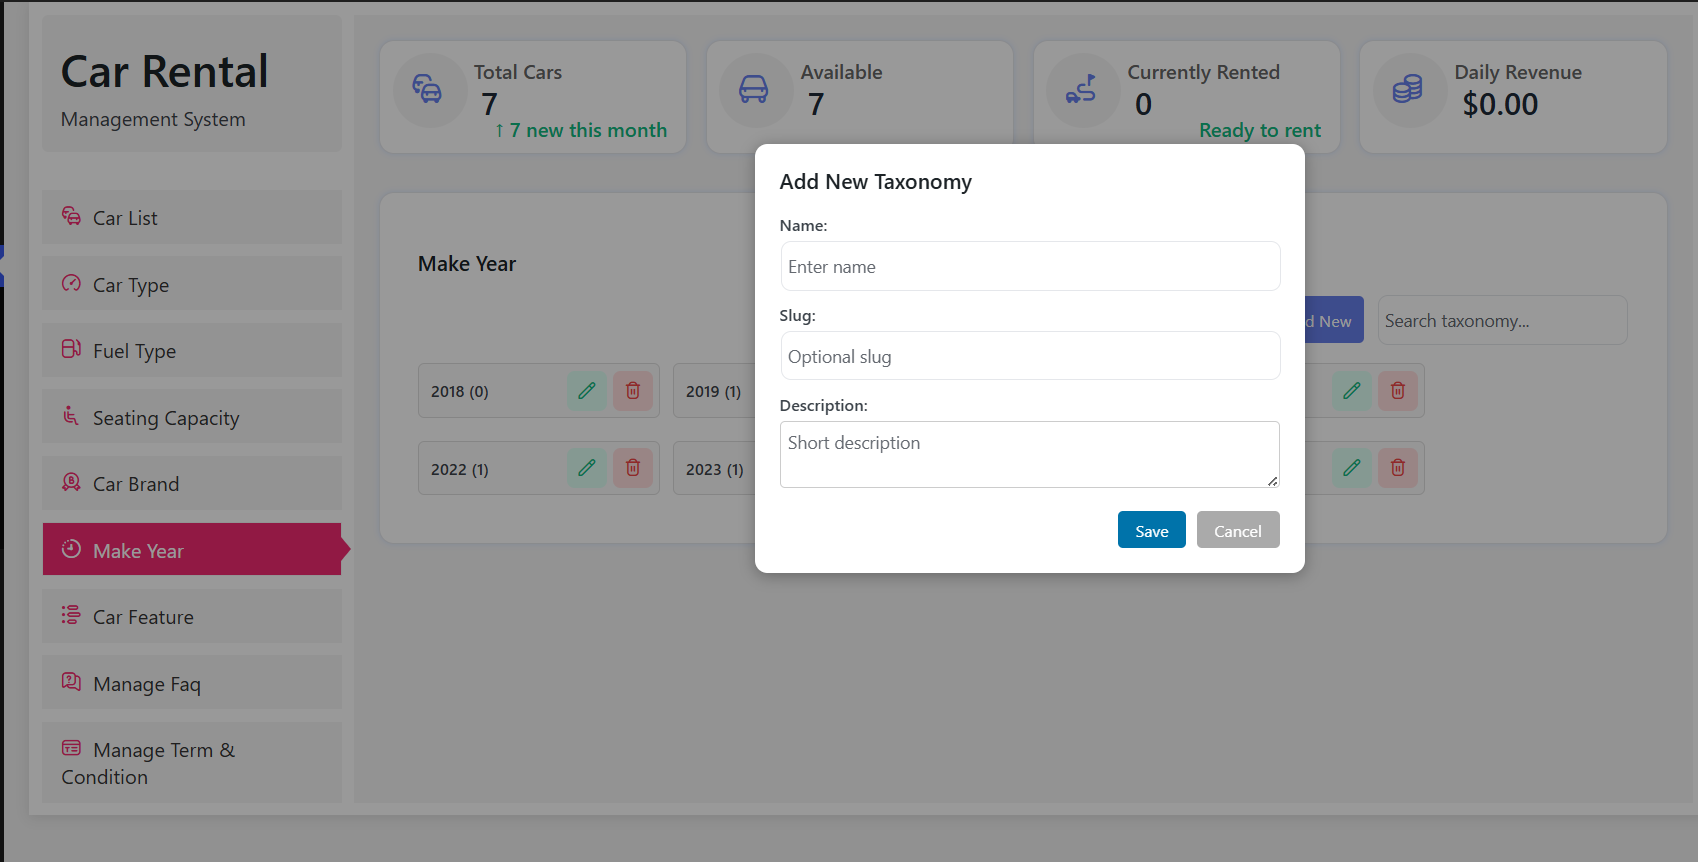
Add Model Year next. Newer models usually justify a higher daily rate, and keeping this field current avoids a stale catalogue as your fleet turns over.
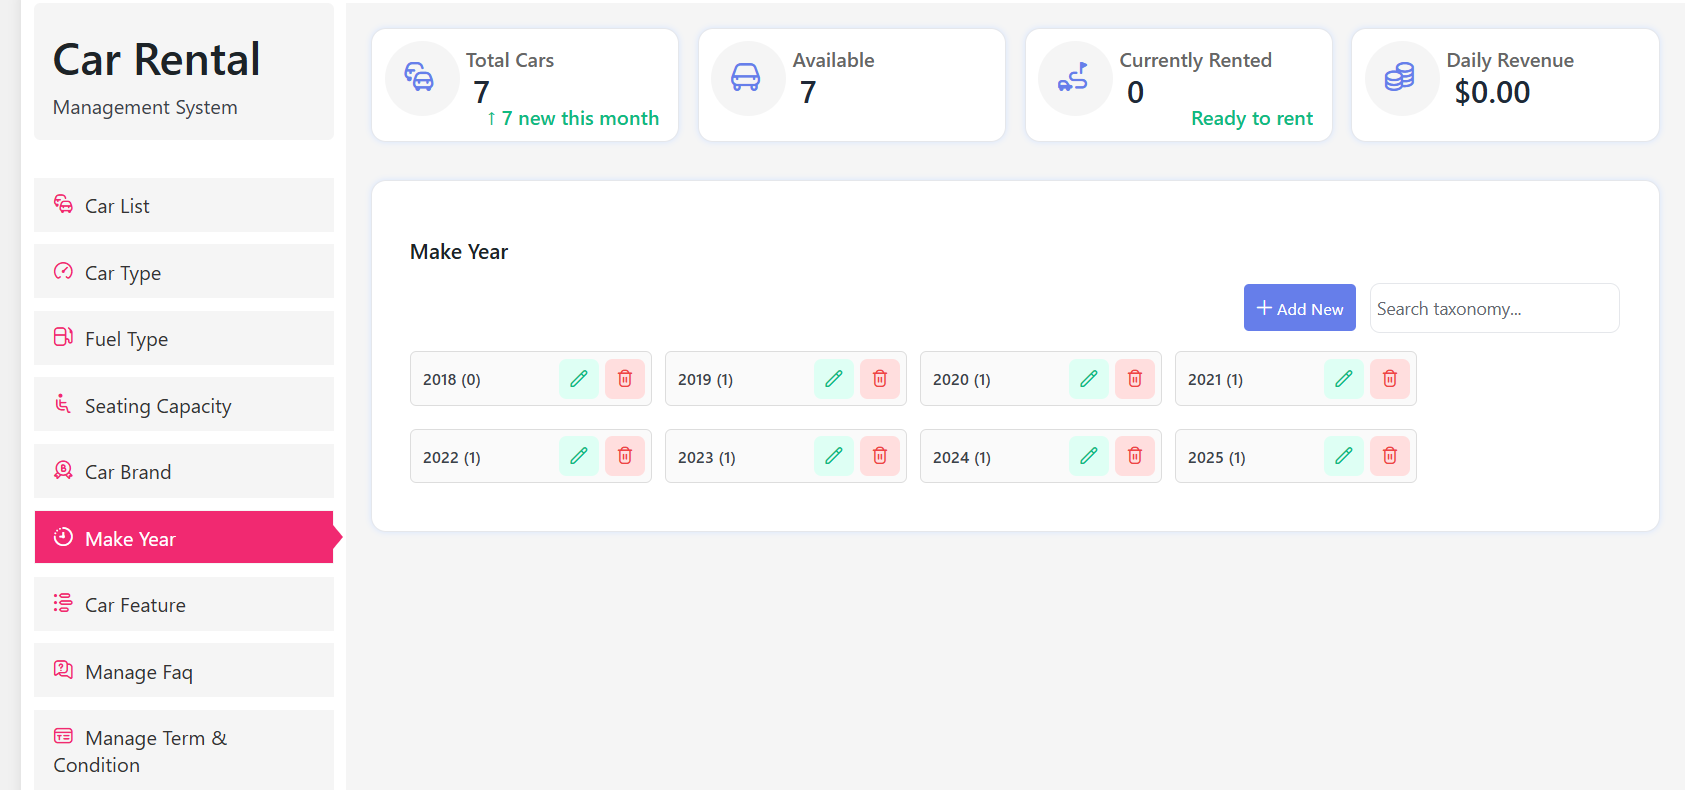
Again, Add New with Name, Slug and Description, then Save.
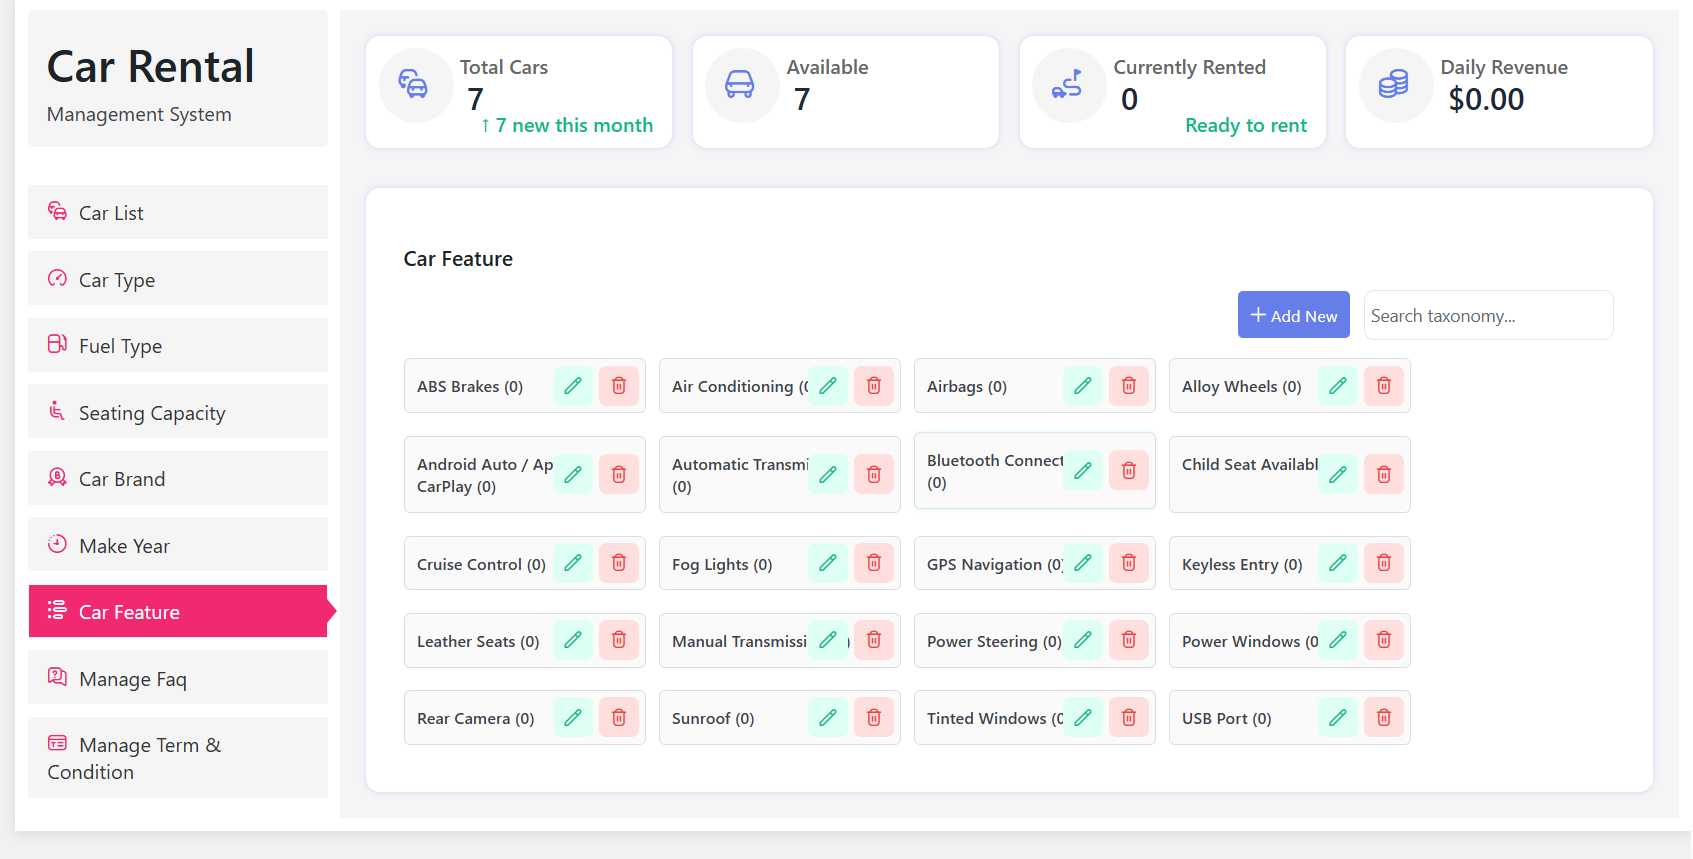
Finish with Car Features — GPS, sunroof, leather seats and similar. These are selling points renters compare across listings, so be accurate rather than generous.
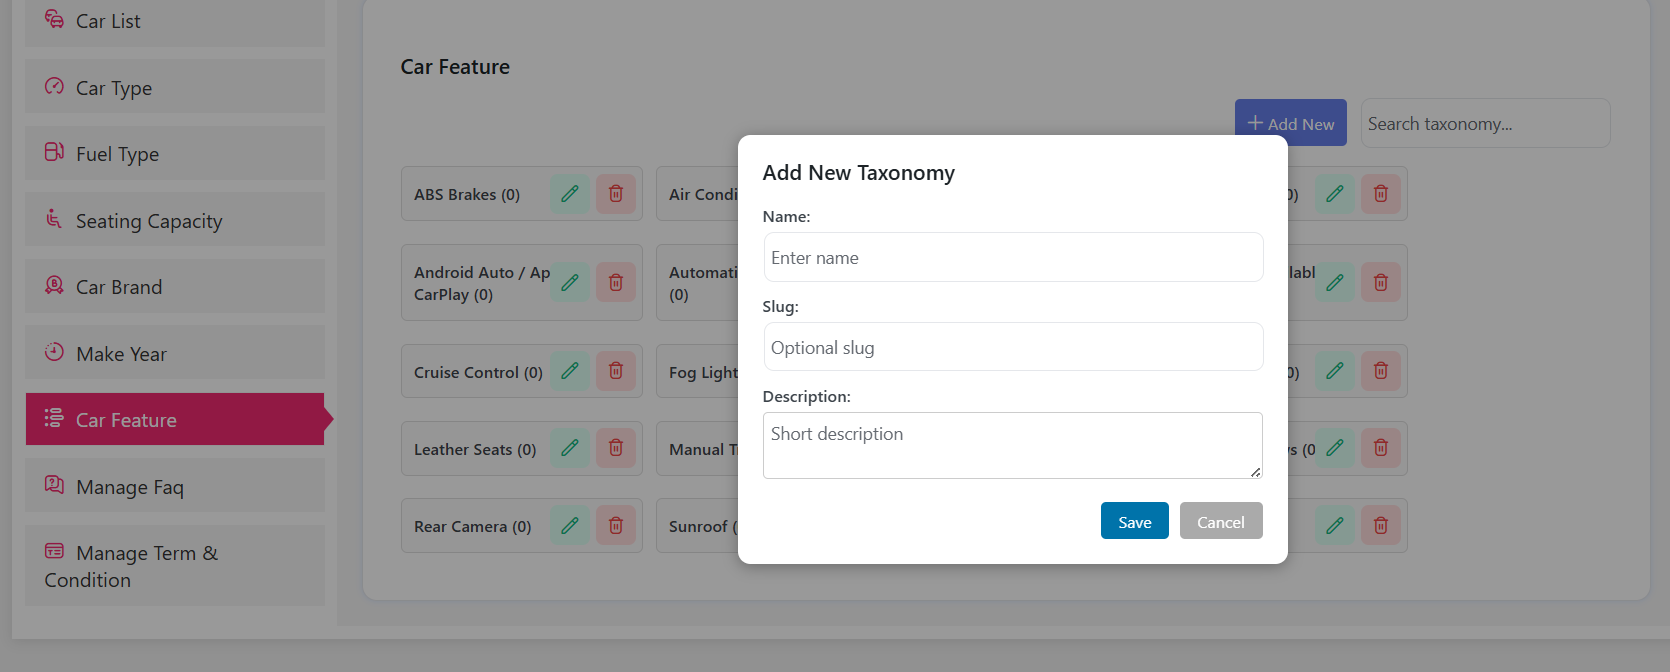
Add a feature the same way: Add New, Name, Slug, Description, Save.
Step 3: Add FAQs and Terms Per Vehicle
Questions vary by vehicle, so give each car its own FAQ rather than a generic page-wide block.
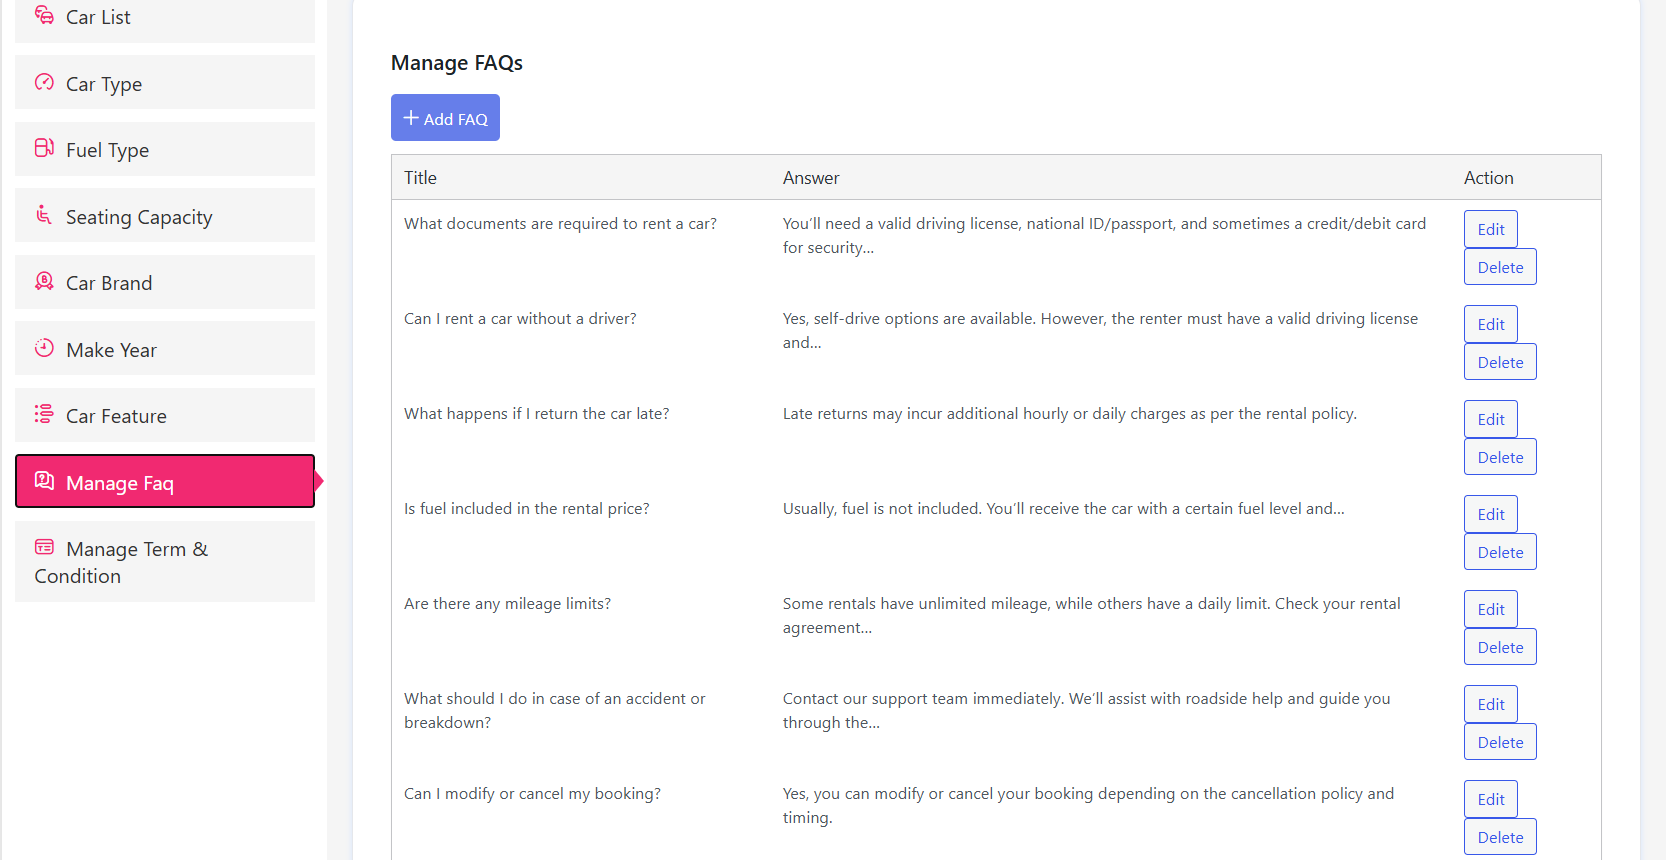
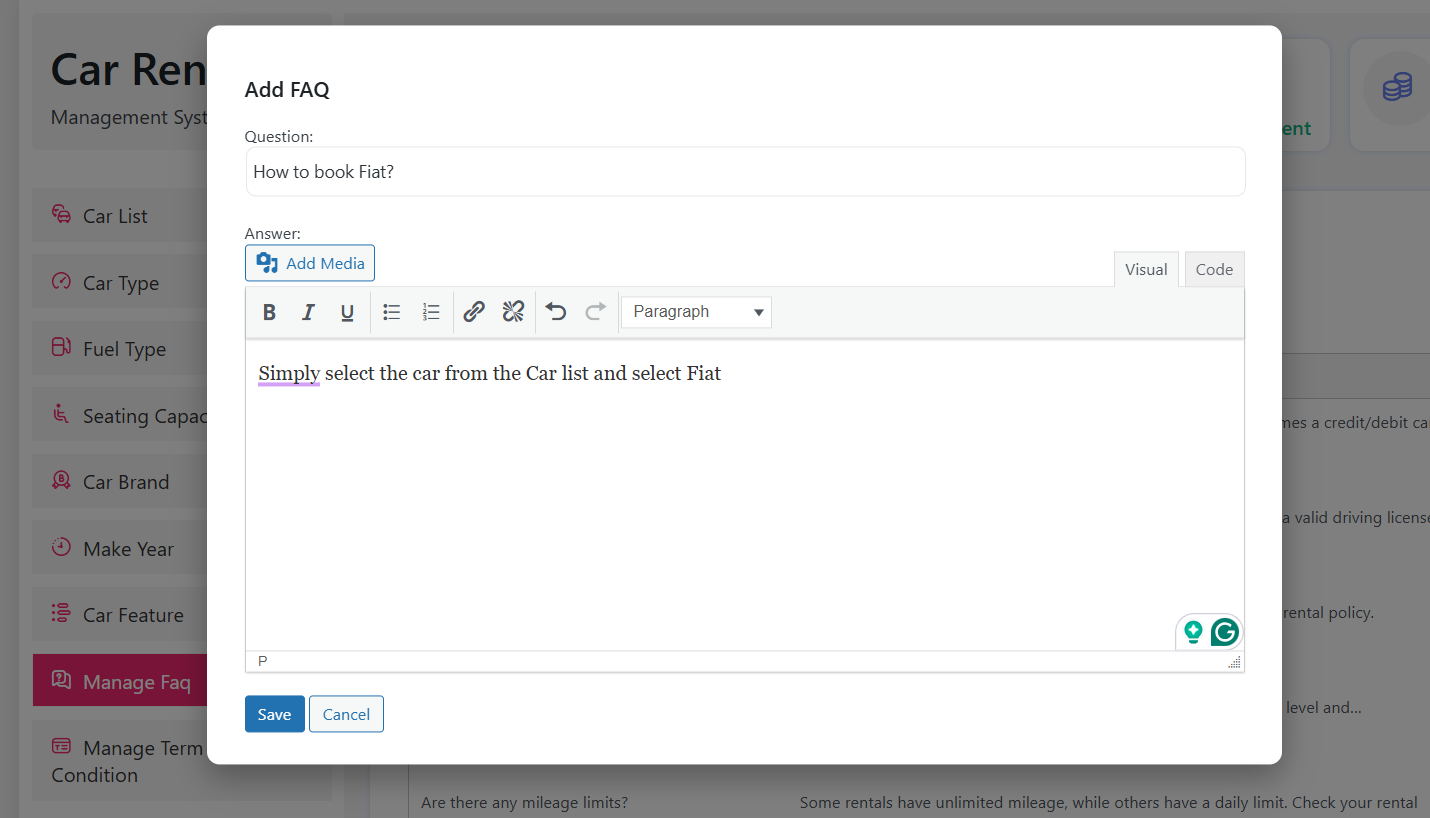
Click Add FAQ, then enter the Question, attach any Media and write the Description that answers it. Hit Save when done.
Now the Terms & Conditions. Policies such as mileage limits or a no-smoking rule belong to the individual car, and stating them up front is what protects you when a dispute comes up.
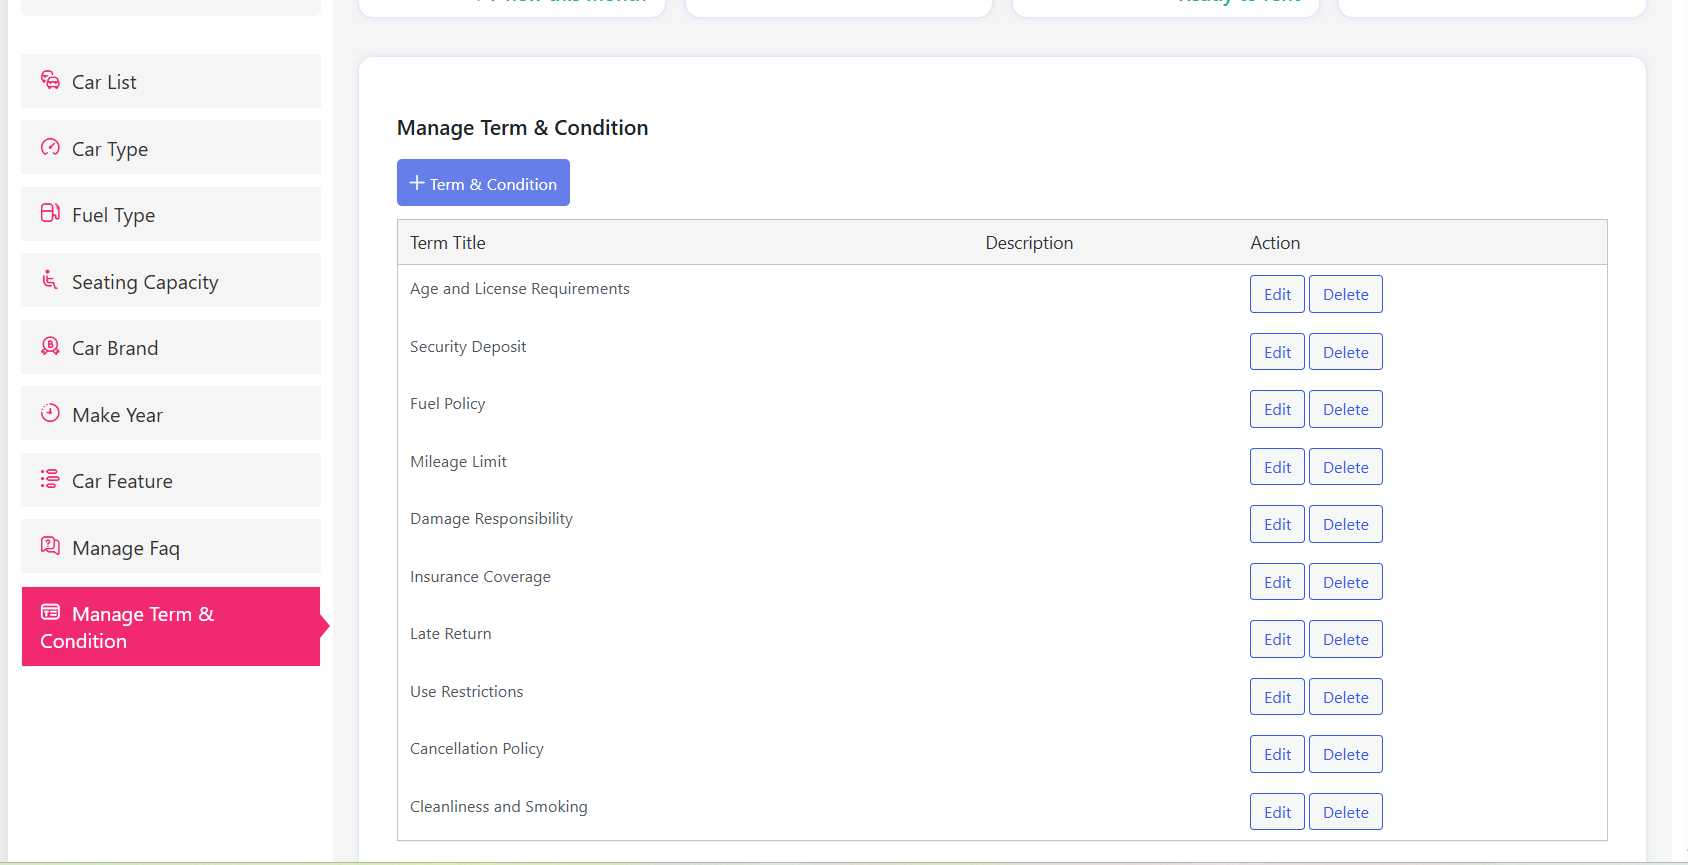
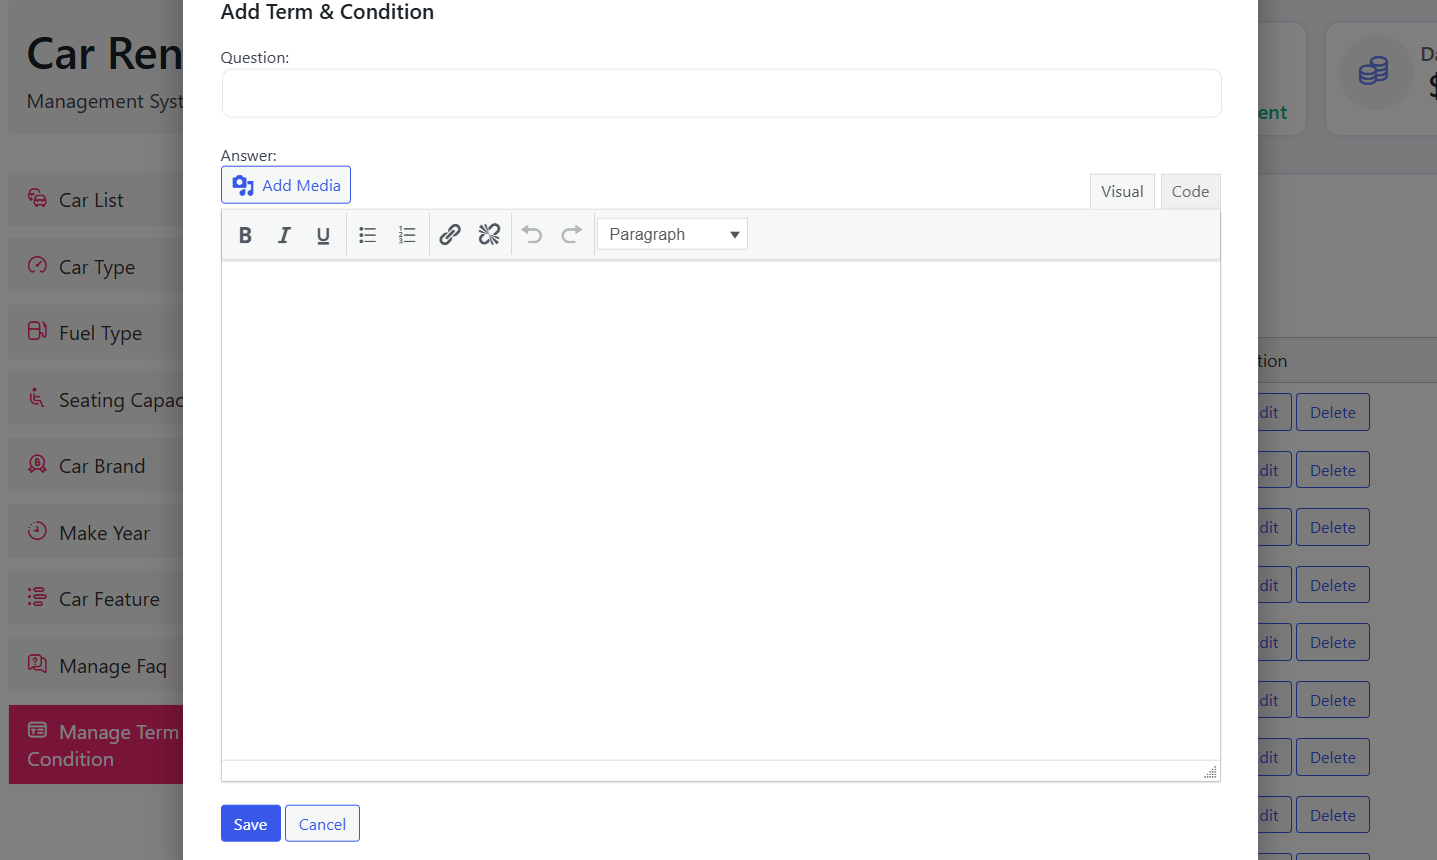
Click Add terms and conditions, fill in the title and description for your rules, and Save.
Step 4: Set Locations and Extra Services
With the general fields done, move to Location.
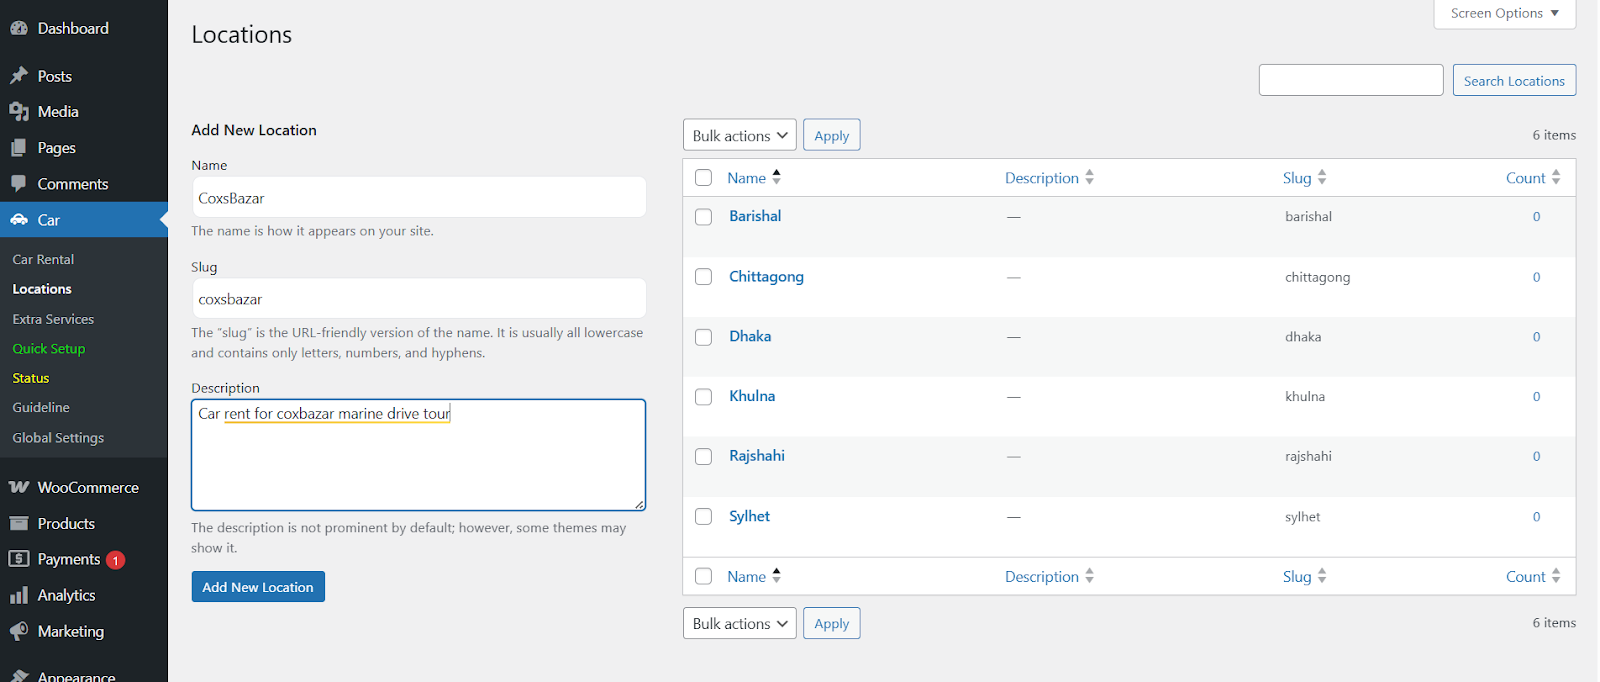
Type the Name, Slug and Description, then click Add New Location. Add every pickup point you actually serve — including airport counters if you have them.
Then create your Extra Services — child seats, GPS units, additional driver cover, insurance upgrades. These are frequently the difference between a profitable booking and a break-even one.
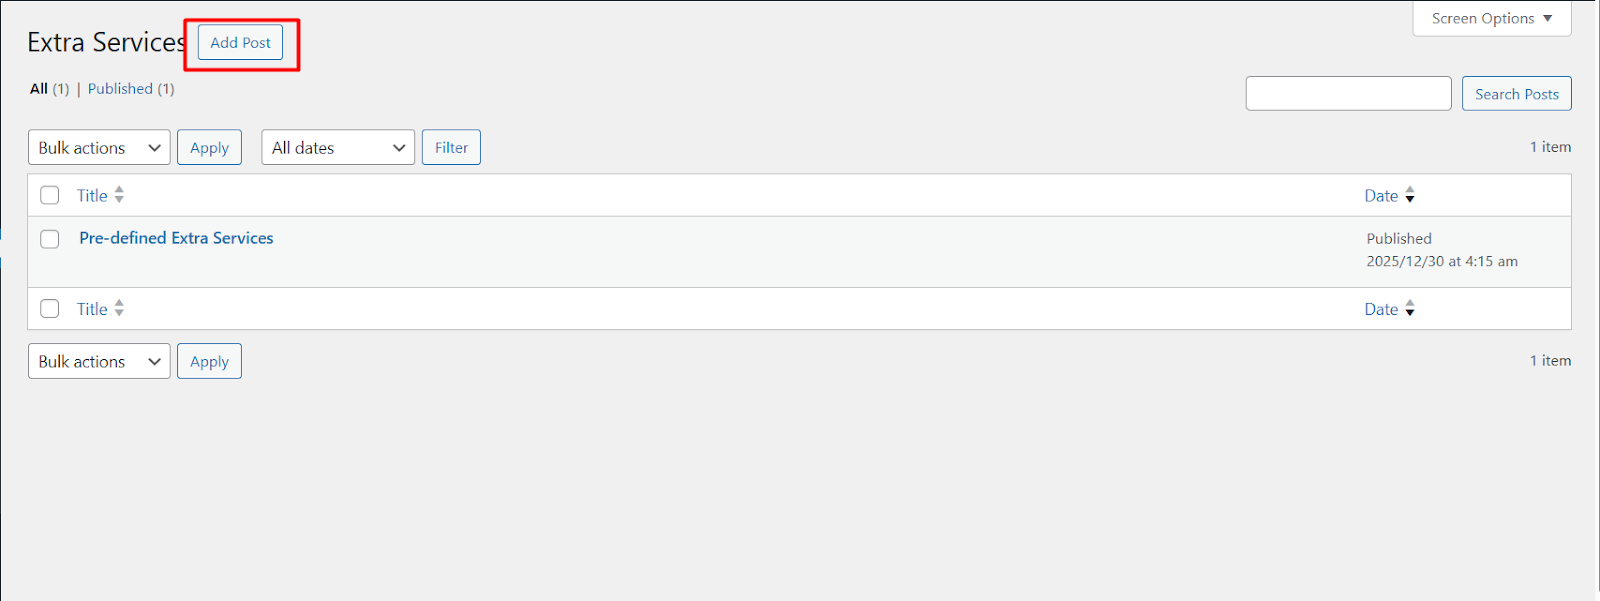
Click Add Post at the top of the page to begin.
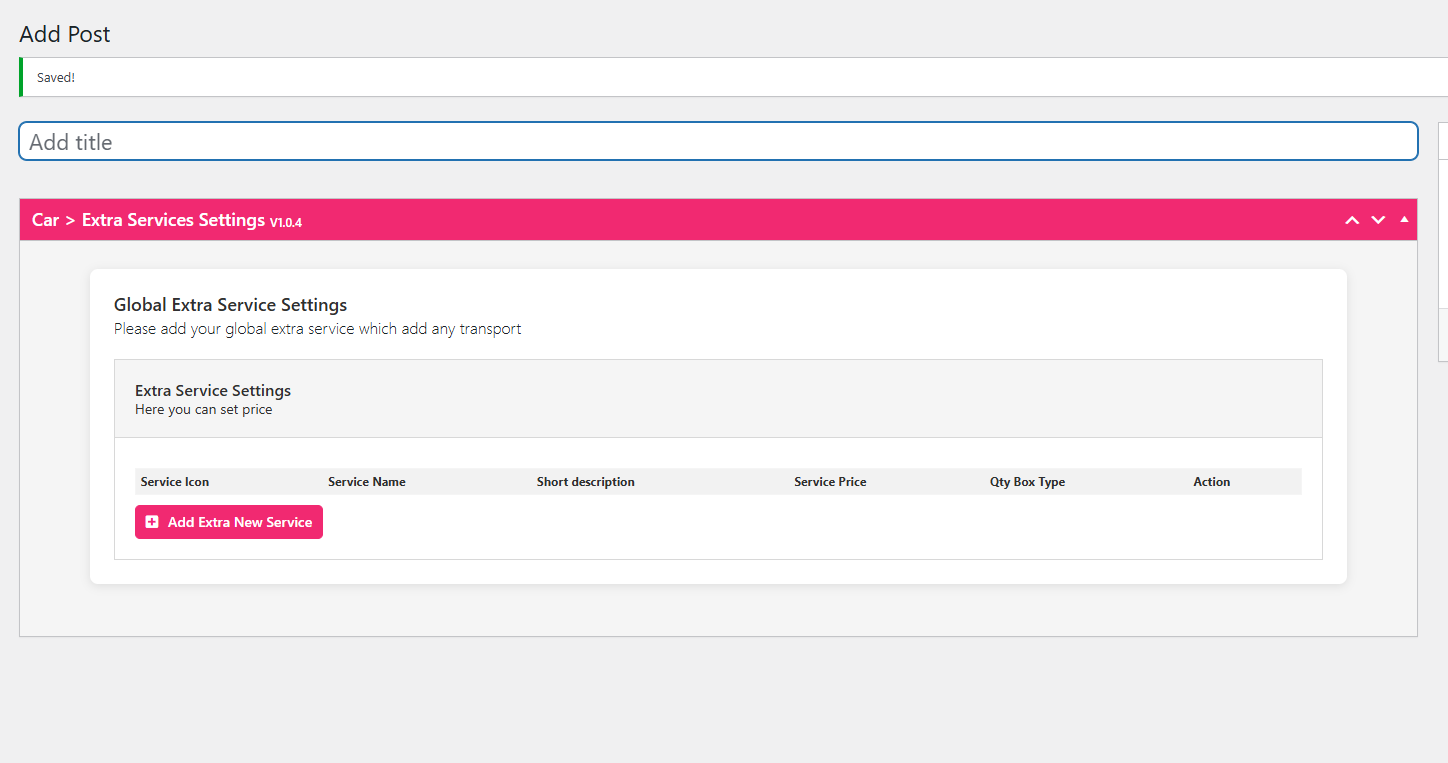
Enter a Title Name and click Add Extra New Service.
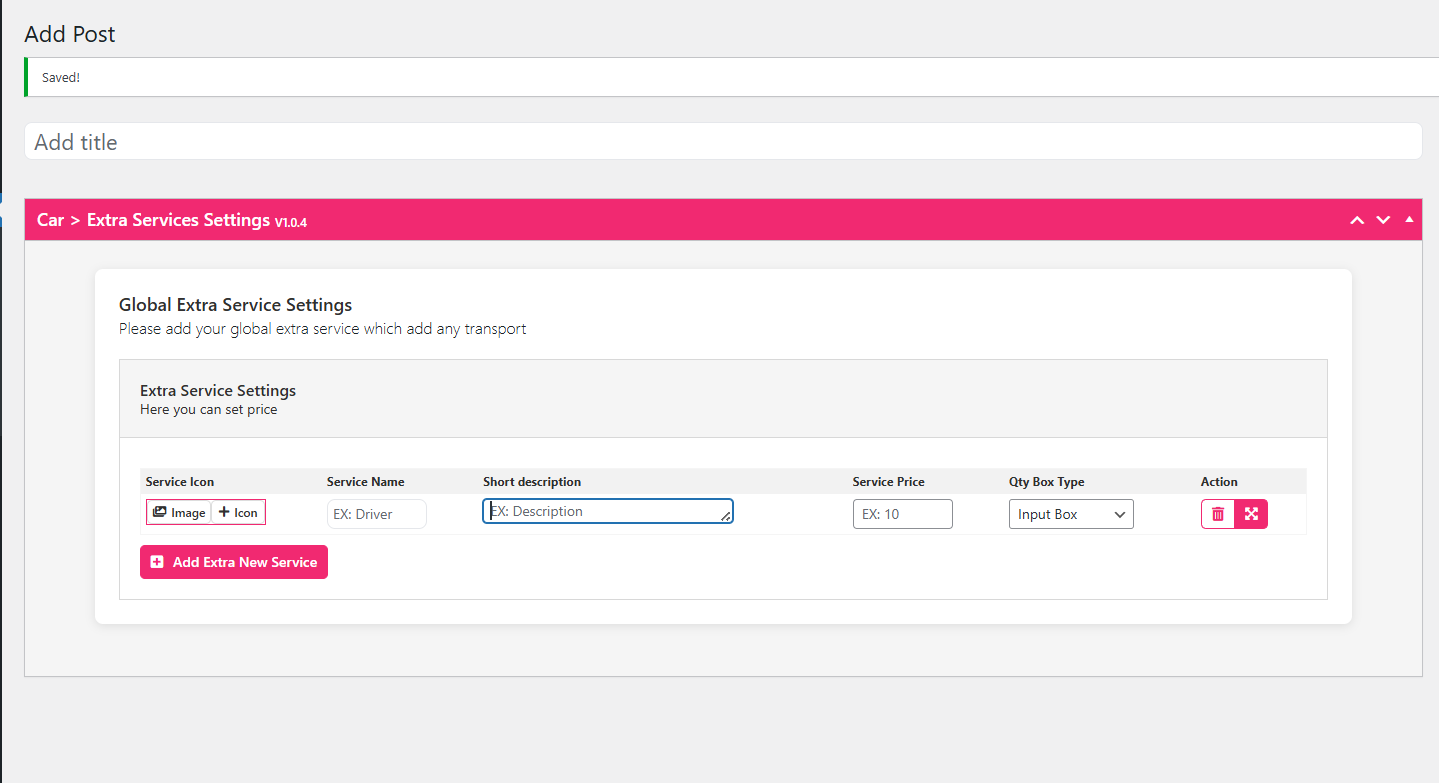
Fill in the details that define each service’s value and cost — this is what the customer sees and pays for.
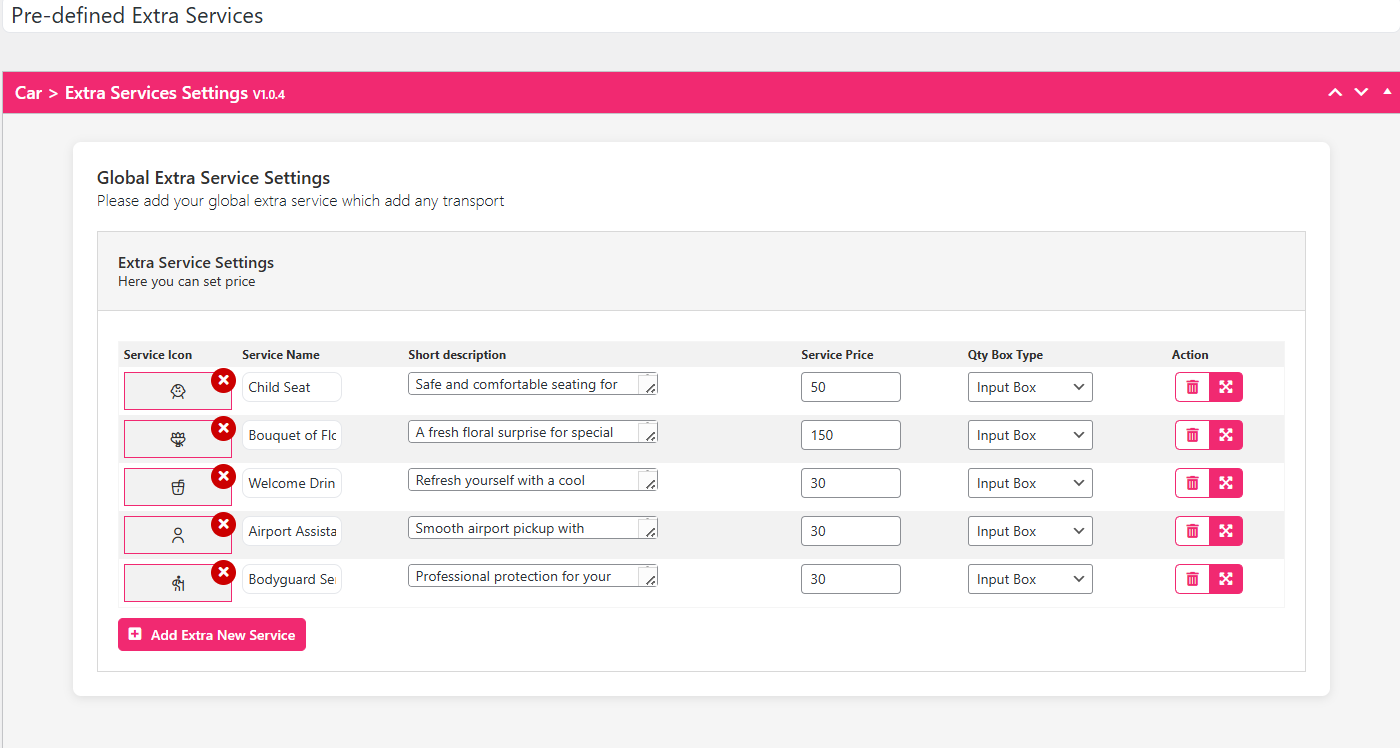
Once your list is final, the extra services display cleanly during booking for customers to select.
Step 5: Add Your First Car for Rent
Go to Car List and click Add New Car.
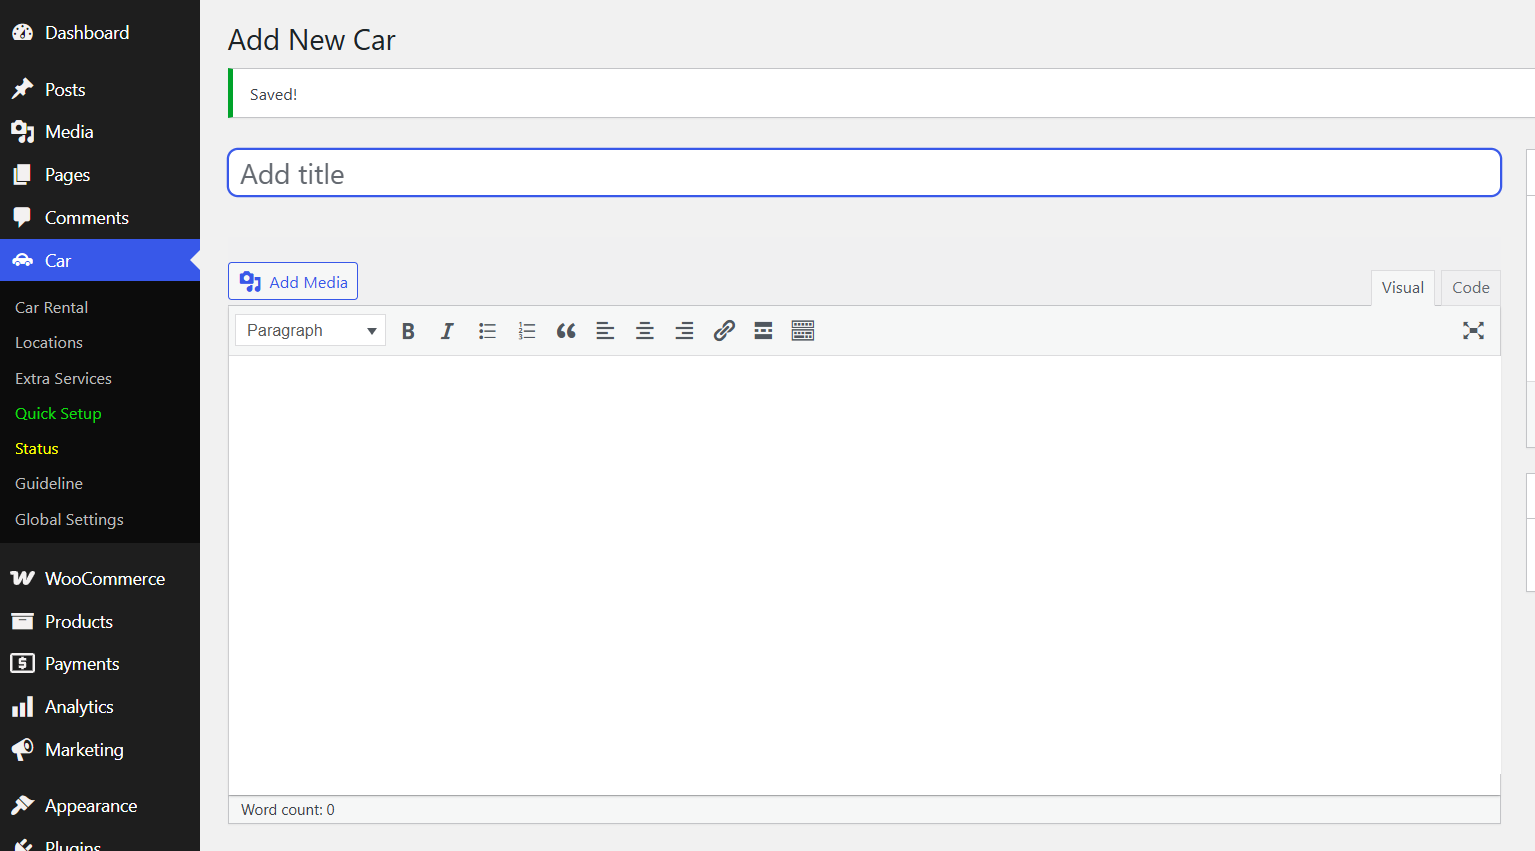
Give the listing a clear Car Title and write a description that covers what a renter needs to know — seating, transmission and pickup conditions.
Then complete the general information.
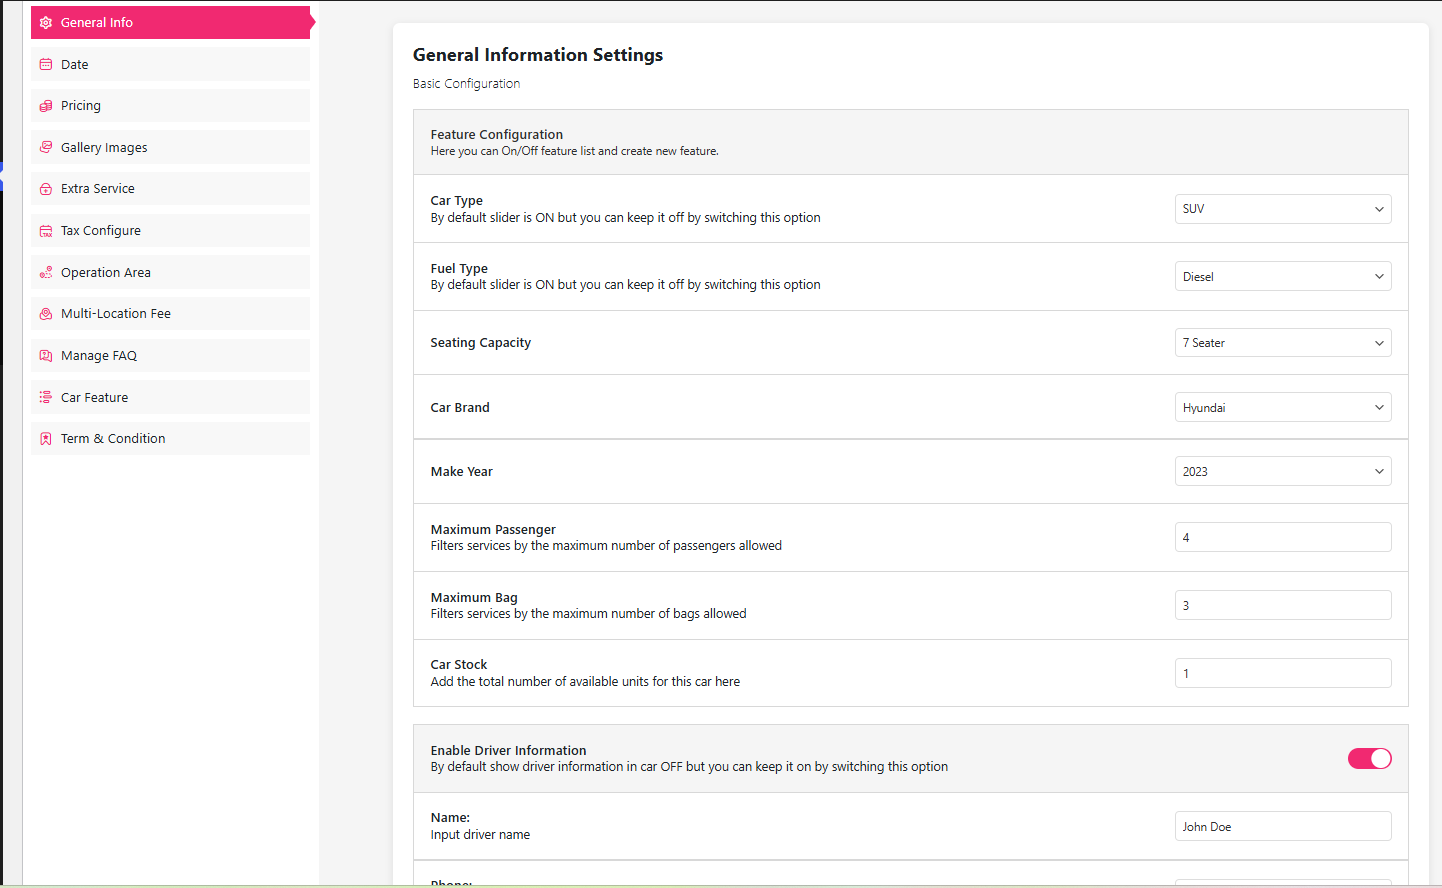
On general info, attach everything you built earlier: car type, fuel type, seating capacity, car brand, make year, maximum passengers, maximum bags, car stock and driver info. Values left empty here will not appear in customer filters, so this step is worth doing carefully.
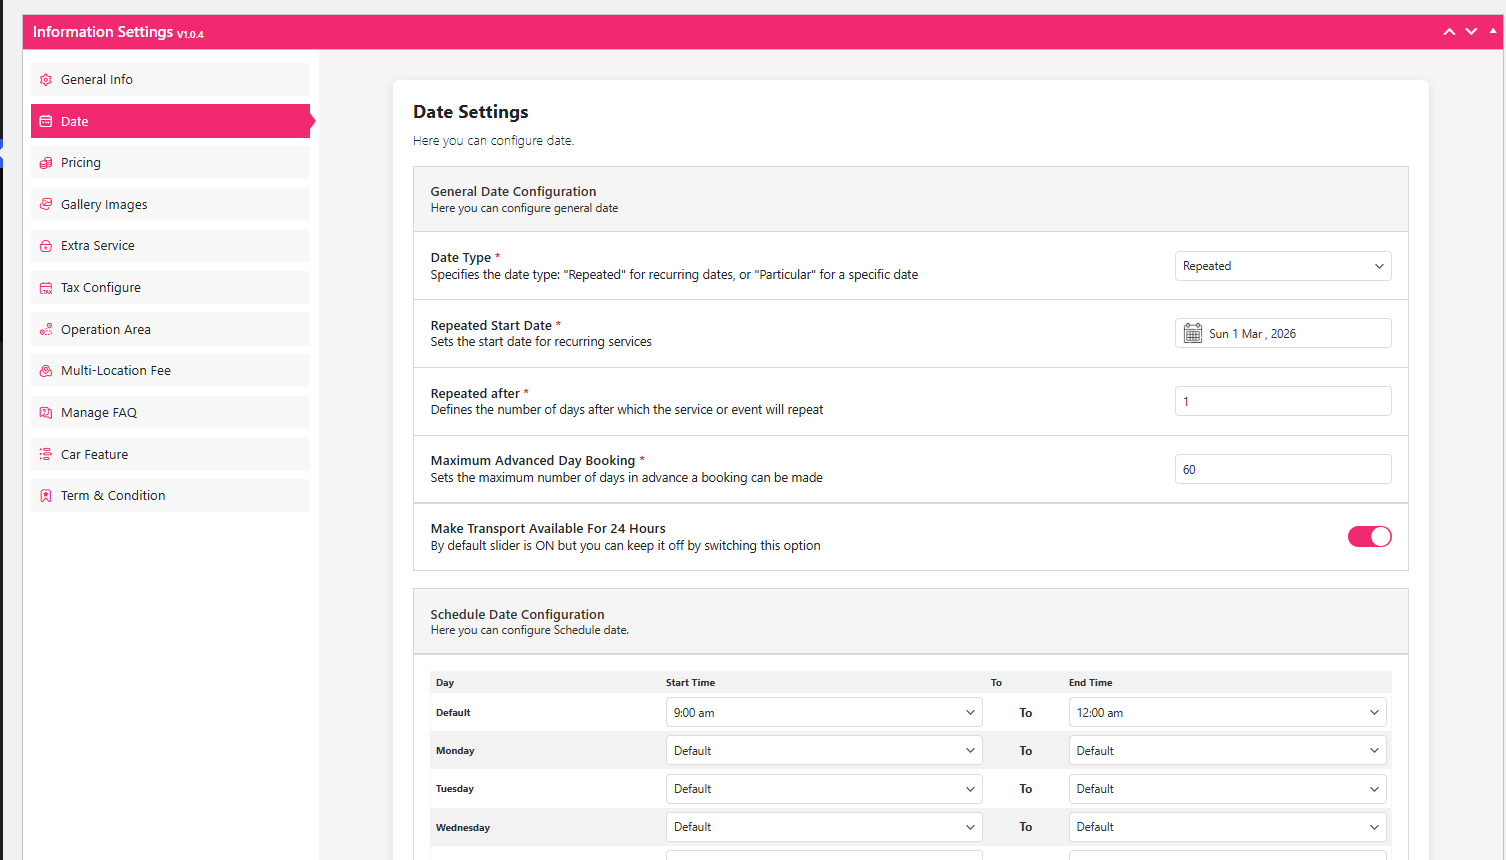
Open the Date options and choose how the car is bookable — repeated or particular dates, repeated start date, interval, maximum advance booking window, whether it is available for 24-hour blocks, a schedule, and which days are off limits.
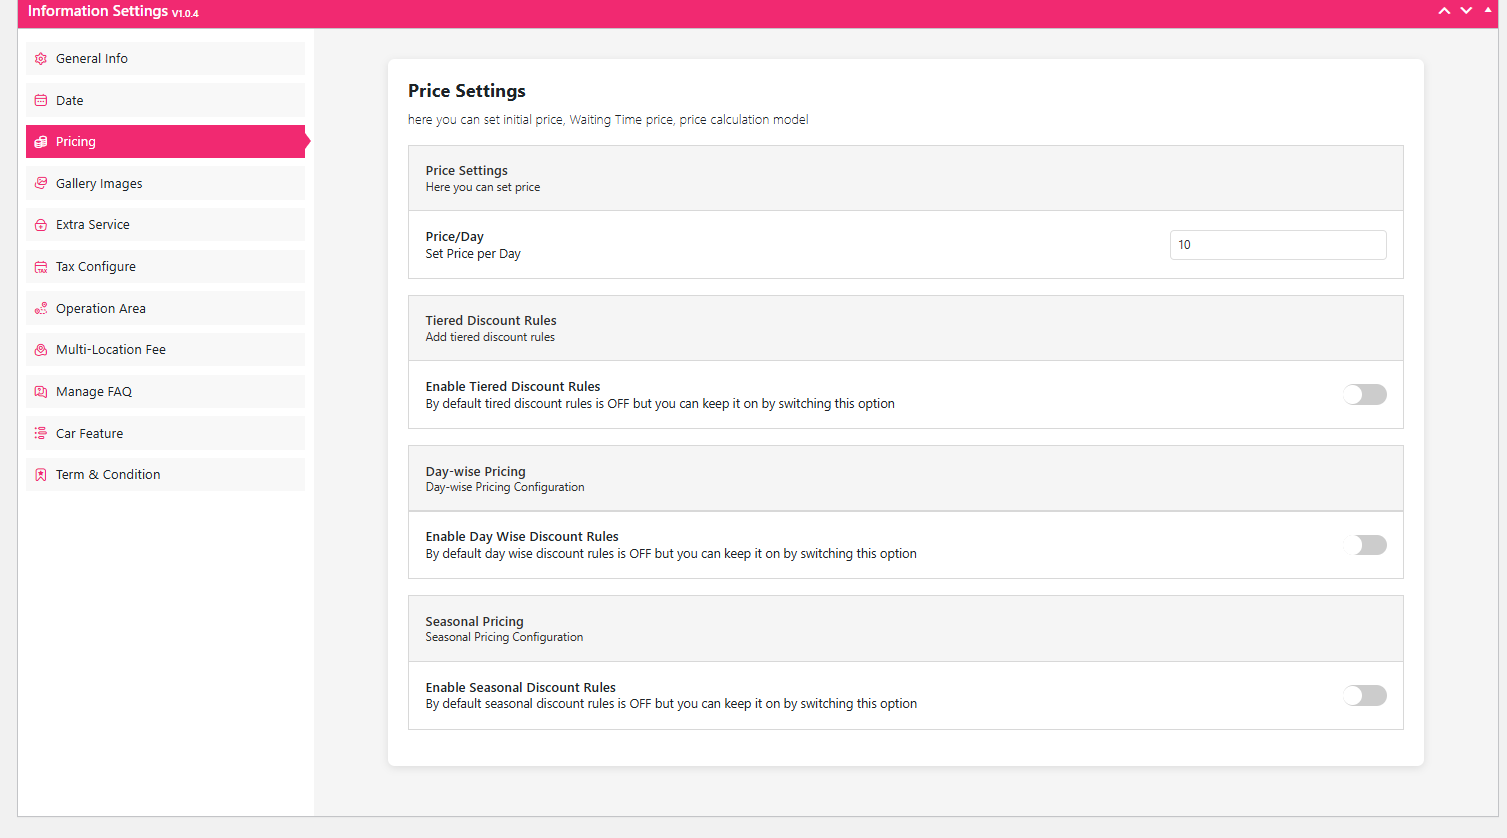
Now the Pricing tab in the left sidebar. Set Price/Day as your base rate (the example shows 10, which is a placeholder you replace with your own figure). From there, three optional rules do most of the heavy lifting:
- Tiered Discount Rules — lower the effective rate for longer rentals, for example for hires beyond seven days.
- Day-wise Pricing — different rates per weekday, useful for weekend surcharges.
- Seasonal Pricing — automatic adjustment for peak holidays and quiet months.
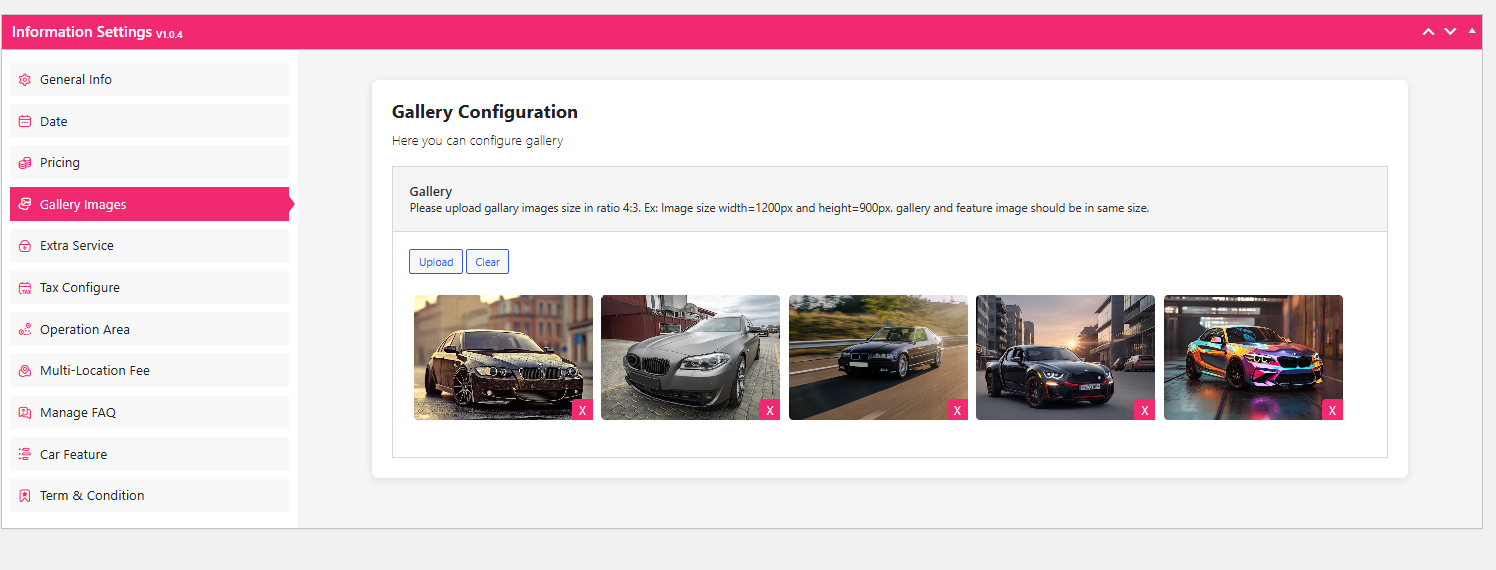
Next, Gallery Images. Photos decide whether a listing converts, so keep them consistent:
- Image ratio: upload in 4:3 (for example 1200 × 900 px) so the gallery crops correctly.
- Consistency: gallery and feature images should match in size.
- Management: use Upload to add and the X on a thumbnail to remove.
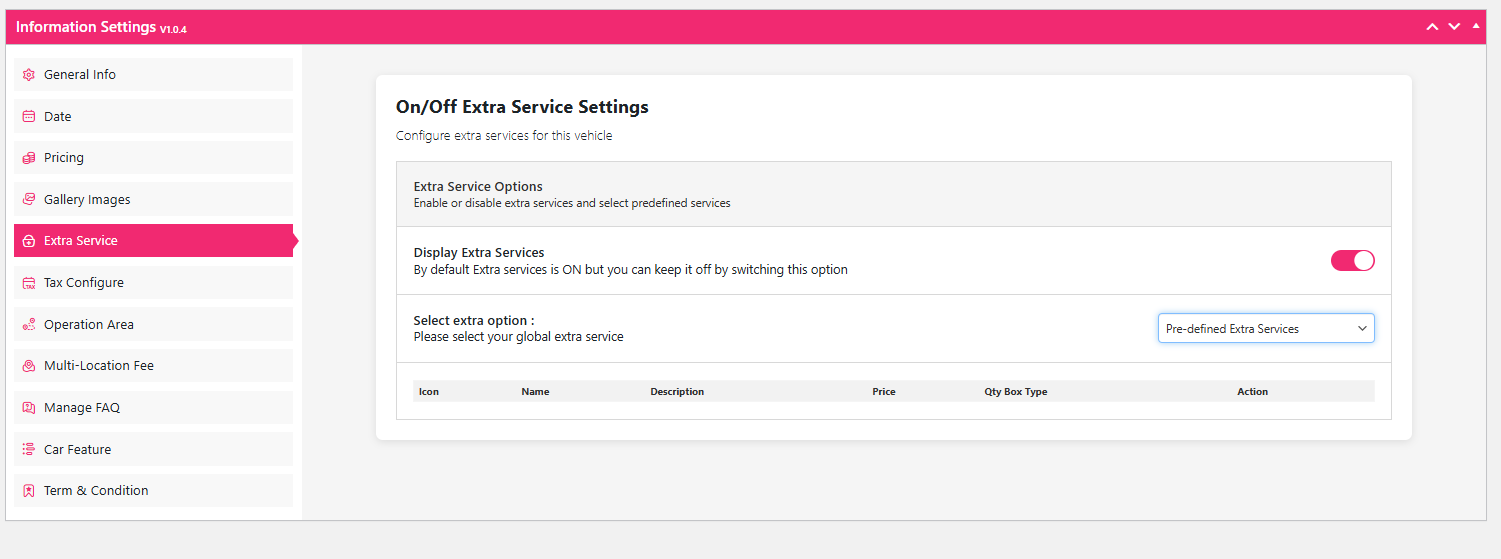
Step 6: On/Off Extra Service Settings
Not every add-on applies to every car, so tailor them per vehicle:
- Display toggle — switch extra services ON or OFF for this car only.
- Global selection — use the Select extra option dropdown to pull in services you already defined.
- Detailed view — the table shows the icon, name, price and quantity box type for each service.
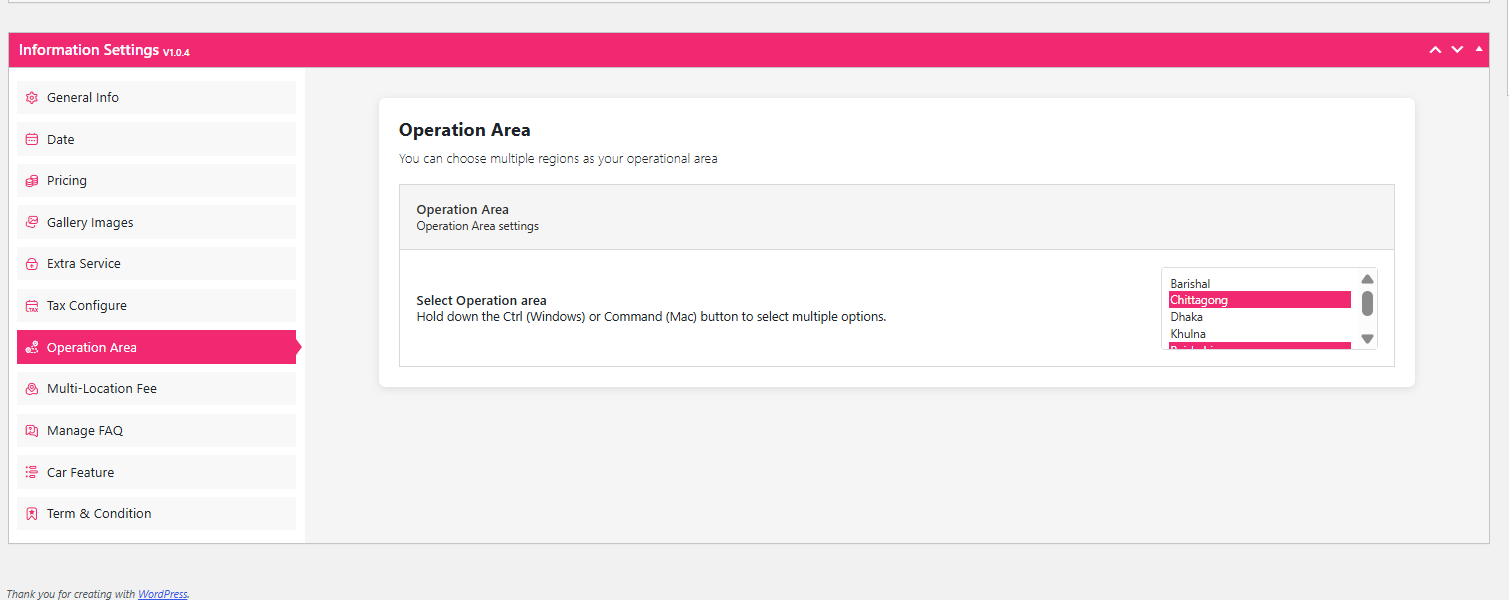
Step 7: Operation Area and Multi Location
Define where this vehicle may be picked up and driven: select your regions from the list (for example Dhaka, Chittagong, Khulna) and hold Ctrl or Command to pick more than one.
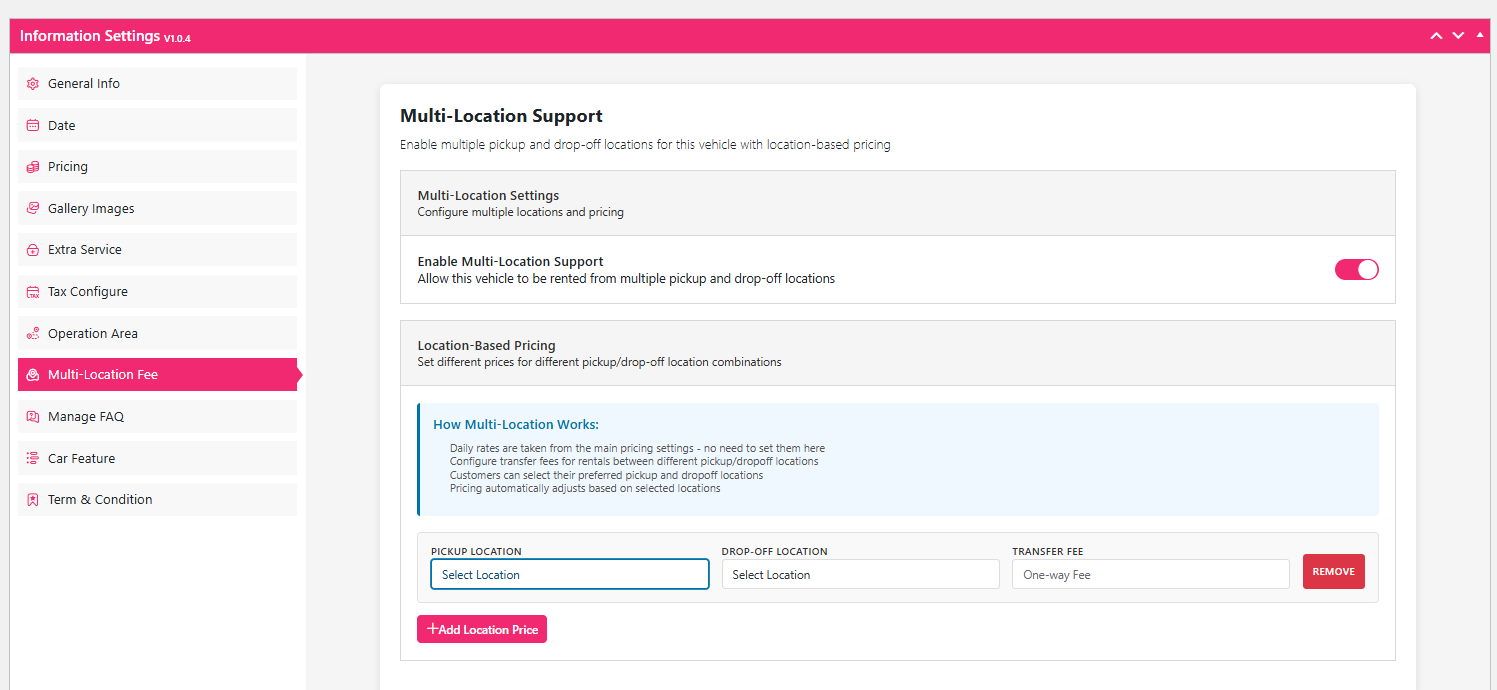
If the car can be returned somewhere other than where it started, enable the Enable Multi-Location Support toggle. Then, in the Location-Based Pricing section, build a route map:
- Pickup Location — the starting point.
- Drop-off Location — where the car ends up.
- Transfer Fee — the flat one-way fee, added on top of the daily rate pulled from your Pricing tab.
Three workflow habits save a lot of support tickets later:
- Symmetry: routes are directional. If A to B costs a fee, add a separate row for B to A when the reverse also carries one.
- Add Location Price: click this button for every new route combination you want to offer.
- The no-fee route: same-pickup-and-drop-off normally needs no row — a standard return is treated as zero transfer fee.
Step 8: Workflow Tips Before You Publish
Two small checks prevent most listing errors. First, confirm the FAQ library is assigned correctly rather than left on defaults.
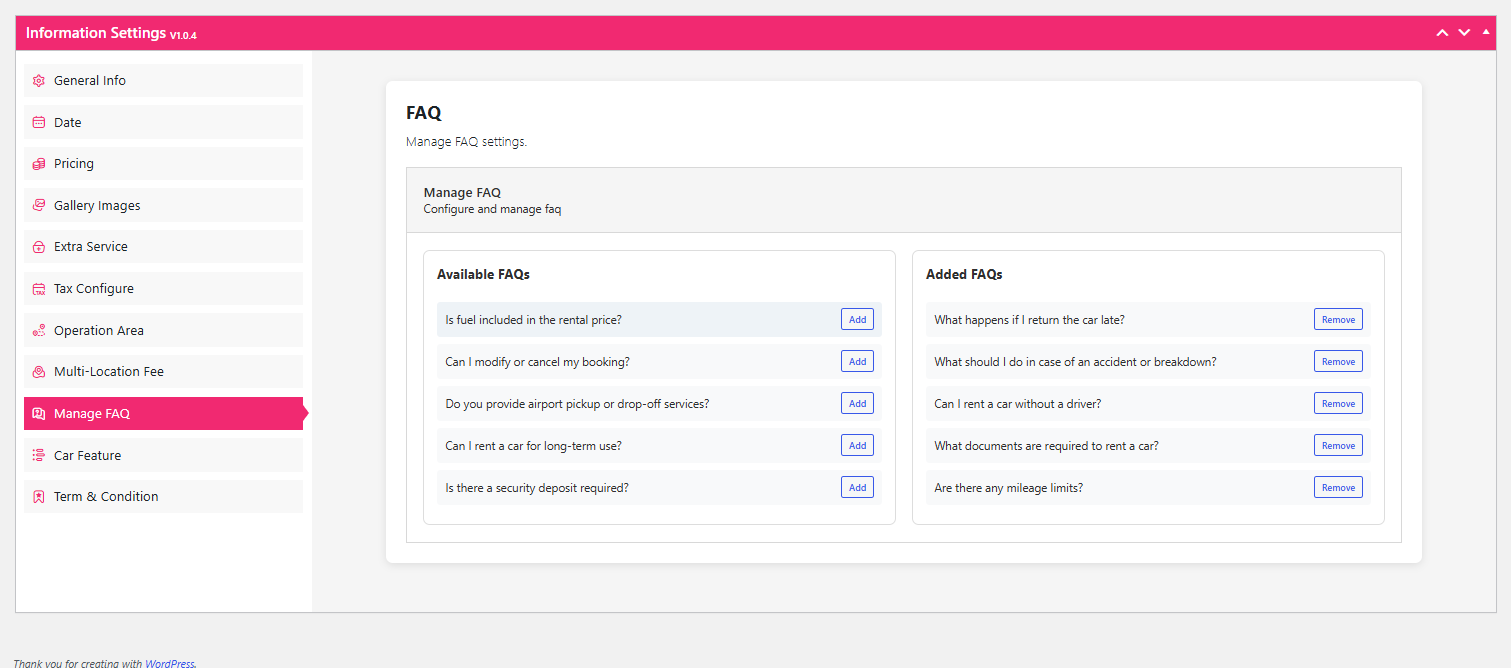
Second, re-read the general info fields after filling them, because a missing brand or seating value silently removes the car from filtered searches.
FAQ and Feature Configuration in Detail
These two panels look minor and are not. Together they decide what a customer reads before deciding to book.
FAQ Management Overview
The Manage FAQ section lets you choose which questions appear on a vehicle’s page from a pre-defined library. You control visibility by moving items between two columns:
- Available FAQs — questions in your library that are not live on this vehicle. Clicking Add moves them across. Typical options include fuel policy, booking modifications, airport service, long-term rental and security deposit.
- Added FAQs — the questions currently shown to customers. Clicking Remove returns them to the available column.
Car Feature Settings
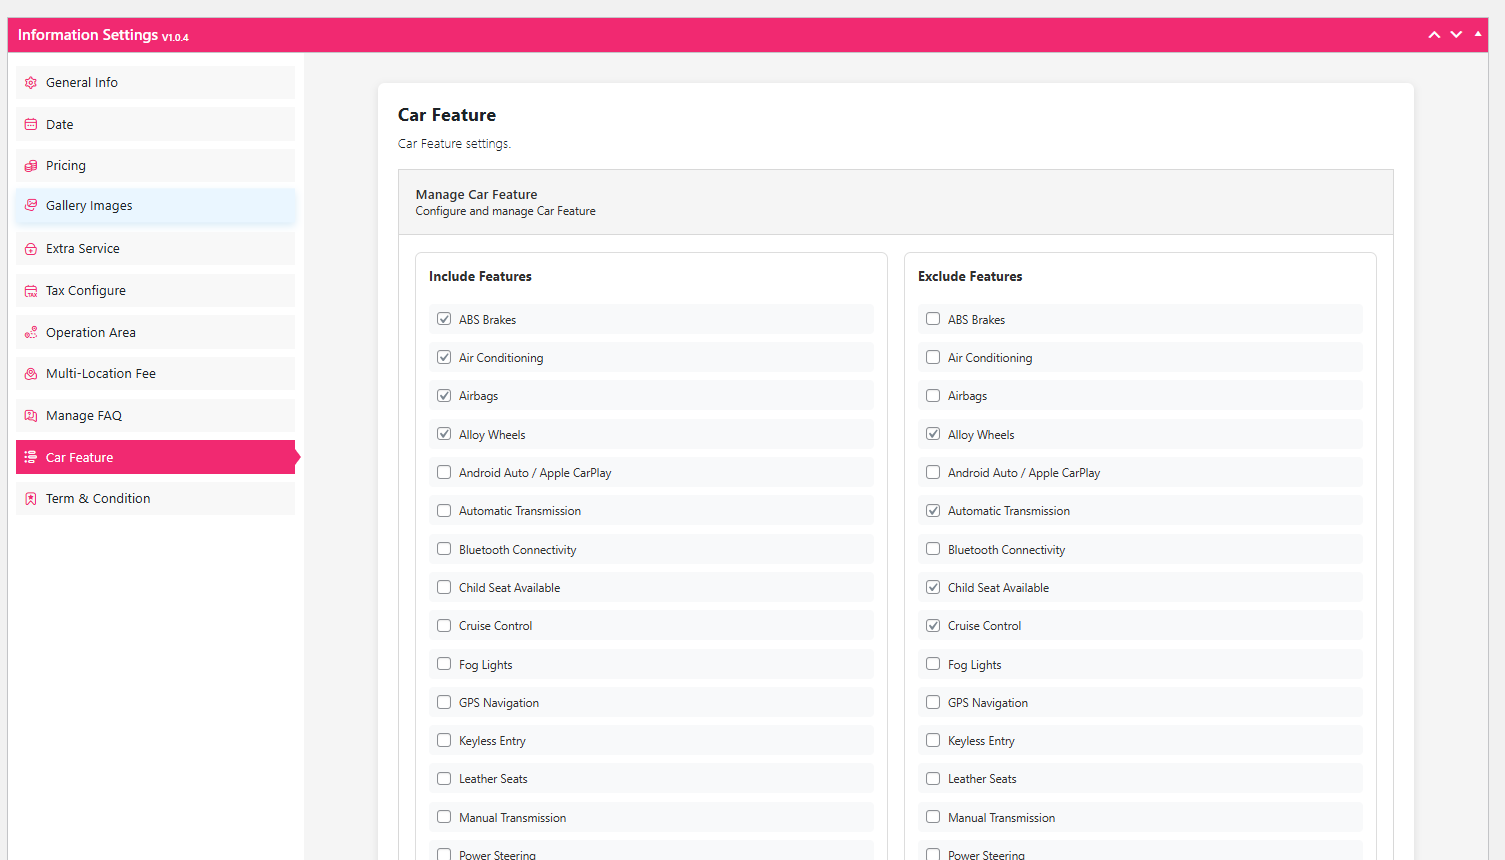
Features are split into two lists by checkbox, and the split matters because it sets customer expectations.
Include Features — confirmed present on the vehicle. In the example, ABS brakes and airbags (safety), air conditioning (comfort), and alloy wheels (style).
Exclude Features — explicitly not available. The example excludes automatic transmission (implying a manual), cruise control and child seat availability.
One caution from the very example in the screenshot: if a feature is checked in both columns, customers get contradictory information. Check each feature once, on the correct side, then move on.
Term & Condition Settings
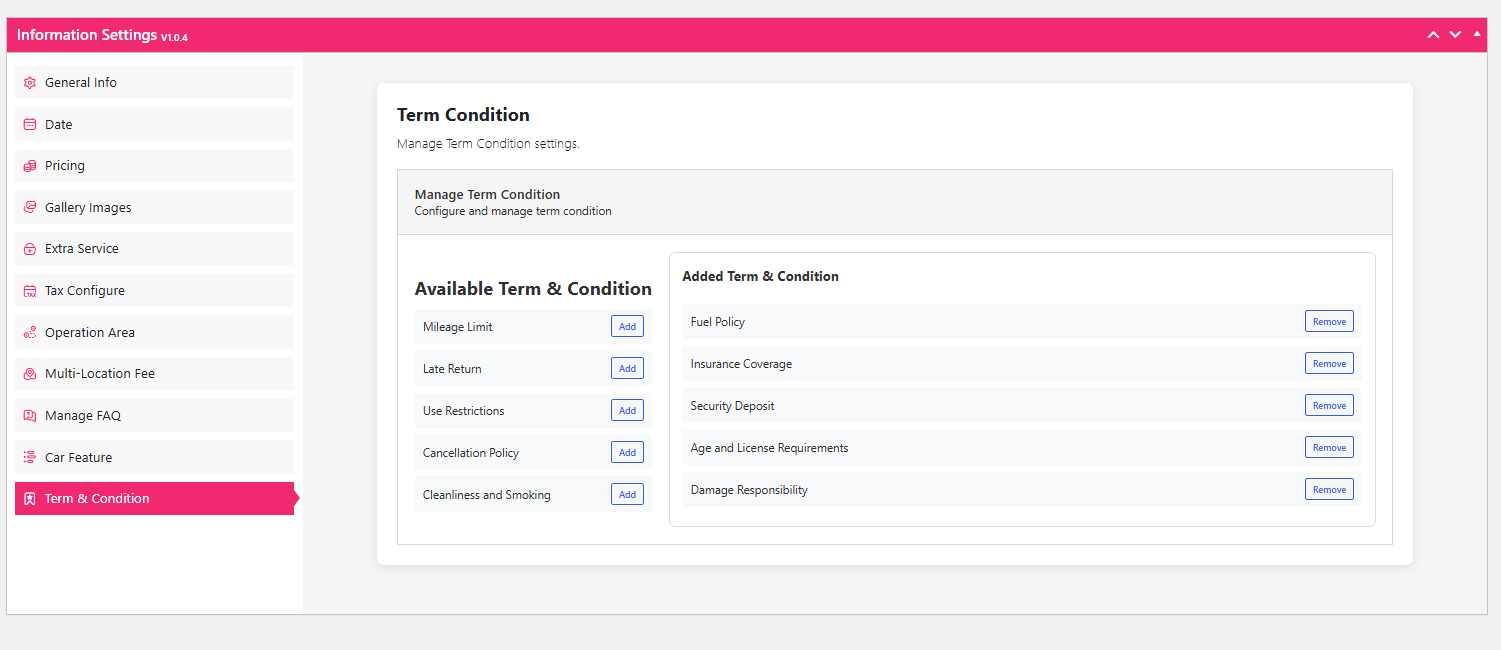
Terms work like FAQs but carry legal weight.
- Added terms — policies currently live. The example shows fuel policy, insurance coverage, security deposit, age and licence requirements, and damage responsibility.
- Available to add — policies you can switch on when relevant: mileage limit, late return, use restrictions, cancellation policy, and cleanliness/smoking.
Test the Booking Before You Announce It
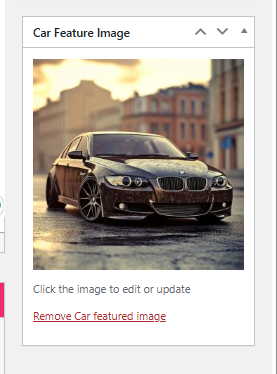
Once every option is set, add a feature image to the listing and click Publish.
Now run a real booking yourself, from the car search page.
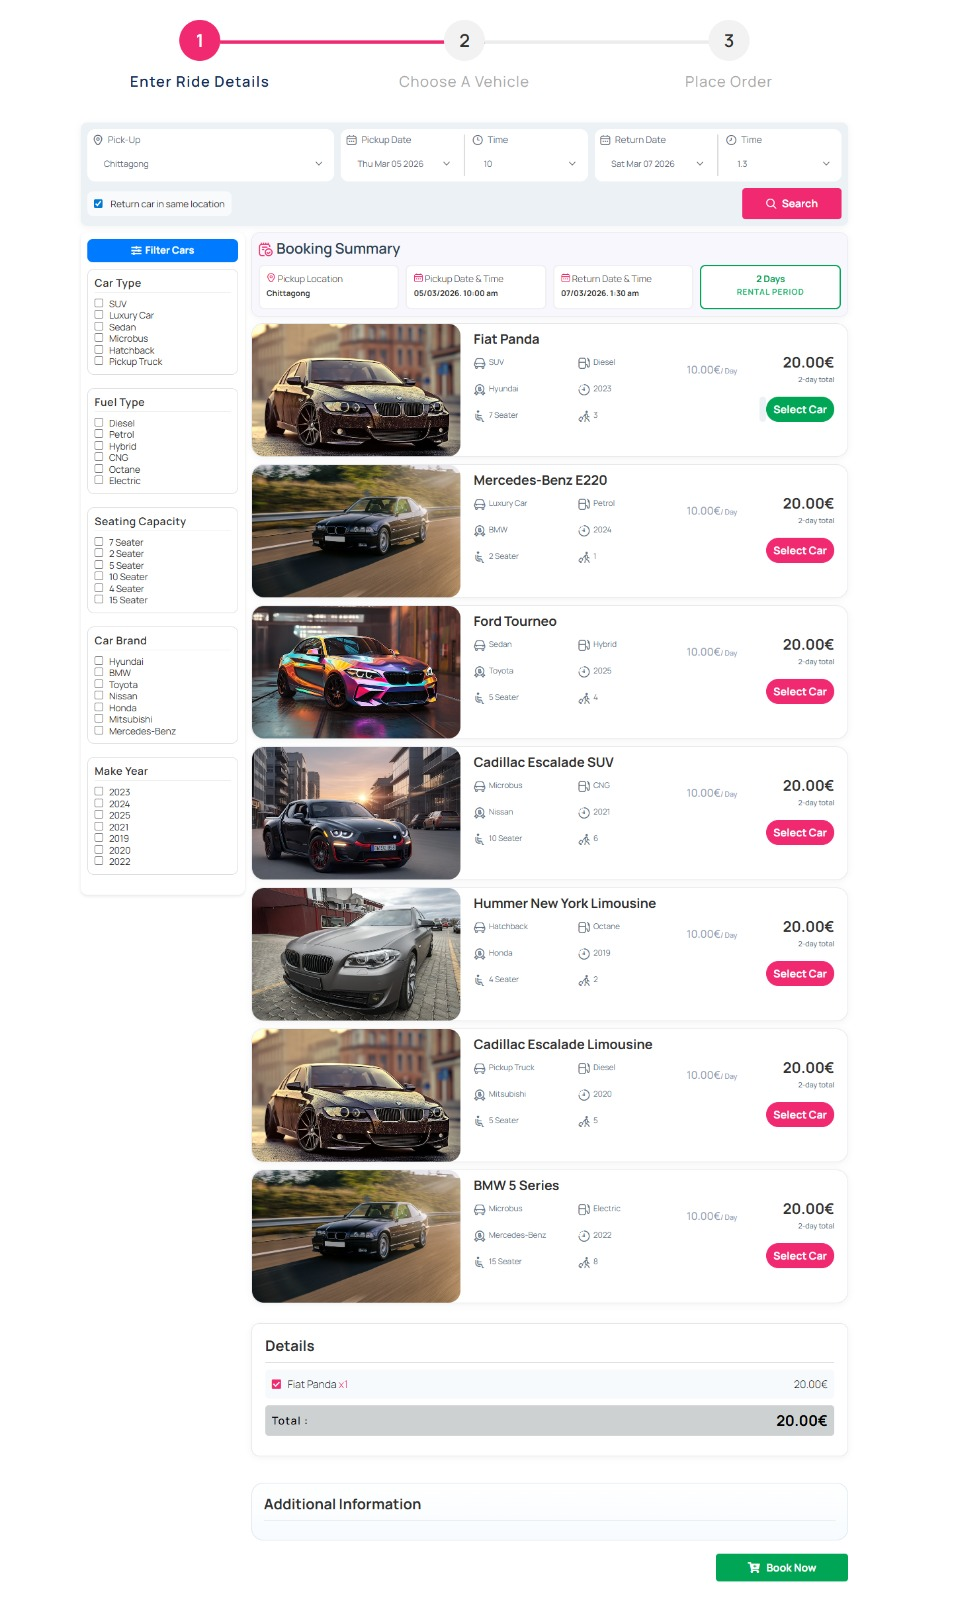
Select the car you just created.
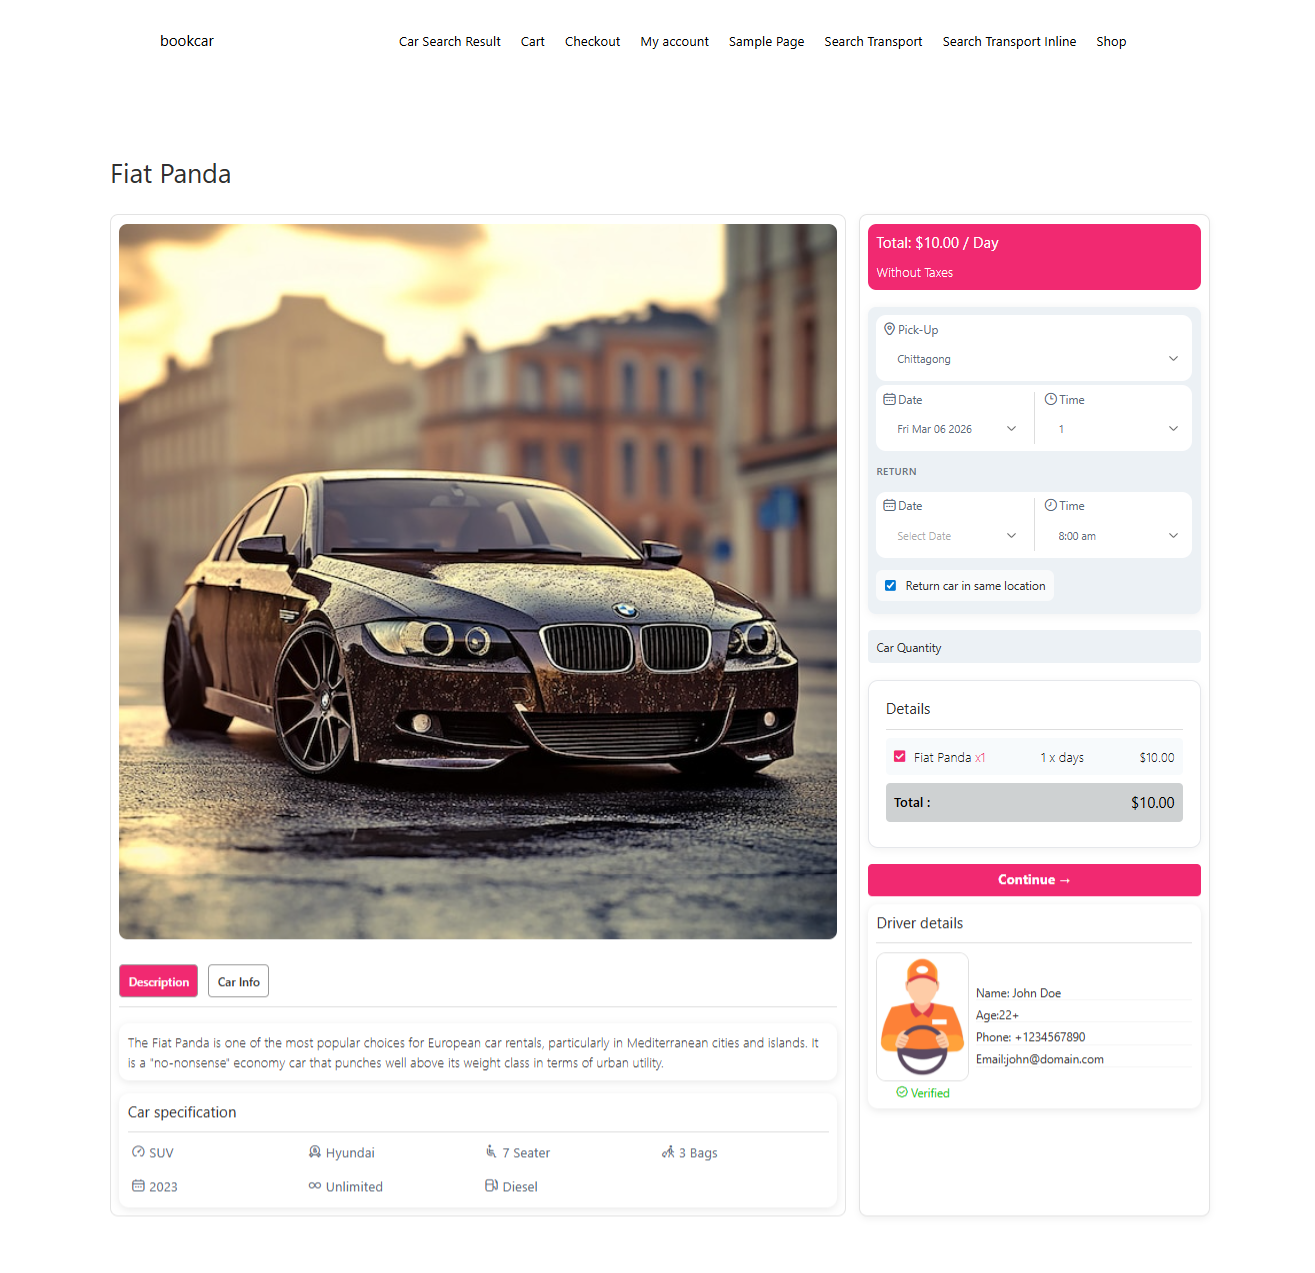
Click Continue and complete payment details through the WooCommerce gateway you connected earlier. If the order lands in your WooCommerce order list with the correct dates, extras and transfer fee, your setup is working. If your gateway is still in test mode, run the order again in live mode before sending customers to the site.
Settings That Break Things Most Often
| Symptom | Usual cause | Fix |
|---|---|---|
| Car never appears in search results | Missing or unassigned taxonomy values | Reopen the car and fill in car type, seating capacity and brand |
| Booking dates look wrong or overlap | Date settings left on defaults | Review date type, interval, schedule and off days |
| Wrong total at checkout | Seasonal or day-wise pricing overriding expectations | Check the Pricing tab rules against the dates you tested |
| One-way booking has no fee | Route row missing in that direction | Add the reverse or matching pickup/drop-off combination |
| Contradictory feature claims | Same feature checked as included and excluded | Keep each feature in one column only |
Final Thoughts
You have now taken a car rental plugin for WordPress from installation to a completed test booking: taxonomies first, then reusable extras, then the vehicle, pricing and locations, and finally the checkout. That order matters more than any individual setting, because each later step depends on data you created earlier.
Before you go live, do three things. Publish two or three real vehicles rather than one, so filters and availability have something to work with. Run one booking with an extra service and one with a one-way route, since those are the paths that expose configuration gaps. And keep your taxonomy names and photo ratio consistent as the fleet grows — tidiness at twenty cars is cheap, at two hundred it is a project.
The wider detail of what the plugin can do across inventory, pricing and orders is covered in the WordPress car rental booking system by WpCarRently. For most rental businesses in 2026, getting the basics configured correctly and the listing content honest beats chasing advanced features you will not use.
